gauge can be inserted at any point, the engine must be re-adjusted until proper
alignment is obtained. This should be performed by an authorized MasterCraft
dealer’s service department.
Step 15: Forallmodels,withtheboatinthewater,cyclethekeyONandthenOFFtwo(2)
orthree(3)times,allowingten(10)secondsbetweenkeycycles,beforecrank-
ingtheengine.Thisallowsthefuelpumptoprimethefuellines;thenstartthe
engine. In the event the engine does not respond, allow a two-minute cool-down
periodforeverythirty(30)secondsofcranking.Whentheengineres,keep
a close watch over the gauge readings and check for leakage and abnormal
noises.Keepspeedslowfortherstfteen(15)minutestoallowtheengineto
reach normal operating temperatures.
Step 16:InProStar197sequippedwithballastbags,whenreconnectingthehook-ups,be
sure to squeeze the prongs to help slide the connector back on. Dish soap or some
similar product will help slide the connects back together. Note that the red ring
goes over the raised ring to ensure a working connection.
Propeller Maintenance
Propeller damage is caused by striking solid objects. If the propeller is not rotating
at the time it strikes a solid object, the damage is usually confined to just one blade and
may be dicult to see. If the propeller is rotating when it strikes an object, usually the
resulting damage can easily be seen on all blades.
Checking/Repairing Propellers
Step 1: Ensure the engine is OFF and the emergency safety stop switch is disconnect-
ed.
Step 2: Clamp a small rule scale to the shaft strut, parallel to the shaft so that the end
ofthescaleis3/32-inchesfromtheleadingedgeofapropellerblade.
Step 3: Rotatethepropellerslowly.Thereshouldbenomorethan3/32-inchvariance
between the blades. If the propeller is damaged, see an authorized MasterCraft
dealer.
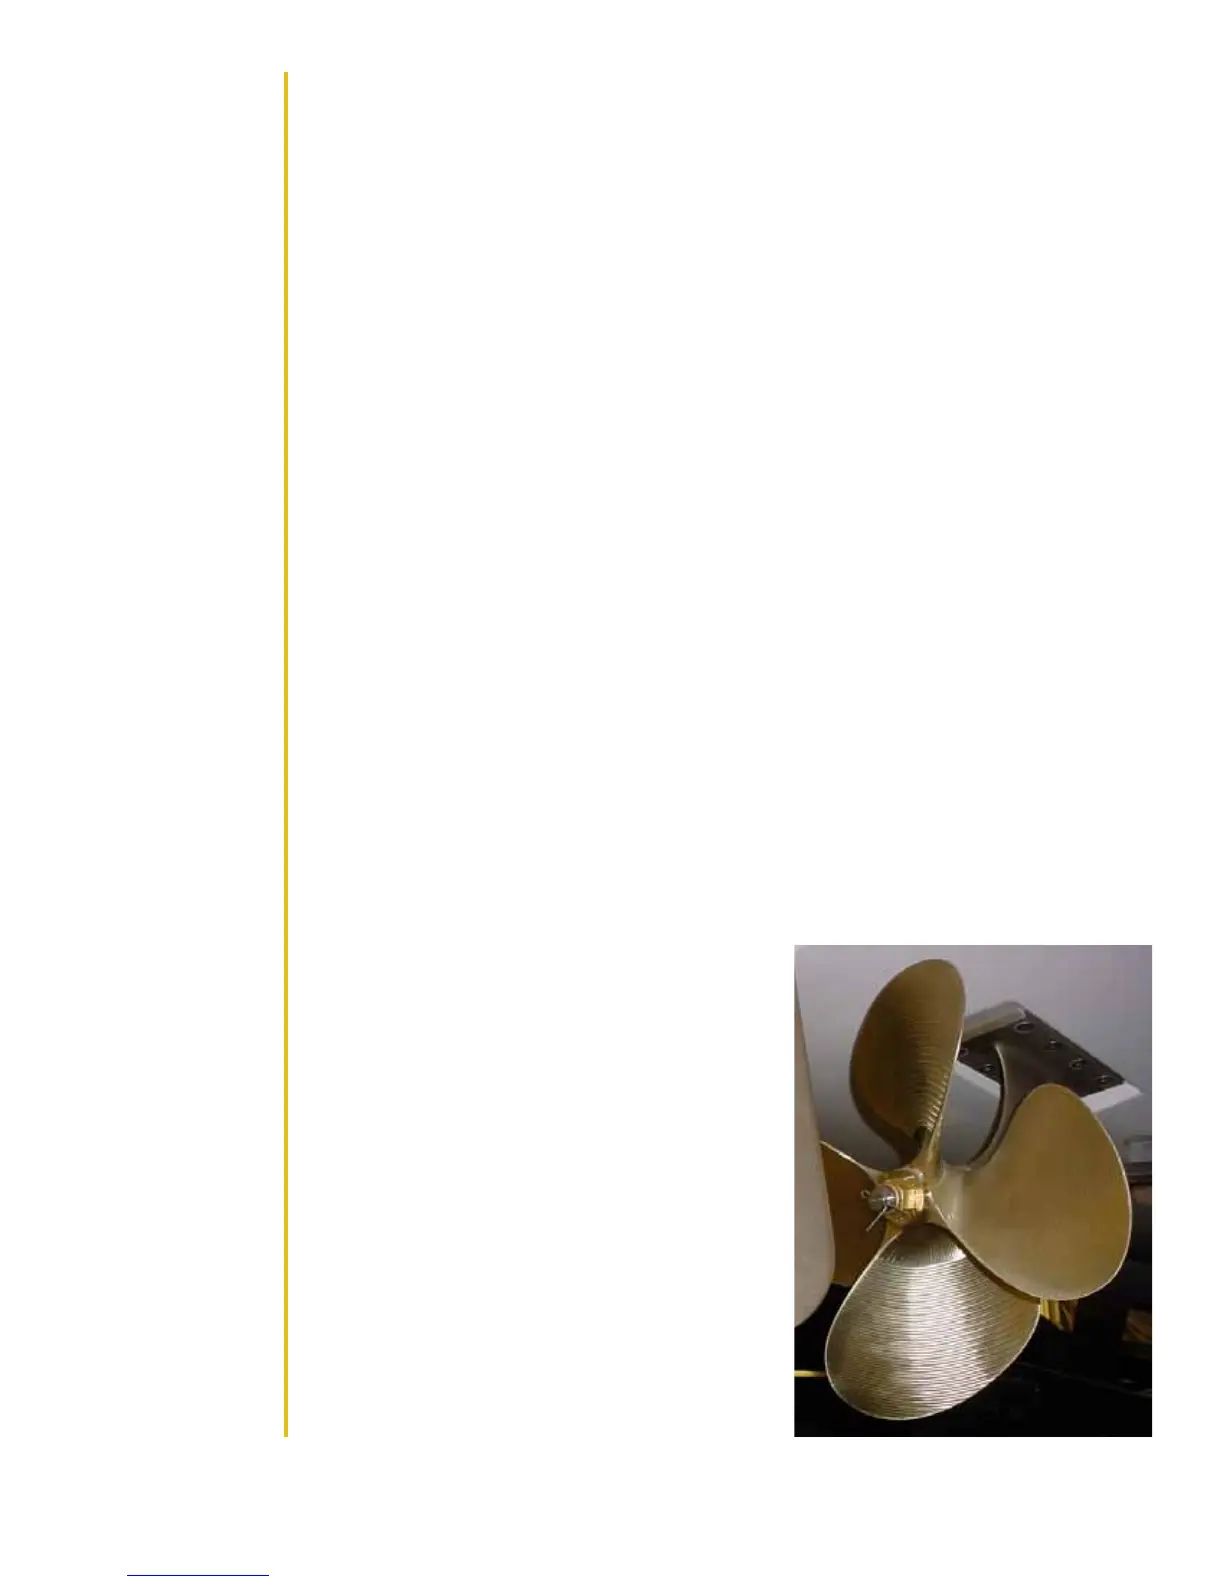
Changing Propellers
Step 1: Ensure the engine is OFF and the engine
safety starting switch is disconnected.
Step 2: Removeanddiscardthecotterpin.
Step 3: Removethepropellernut.
Step 4: Tap the center hub of the propeller with
a rubber mallet to release the propeller.
Inspect the shaft and propeller splines for
damage.
Step 5: Thoroughly clean and apply a light coat of
waterproof marine multi-purpose grease to
the splined area of the shaft and propeller.
Step 6: Align the splines and carefully install the
propeller onto the shaft. DO NOT FORCE
THE PROPELLER INTO PLACE.
Step 7:Installthepropellernutandtorqueto50-ft-
lbs.
Step 8: Install a new cotter pin and bend the ends
around the shaft to lock the propeller on the
shaft.
2013 MasterCraft Owners Manual • Care and Maintenance • Page 5-33
 Loading...