13
■ If page contents exceed the height of the screen, you
can scroll up and down, usually a scroll marker on the
left hand side will show you where you are in the
content, approximately.
■ To close menu items, parameter panels or Apps, tap
the red button on the right hand side or tap the free
area outside a popup-box or parameter selector.
■ All changes to settings will be made instantly, no need
to save settings.
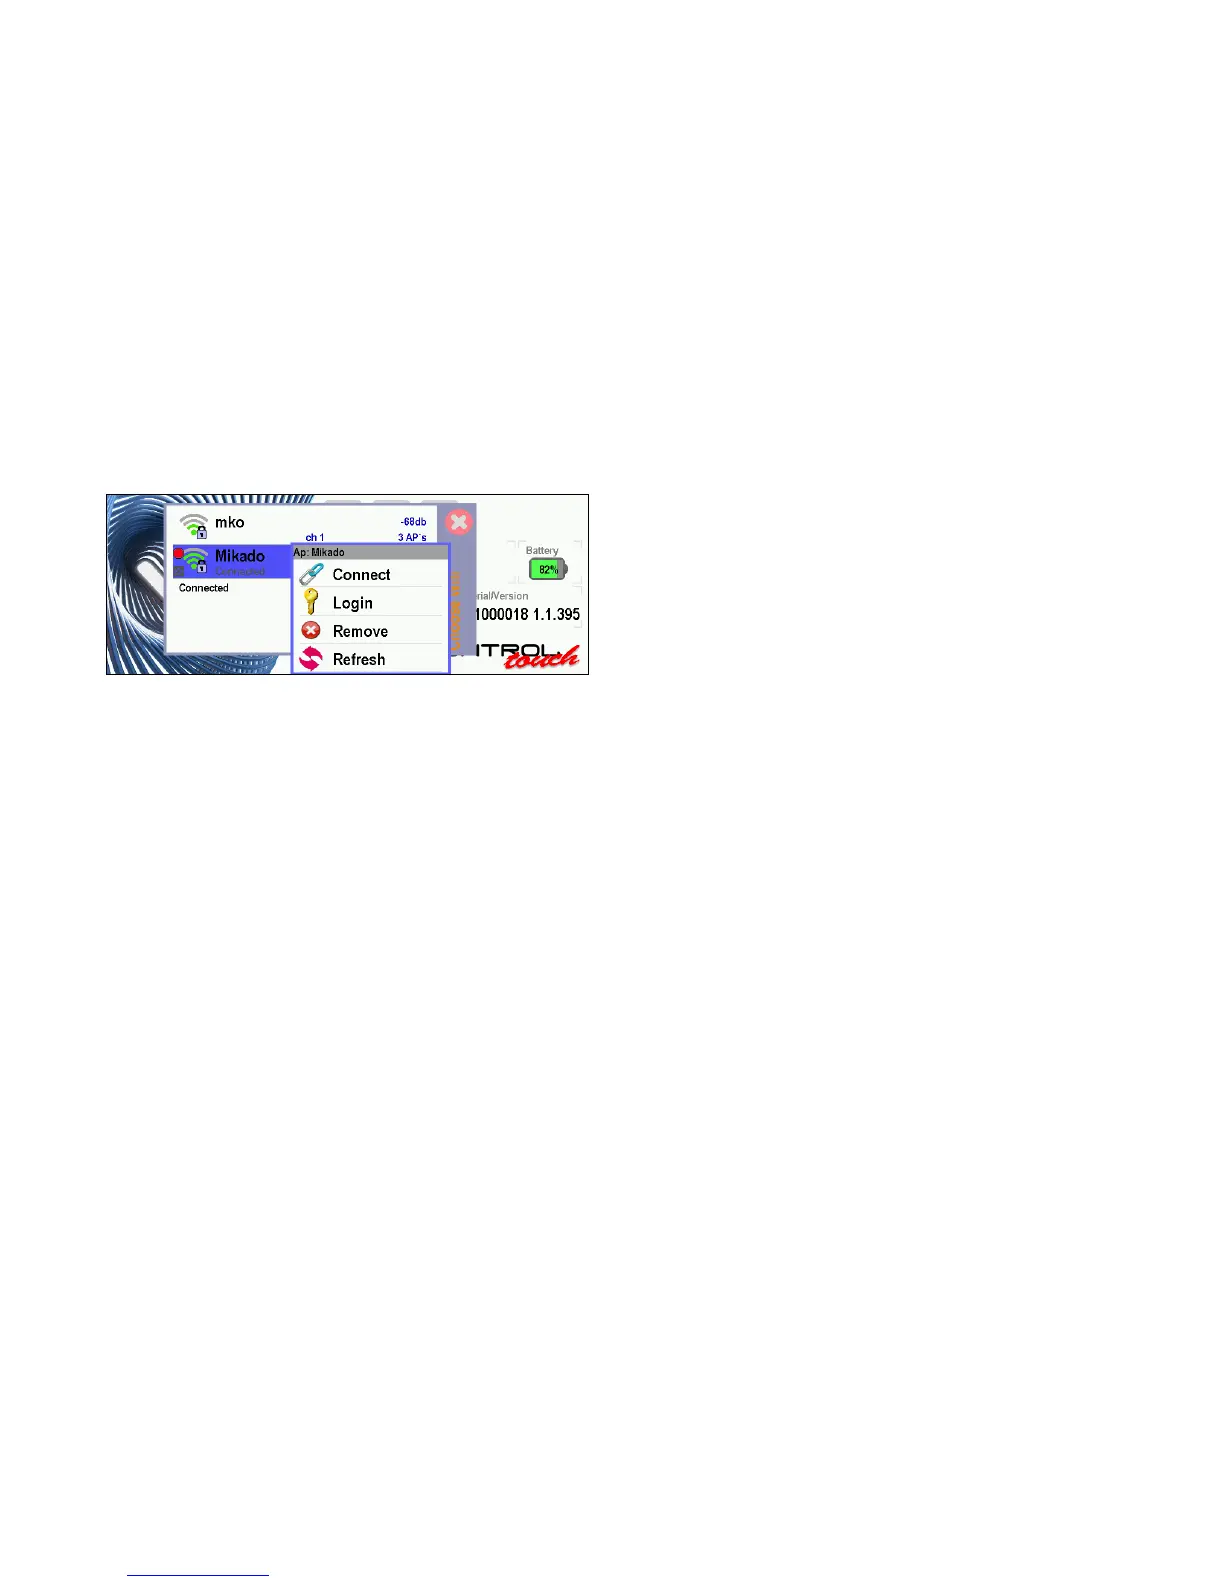
■ If there are additional functions to an item on the
screen, you will see a blue triangle marker in it’s upper
right corner. Tap and hold the menu item, and either a
context menu or a secondary function will pop up.
■ Certain functions have a context menu by default, like
WiFi (to refresh, log in, disconnect etc.).
■ If you have the User Dened Main Screen App installed,
you can tap and hold in the free area of the screen to
instantly change the contents of the current screen.
Here again, you can tap and hold to pull up a context
menu with the available screen items (only system
related items if no model is connected, also model
related items if a model is connected, and depending on
the capabilities/options you have on the model).
■ To switch off the radio (to Standby Mode), swipe from
left to right, then tap the red button. To abort, just tap
outside the red button. The model must be powered off
of course.
■ To switch on the radio again (from Standby Mode),
swipe from right to left.
☝ Hint If this doesn’t work, the radio is probably not in Stand-
by Mode, press the Power Button on the back instead.
■ To check the battery state (in Standby Mode, screen
off), tap the screen with two ngers.
■ To lock the screen (to avoid accidental changes to
parameters), tap and hold with two ngers on the
screen (a sound will play and a popup will appear
briey).
■ To take a quick screenshot of the current display, tap
the screen with three ngers (a shutter sound will play).
Now explore the menu items available as long as no mod-
el is connected. If you are not familiar with a specic menu
entry or setting, consult the online help at any time.
... the main screen will change to the default model screen,
and new menu items will appear, corresponding to the de-
vice connected, and it’s capabilities.
■
is the place to go, to set up your model.
■
shows information about the VBar unit
connected as well as the vibration analysis (scroll
down) and the event log (scroll further down).
■
allows to change parameters per Bank
(use the bank switch to select).
■ The list of menu entries may vary, depending on the
capabilities of your model, e.g. the Rescue Settings will
only appear if a corresponding license is found on the
VBar.
☝ Reminder all features, settings, parameters, Apps are ex-
plained directly on the radio, just tap the (?) icon to learn
more.
Bind and Fly
If you have models which are already set up, you can just
bind, do a pre-ight-check, and go ying.
⚠ Warning Do not forget to make all necessary radio settings
like stick mode, switch assignments the way you want it,
the way you are used to it.

 Loading...

