16
■ VBar Control’s USB connector is acting as a HI device
by default.
■ Just connect the USB lead to your computer.
■ There is no driver needed on Windows PCs nor on
Macs. The operating system will detect VBar Control
automatically as a game controller.
■ In your preferred simulator software, select VBar
Control as a controller and set up/calibrate as needed.
☝ Attention Use the Simulator’s menus to adjust the Simula-
tor to the VBar Control transmitter. Do not change settings
(e.g. switches) in your VBar Control transmitter; this will
affect behavior of your real-life models, too.
■ Option 1
» Turn on VBar Control transmitter.
» Make sure motor/throttle controls are in OFF position.
» Select
from the
.
» Turn on the VBar NEO or VBar with the VBar Control
Satellite Receiver connected.
» Wait a few seconds for the VBar Control to scan for
available devices.
» Select the VBar device from the list.
» VBar Control will conrm with the message ‘Connect-
ed’.
■ Option 2
» Turn on the VBar NEO or VBar with the VBar Control
Satellite Receiver connected.
» Wait for 10 seconds for the receiver to go into bind
mode.
» Only now turn on VBar Control transmitter.
» Make sure motor/throttle controls are in off position.
» Select
from the
.
» Wait a few seconds for the VBar Control to scan for
available devices.
» Select the VBar device from the list.
» VBar Control will conrm with the message ‘Connect-
ed’.
☝ Attention If the re-binding procedure is no completed, a
previously bound VBar or VBar Control Satellite Receiver
remain bound to the last VBar Control transmitter it was
bound to. The binding information is not automatically de-
leted by mistakenly powering up the model. Just turn the
model off, turn on your VBar Control transmitter, then turn
on the model again: it will re-connect at once.
If Active Idle is enabled in the Transmitter Settings, VBar
Control will monitor the 2.4 GHz band, even if it is in Stand-
by Mode.
If VBar Control detects a VBar device which was already
bound, it will switch on automatically.
☝ Attention To bind a model to a different radio while it’s orig-
inal radio is in range, unbind the model rst in the Model
Settings/Model Tools dialog (VBar NEO of the 2nd Genera-
tion), or switch off your radio completely (swipe, tap and
hold the red button, conrm). Else the original VBar Control
will always come awake if the VBar is turned on.
■ Power saving
Set the low threshold of the ambient light sensor to a low
value, so the transmitter always uses the least power
needed for the display.
■ You can use the Boost feature in
,
this way the display will brighten once you move the
radio.
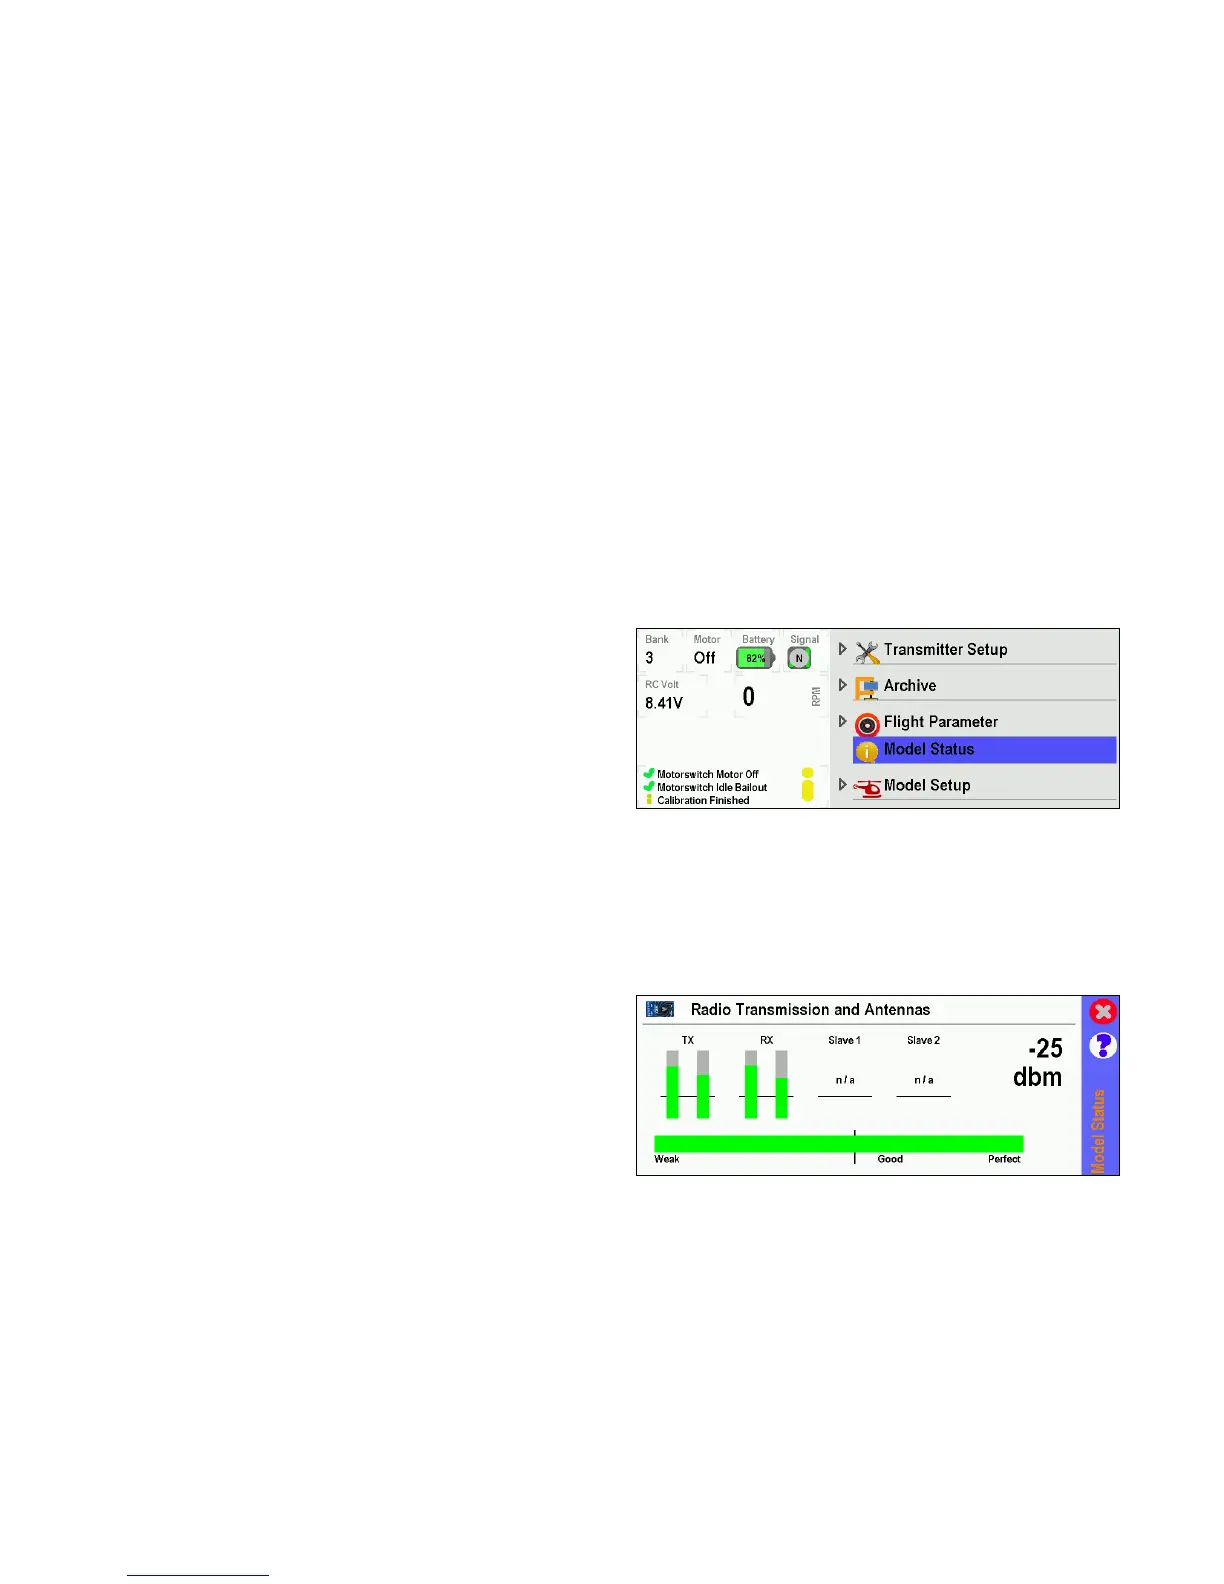
■ Range check, check of antennae
Once a VBar Control Satellite Receiver is connected,
you can check the antenna status at
/
-
. You will see bars indicating the overall link
power as well as the signal strength of the four anten-
nae (Tx=radio, Rx=receiver).
⚠ If one of the four vertical bars falls below the indicated
threshold, stop using VBar Control and nd and remedy the
cause.
☑ Check the antenna status of VBar Control and the bound
receiver frequently, at least at the beginning of every day of
use.

 Loading...

