3-10 System Installation
3.4.2 Installing a Graph / Laser Printer
NOTE: Please restart the ultrasound system after printer installation.
Connecting a local printer
NOTE: Printers listed in “2.1.3 Peripherals Supported” Chapter have drivers installed already.
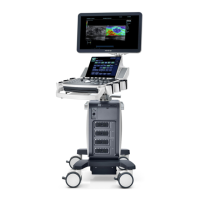
As shown in the figure below, a graph / text printer has a power cord and data cable. The power
cord shall be directly plugged into a well-grounded outlet.
1. Connect the data cable to the USB port on the ultrasound system.
2. Power the system and the printer on.
3. Enter [Setup]→[Maintenance]→[Setup]→[Enter Windows], input the password. For details about
obtaining password, please refer to "6.4 Enter Windows ".
The system enters the Windows system.
4. Copy the printer driver from external storage device onto the local disk.
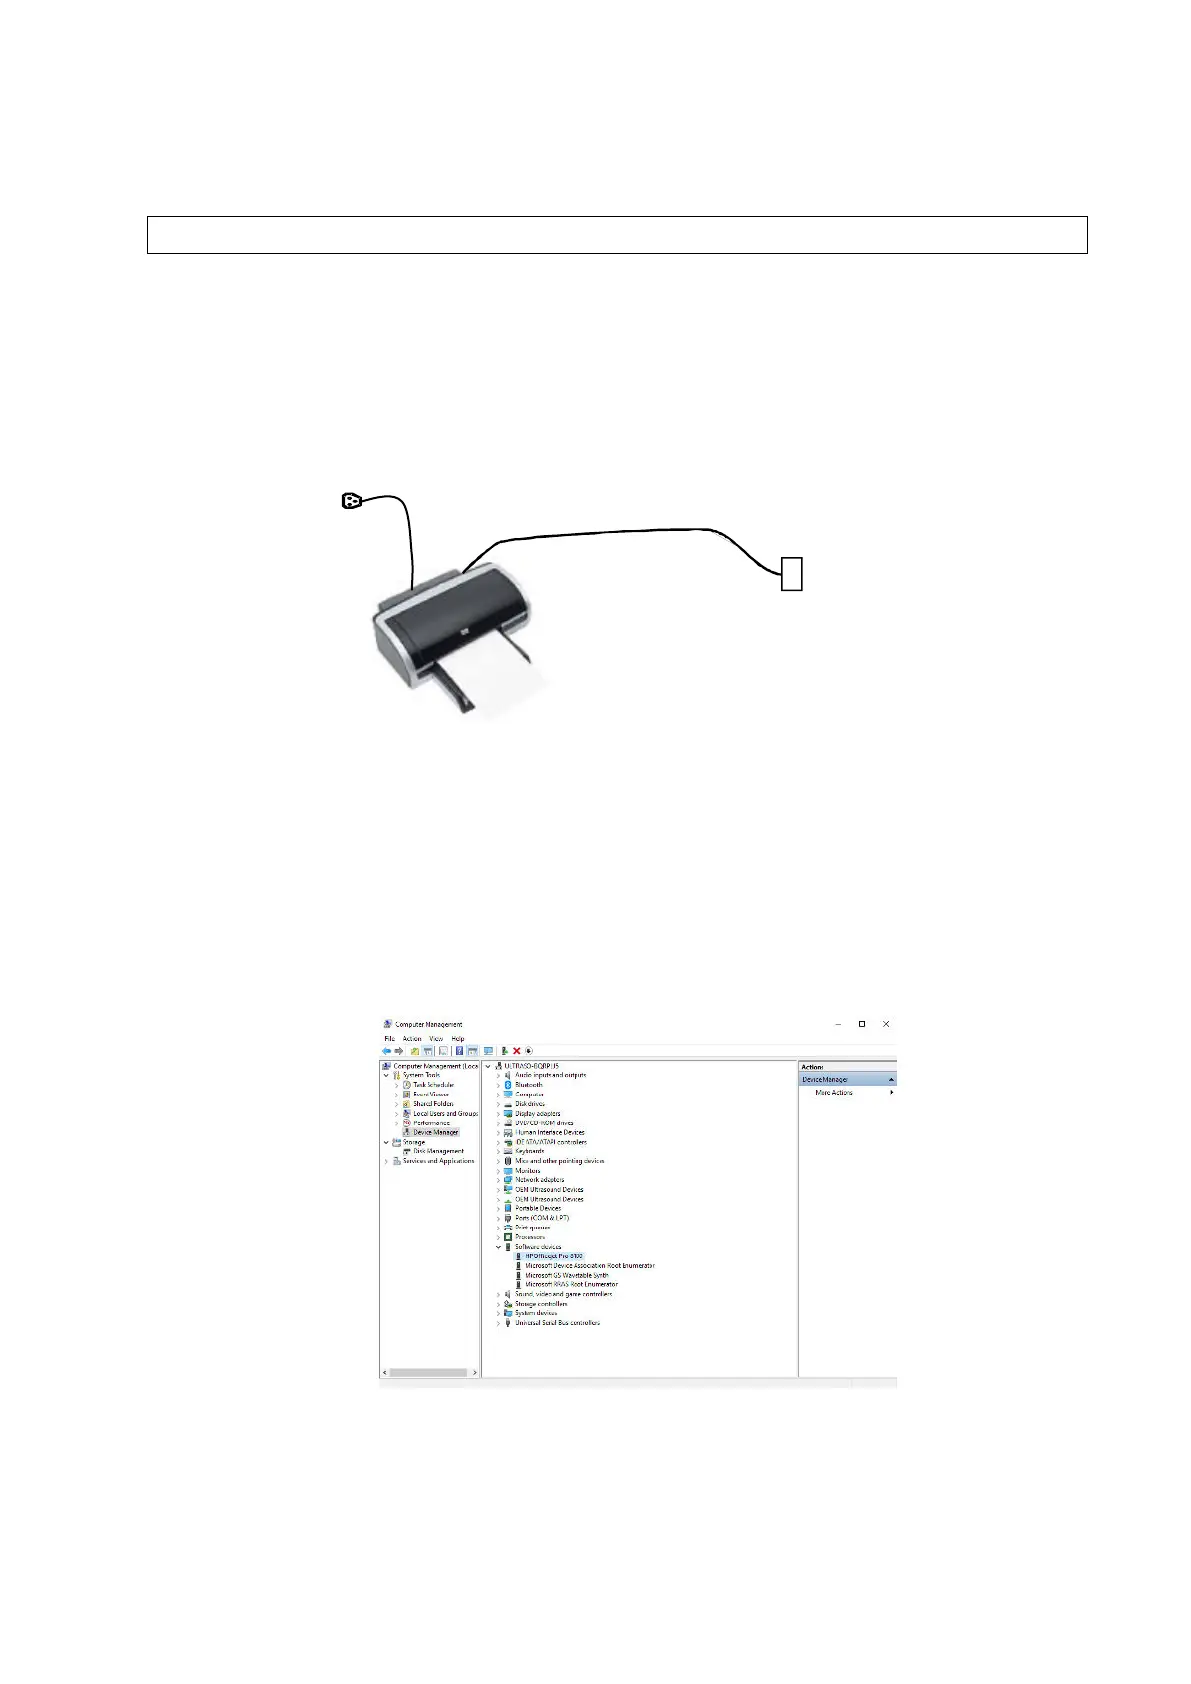
5. Left-click “this PC”, and click “Manage” on the pop-up menu to enter the Computer Management
interface.
6. Select [Device Manager]→[Software Devices]. Left-click the printer (HP8100 is given as an
example) and select “Update driver” on the pop-up menu.
7. Select “Browse my computer for driver software” on the following dialog box.
USB port
Power supply

 Loading...