30 Part Number: WBL-95-156 REV002
Operation Section 3
Procedure to Install a Product Bag
This is done through the Employee, Managers, or Service
Screen options.
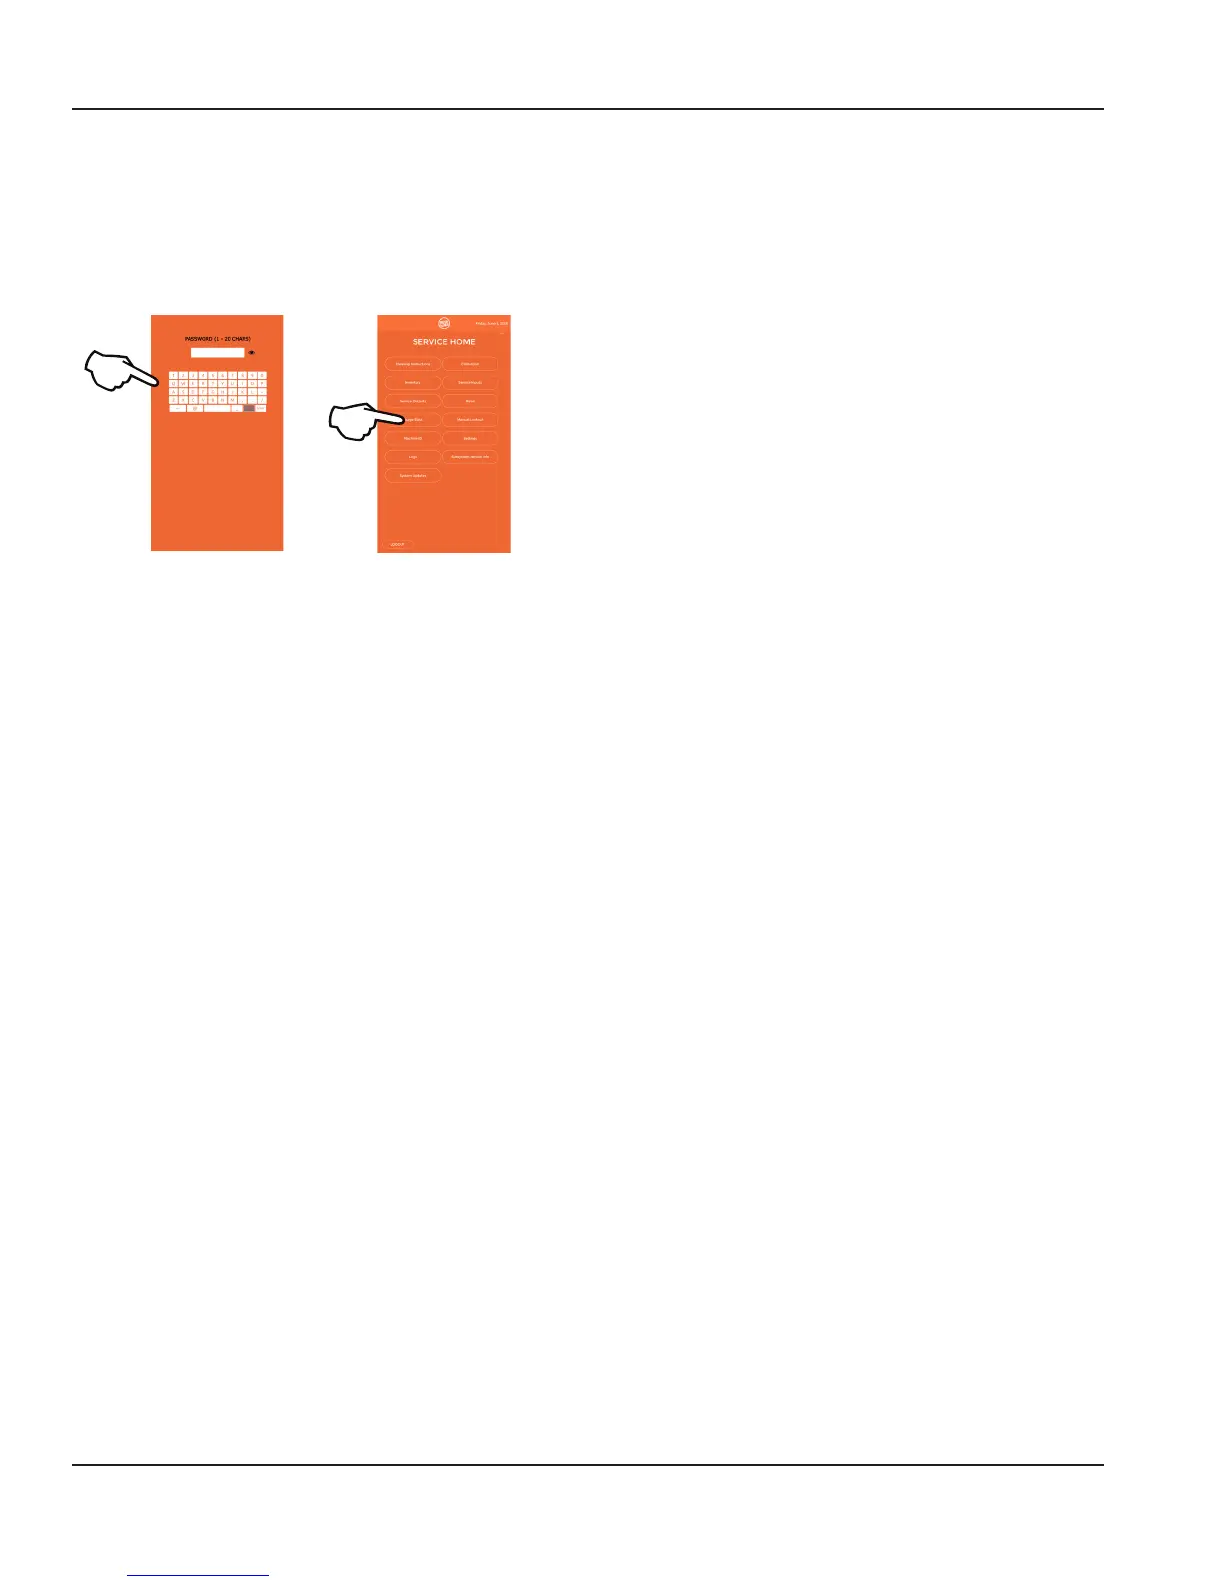
1. Enter the Employee, Managers, or Service menu. See
“Employee, Managers, & Service Menu Screens” on
page 27
2. Select the INVENTORY button.
3. Choose the corresponding slot on the screen where
the bag was just loaded. If the slot was empty the circle
icon representing the slot will read LOAD BAG. If there is
already product in the slot it will display the flavor name.
• If loading a new bag in an empty slot the screen
will display EMPTY. Press the LOAD BAG button.
• If reloading an existing flavor the screen
will display the flavor and options for BAG
REMOVAL, BAG RELOAD, or PRIME. Choose to
RELOAD if loading the same flavor, or REMOVAL
if loading a different flavor.
NOTE: When loading a new bag you will need to assign a
flavor following the instructions on the screen and scrolling
to the flavor being loaded.
NOTE: When performing a BAG REMOVAL the screen will
instruct you on removal and you will then be taken back to
the setup screen to load a new bag.
4. After assigning a flavor or pressing BAG RELOAD the
screen will instruct on how to load the bag in the lower
refrigeration cabinet.
5. Remove product bin from the cabinet, discard existing
product bag if there is one.
6. Wipe down and clean the product bin before installing
the new product bag into the bin.
NOTE: When installing the new product bag make sure the
product pump is facing he correct way with the product
elbow pointing towards the back of the bin and properly
snaps into the bin.
7. Slide the loaded product bin into it’s slot in the lower
refrigeration cabinet and latch into place.
NOTE: Do not force the latch over the pump, if the latch
does not snap into place adjust the pump until it properly
seats on the sanitation fitting and latches easily.
8. Close the refrigeration door and place a cup into the
dispense area.
9. Press the prime button to prime the bag.
 Loading...