Page 13/40
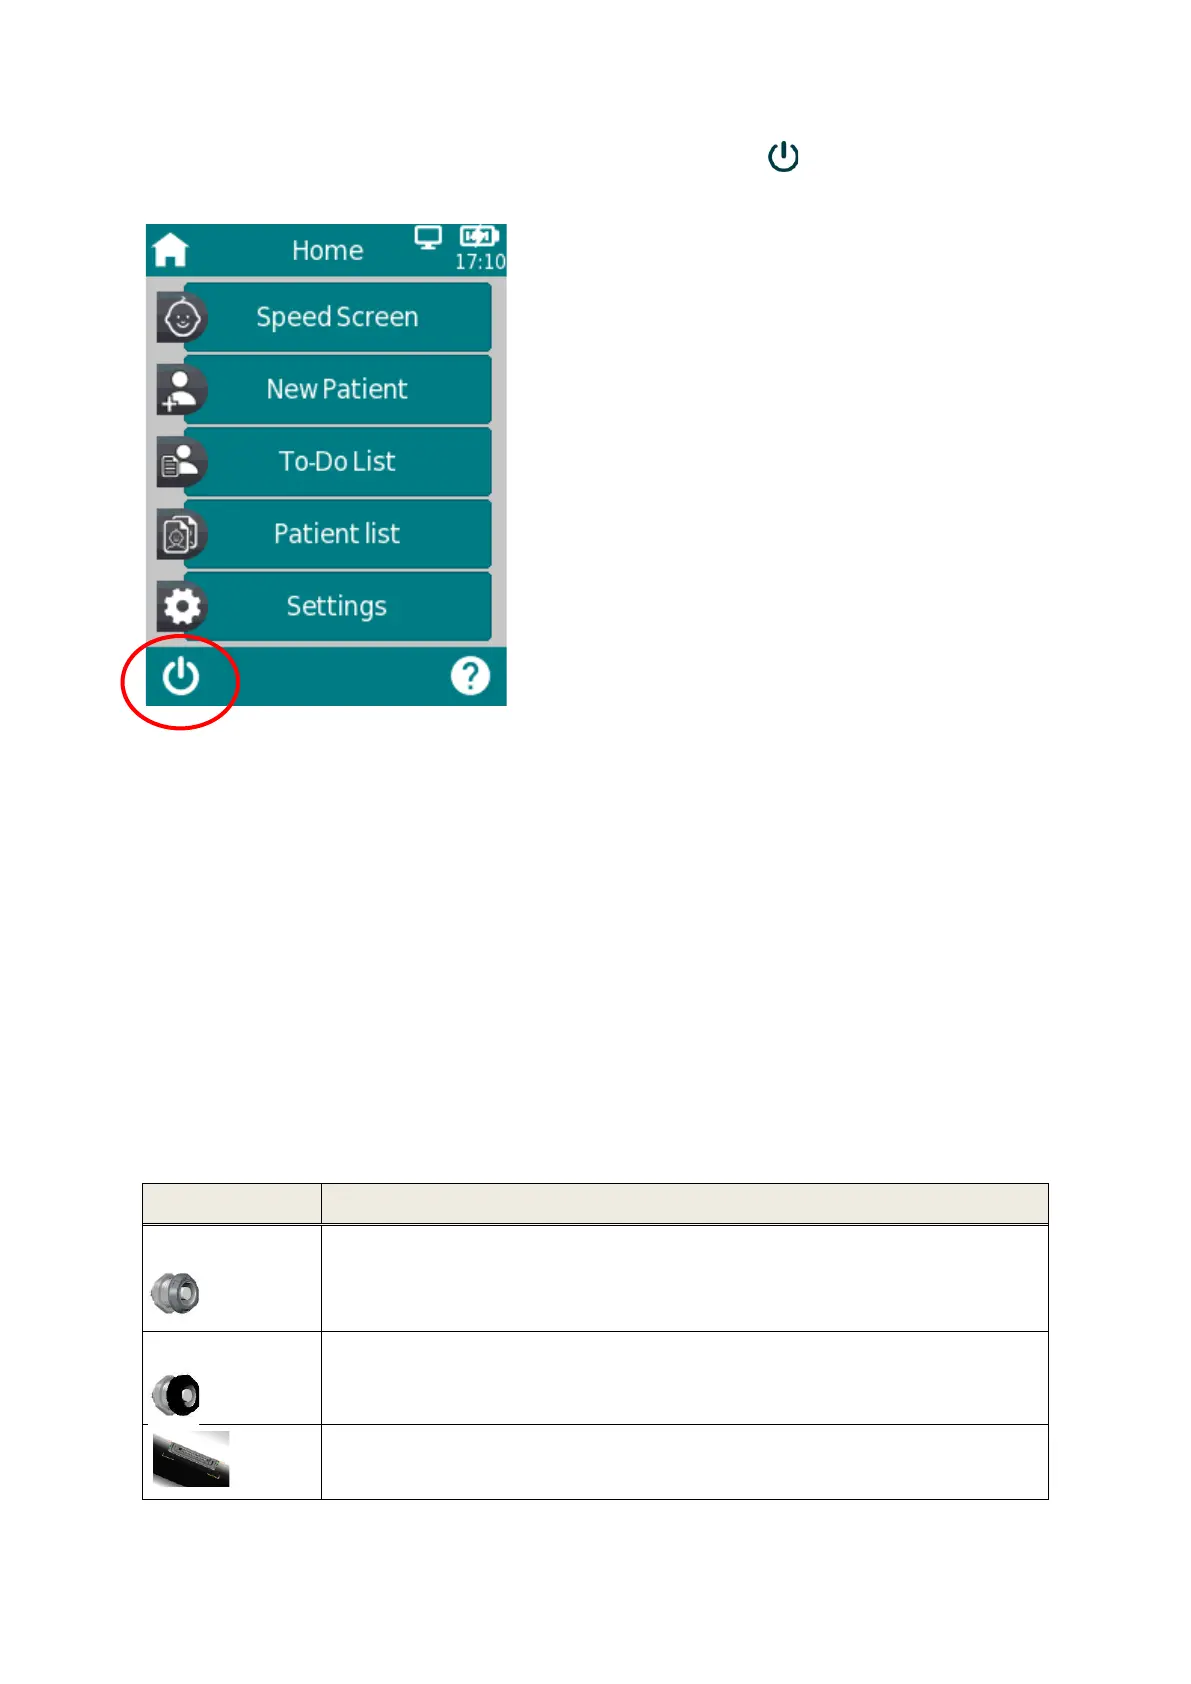
Alternatively, the device can be switched off via the off-switch icon in the footer of the device
display.
3.4.2 Device Reset
If the touch screen is unresponsive (i.e., no reaction when pressing an icon), reset the device by
pressing the on/off switch for several seconds. The reset does not change any device or test module
settings or affect any other saved data on the device.
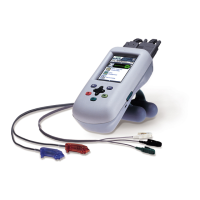
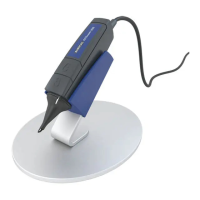
3.4.3 Device Cable Connectors
Multiple cables can be connected to the device. This includes The Acoustic Transducer Assembly (ATA),
Patient Cable, and the Multi-Data Cable (for connecting the label printer, USB communication cable,
and power cable for charging purpose). For further information, see section 6: Accessories.
The sockets can be used as described in Table 1.
 Loading...