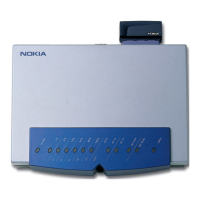
Installing the Nokia A032
11
Performing the installation
This chapter shows you how to set up your
Nokia A032 on an isolated LAN segment and
test it with a wireless station.
In brief, the steps you’ll need to take to install
your Nokia A032 are as follows (these are
explained in detail in the following sections):
1 Make sure your Nokia A032 is positioned
for good wireless coverage.
2 Insert the Nokia C111 Wireless LAN Card
into the Nokia A032.
3 Attach the Nokia A032 to a wired 10baseT
LAN.
4 Switch on the Nokia A032.
The following chapter explains how to
configure and test the Nokia A032.
Installing the Nokia A032
Consider the following when positioning your
Nokia A032:
• Radio waves will pass through walls and
glass but not metal. Metal reinforcing in
some walls may block the signal.
• You will get the most range in open spaces
but large metal walls, such as in a
warehouse may cause unwanted reflections
and reduce the data rate.
• Steel girders and metal fire block materials
in floors may stop radio waves travelling
from floor to floor.
• Install as high as possible, and away from
metal objects (such as filing cabinets).
Note: You’ll need a
working wireless
station and LAN
connection to test that
your Access Point is
working properly.
The Nokia C111
Wireless LAN Card is
referred to as the
wireless LAN card.
 Loading...