Scanning > 65
S
CAN
TO
NETWORK
PC
Before sending your document to a file server, profiles should be set up first to speed up
the process. A profile contains a list of filing parameters such as your filing protocol,
directory, file name and other scanning parameters.
1. Place your document(s) with text face UP in the ADF or face DOWN on the glass.
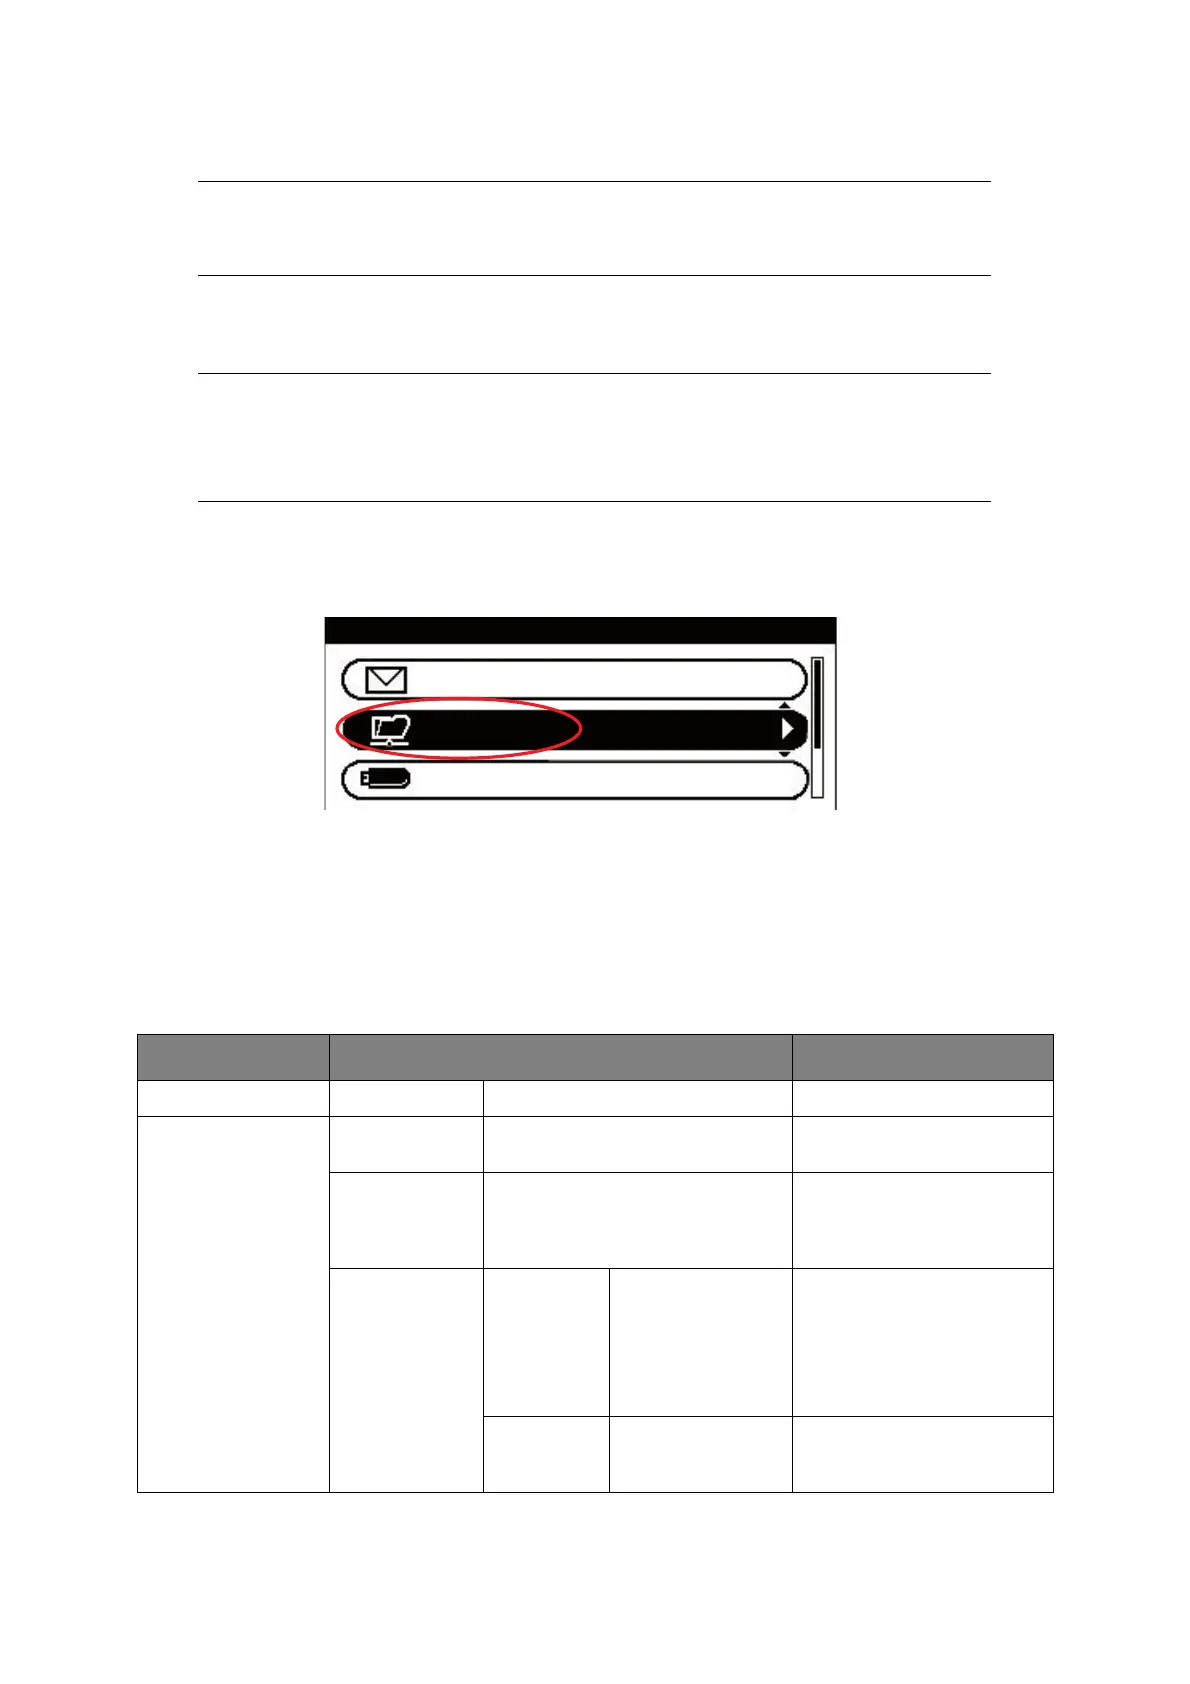
2. Press the Scan button on the control panel to prompt the Scan Menu screen.
3. Using the Down arrow key, scroll to Network PC and press OK.
4. Using the Down arrow key, scroll to Select Profile and press OK.
The list of registered profiles displays.
5. Using the Down arrow key, scroll to the required profile and press OK.
6. Using the Down arrow key, scroll to Scan Setting and press OK.
Using the options available, you can enter network information and alter the scan out
put to suit your needs.
NOTE
The MFP must be connected to a Network server to enable Scan to Network
PC to be set up. Refer to the Configuration Guide for details.
NOTE
Profiles can be created and managed using the machine’s web page or the MFP
Setup Tool.
You can create up to 50 profiles. Refer to “Managing profiles” on page 82.
FEATURE OPTION DESCRIPTION
Select Profile
Scan Setting Scan Size A4, A5, A6, B5, Letter, Legal 13,
Legal 13.5, Legal 14, Executive
Allows you to select the scan
size.
Duplex Scan OFF, Long Edge Bind, Short Edge
Bind
Select the bound originals
binding position.
Note: A6 duplex scan is not
supported.
Image Settings Density -3, -2, -1, 0, +1,
+2, +3
Adjust density
Darker: Keep color intensity
and darker image.
Lighter: Reduce color
intensity and gives lighter
image.
Document
Type
Text, Text&Photo,
Photo, Photo
(Glossy)
Allows you to specify the
type of images on the
document.
USB Memory
Network PC
E-mail
Scan Menu

 Loading...