38
First Time Setup
—Continued
Notes:
• Each HDMI IN can be assigned to only one
input selector. Before you assign an HDMI
IN to an input selector, you must change the
default HDMI1 or HDMI2 assignment to “-
- - - -” first.
• When an HDMI IN is assigned to an input
selector as explained here, the audio input
for that input selector is automatically set to
the same HDMI IN. See “Audio Input
Setup” on page 36.
If you connect an -capable Onkyo Mini-
Disc recorder, CD recorder, or RI Dock to the
HTX-22HD’s LINE 1 or LINE 2 input, for
to work properly, you must change this
setting.
4
Use the Up and Down [ ]/[ ]
buttons to select an input
selector, and use the Left and
Right [ ]/[ ] buttons to
select:
HDMI1:
Select if the component
is connected to HDMI IN 1.
HDMI2:
Select if the component
is connected to HDMI IN 2.
- - - - -:
Select if you’re not using
the HDMI OUT.
5
Press the [SETUP] button.
Setup closes.
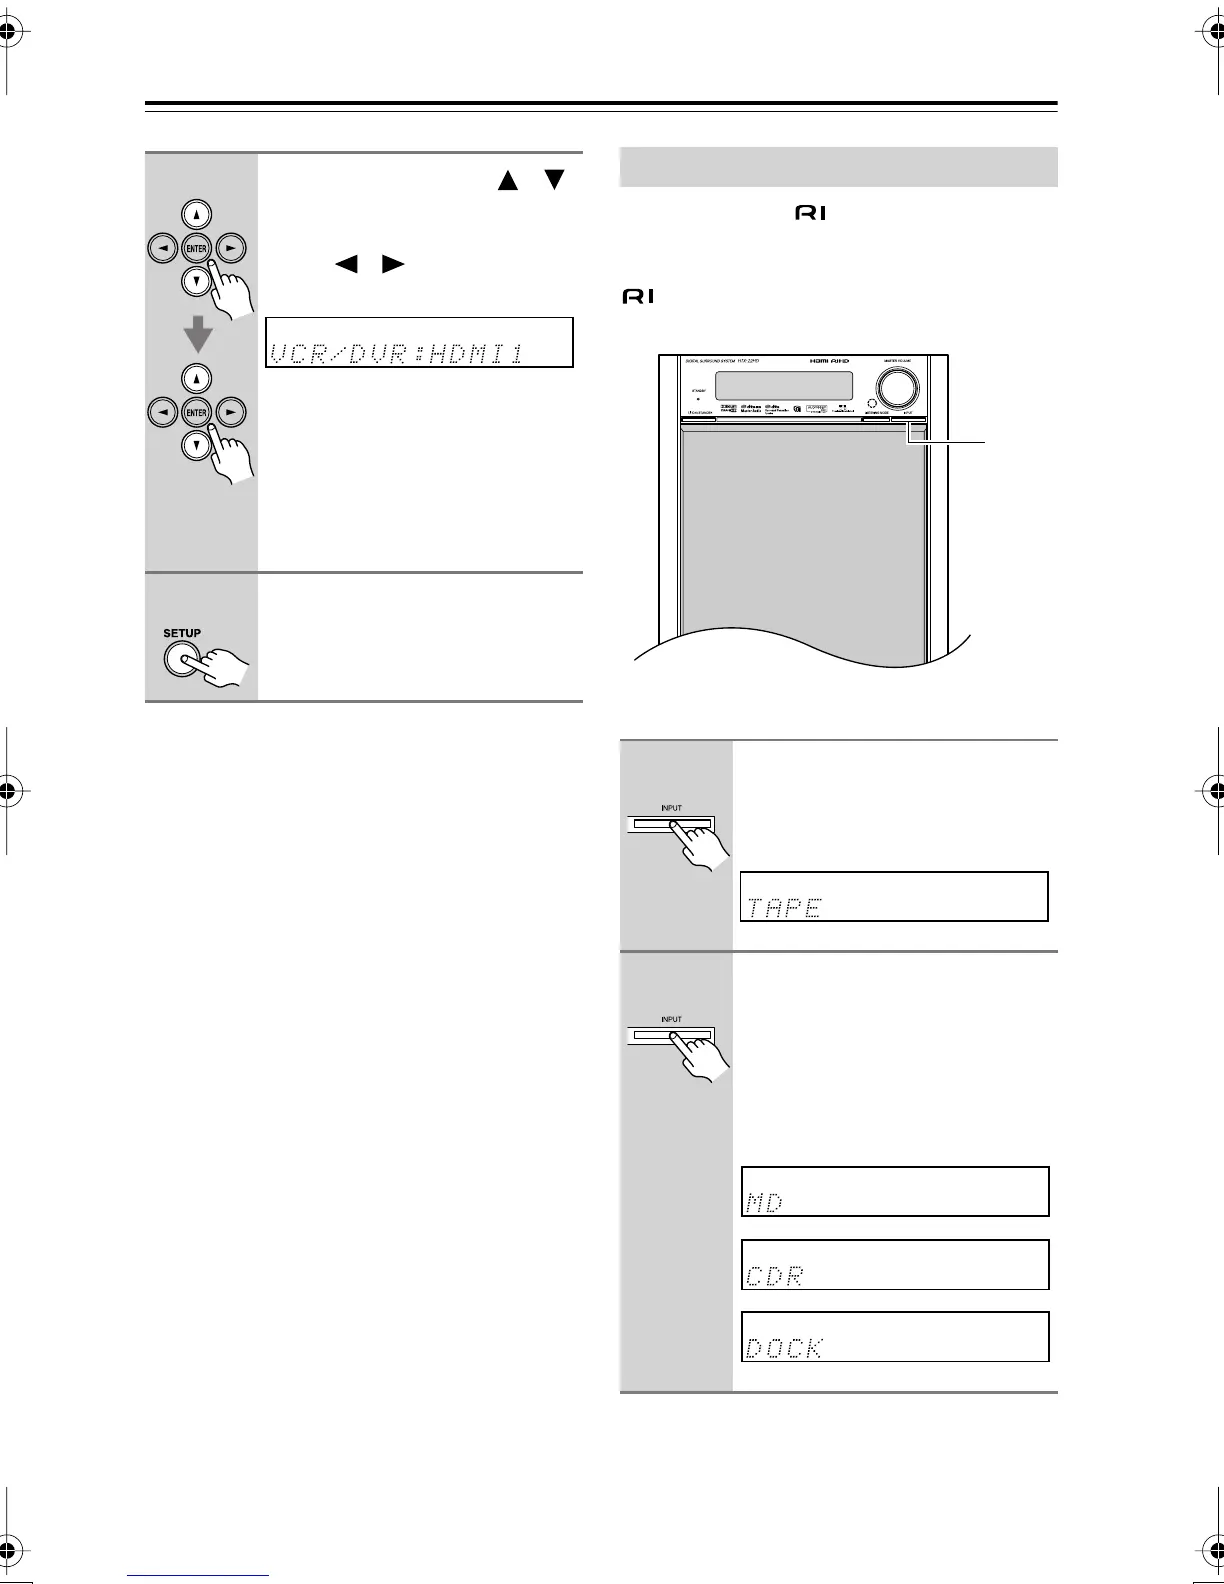
Changing the Input Display
1
Use HTX-22HD’s [INPUT] but-
ton to select the TAPE input
selector so that “TAPE”
appears on the display.
2
Press and hold down the
[INPUT] button (about 3 sec-
onds) to change the setting.
Repeat this step to select MD,
CDR, or DOCK.
From TAPE, the setting changes
in the following order:
INPUT
HTX-22HDEn.book Page 38 Monday, April 7, 2008 2:03 PM
 Loading...