EN-4
2-3
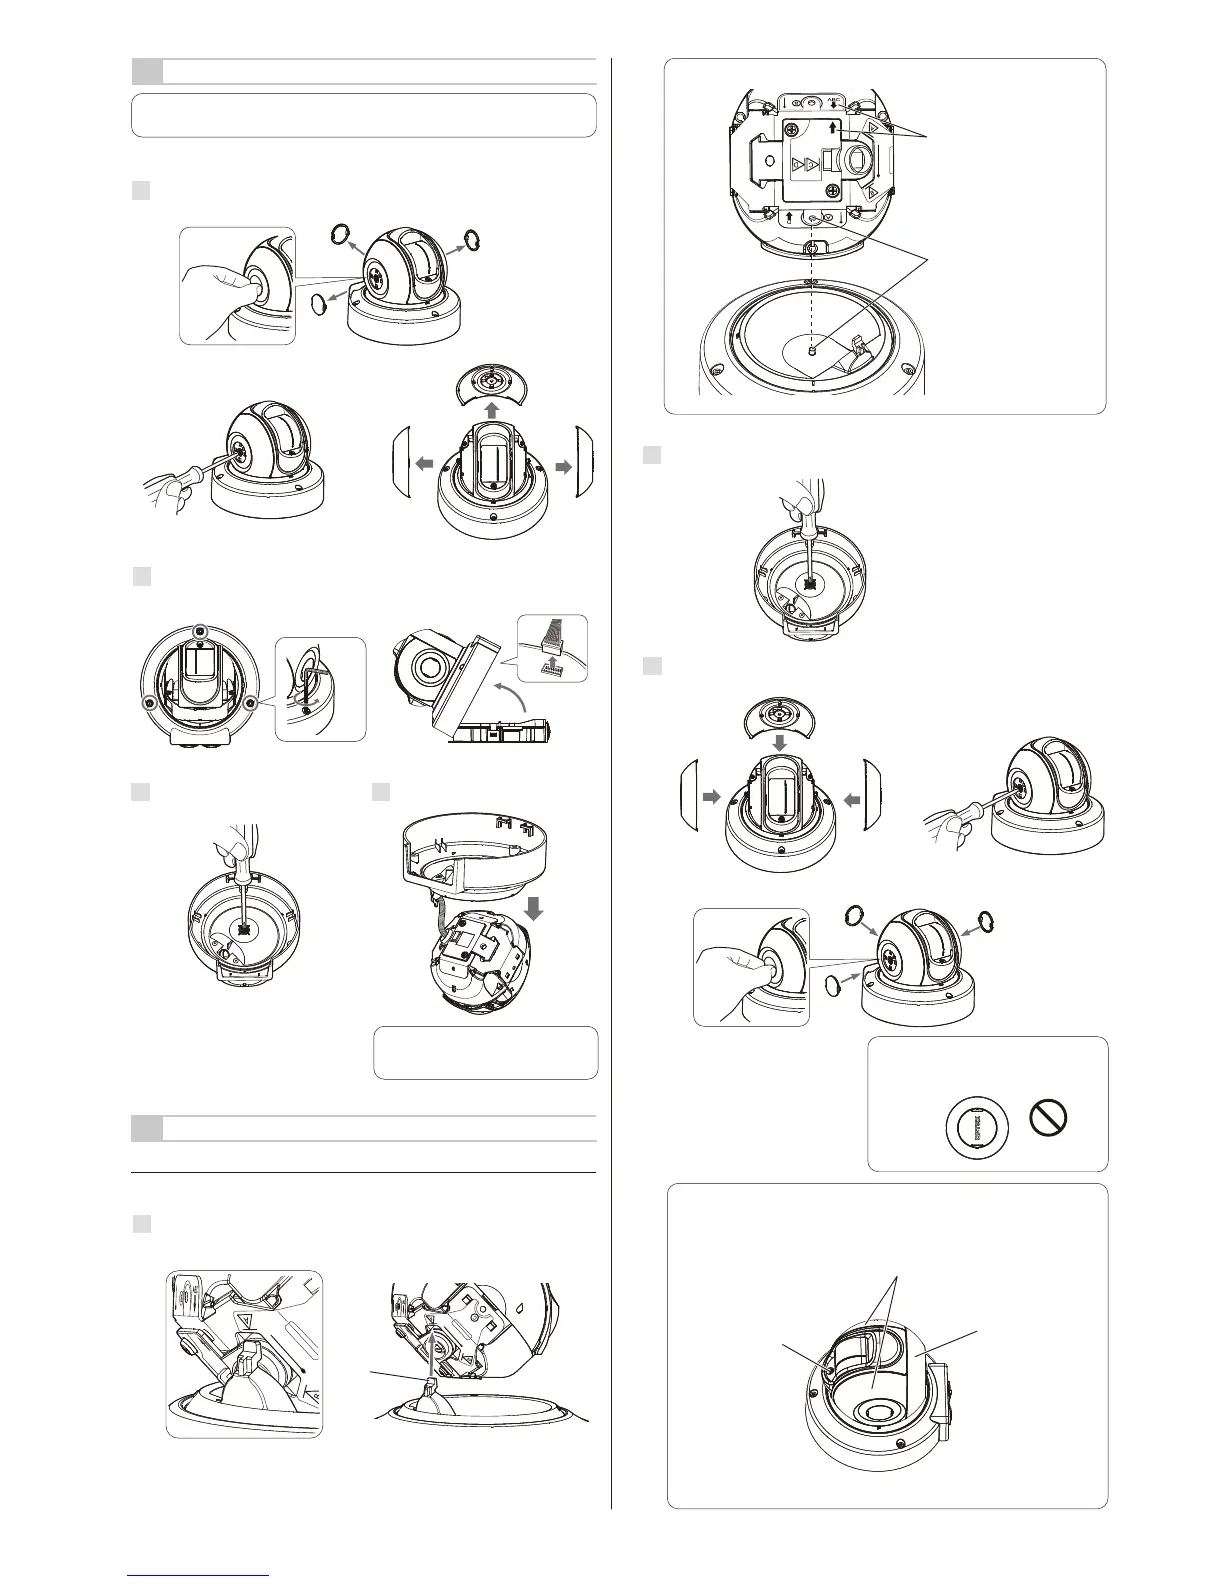
ASSEMBLY OPTIONS
Follow the procedure below to return to type A from other mounting types.
-Type A (Default)
1
Rotate the main unit and insert the hook of the base cover into the position
where the letter "A" is written on the wiring cover.
Hook
2-2
DISASSEMBLY
Disassemble the following parts in preparation.
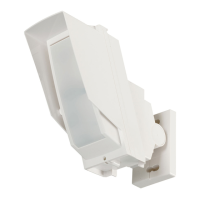
1
Remove the side cover caps, side cover (L) and side covers (S).
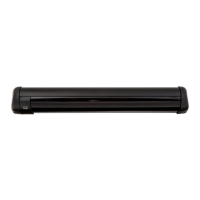
2
Loosen 3 screws and remove the base.
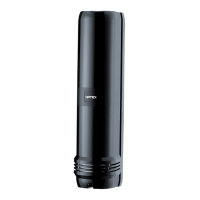
3
Turn over the unit and remove the
screw at the center.
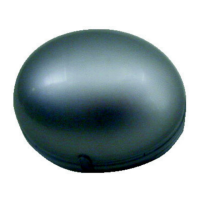
4
Remove the base cover.
Caution >>
Do not apply loads to the wiring.
Note >>
1.
2. 3.
Disassembling is not required to use type A. (factory default)
2
Turn over the unit and adjust the position of the screw hole, and tighten the
screw at the center.
3
Mount the side cover L, side cover S and side cover cap.
2.
1.
3.
Note >>
Mount the cover caps and the logo must
be displayed horizontally.
Note >>
1.
2.
Side cover L
Note >>
Before assembling, confirm
the arrow mark on the wiring
cover and the same with
ABC on the main unit face
each other.
Then, place the main unit
on the base unit, so as to
match the screw hole of
the main unit and the one
at the center of the base
cover as indicated.
The positions of the fixing screw and side cover are shown
below.
Fixing screw
Side cover S
 Loading...