Remove the Power Supply Shims (SPARC M8)
■ If you removed a SPARC M8 power supply from a SPARC M8-8 server,
continue to: “Remove the Power Supply Shims (SPARC M8)” on page 170.
■ If you removed a SPARC M7 power supply from a SPARC M7 server,
continue to: “Install a Power Supply” on page 175.
Related Information
■
“Power Supply LEDs” on page 166
■
“Install a Power Supply” on page 175
Remove the Power Supply Shims (SPARC M8)
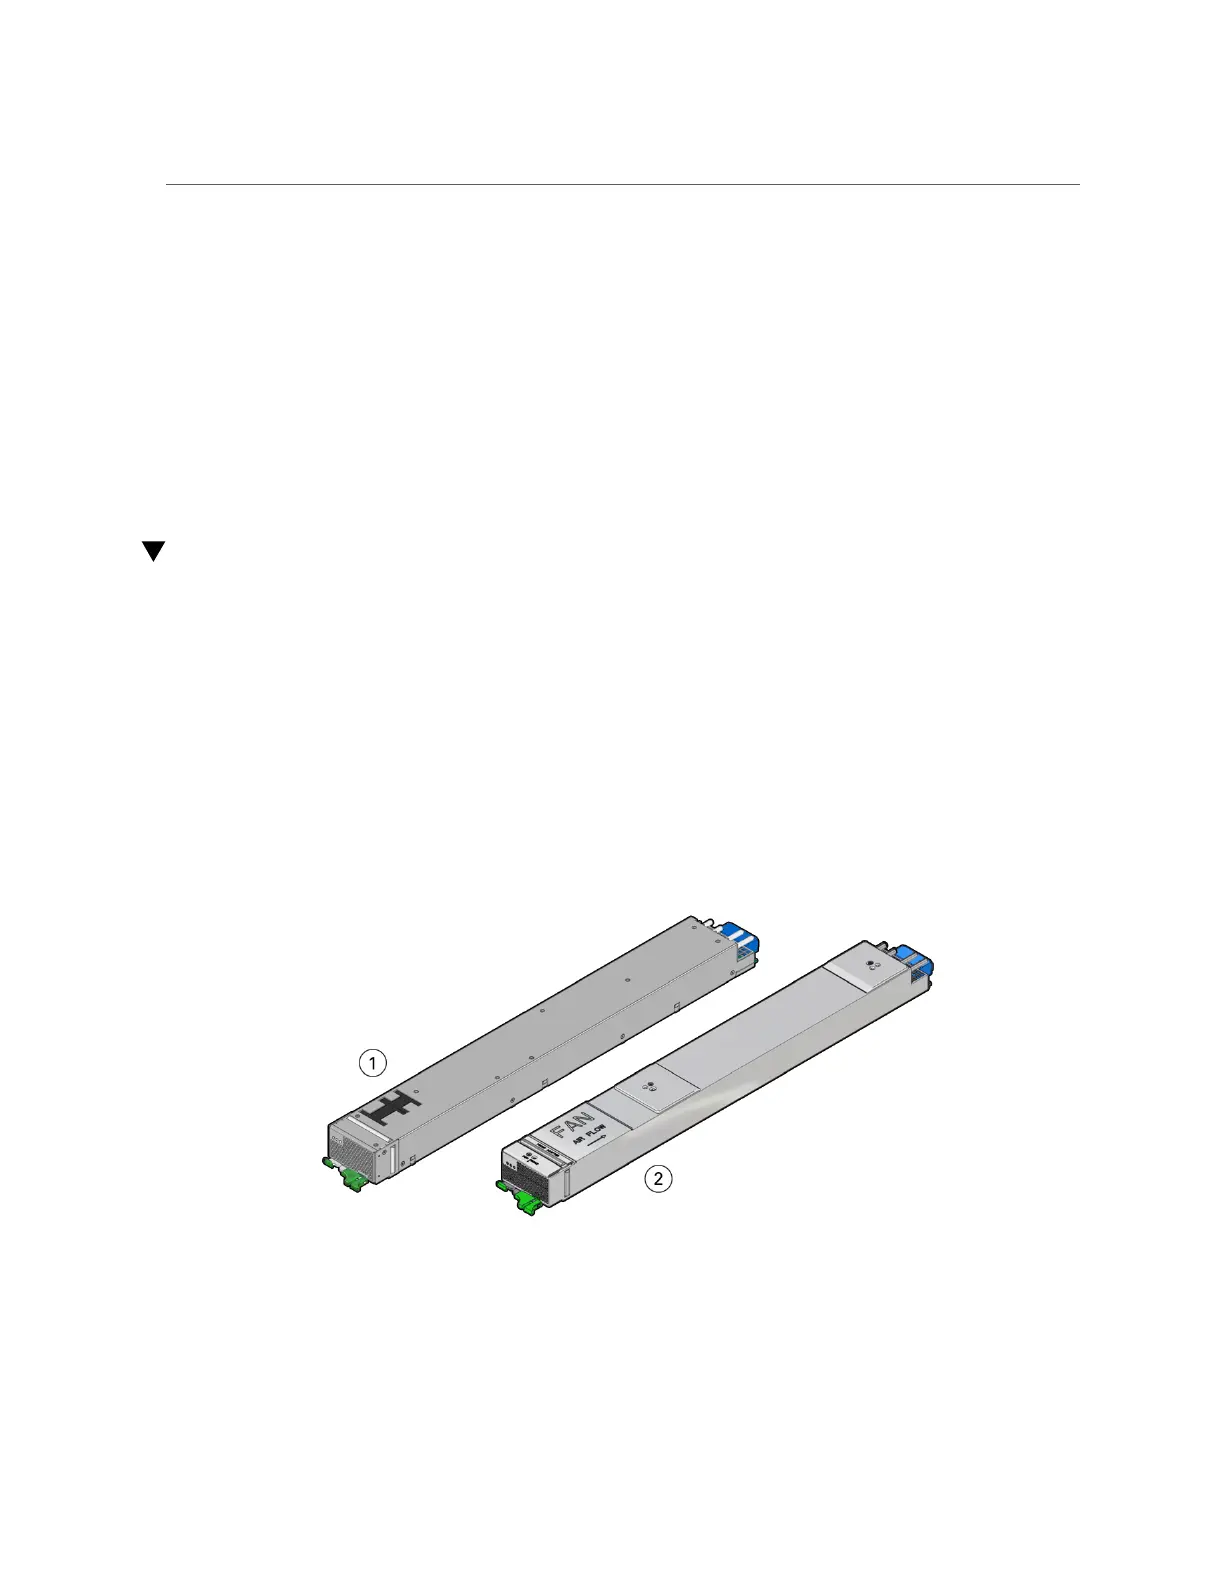
A SPARC M8 server power supply contains three shims along its side to enable it to fit
correctly an power supply chassis bay. When replacing a SPARC M8 server power supply,
you must remove these three shims from the faulty power supply and install them on the
replacement power supply. Otherwise, the SPARC M8 power supply will not seat correctly in
the chassis bay.
1.
Place the faulty SPARC M8 power supply on a grounded antistatic mat.
A SPARC M8 power supply with have three shims installed on one of its sides. Ensure that the
three shims face upward on the mat.
170 SPARC M8 and SPARC M7 Servers Service Manual • September 2017
 Loading...