49
5.1.1.2. Setup methods of wireless network setup tools
1. Take the wireless network setup tool in computer.
1) Windows system: Click the “Start menu” – “All programs” - “Pantum”- Product name –
“Wireless network setup tool”.
2) macOS system: click "Go" - "Applications" - "Pantum" - "Utilities" - "Wireless Network
Configuration Tool" on the computer Finder menu bar.
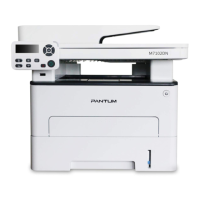
2. Use USB cable to connect and configure. Select "Yes, I have an USB cable that can be used for
installation" in the following interface. Click "Next".
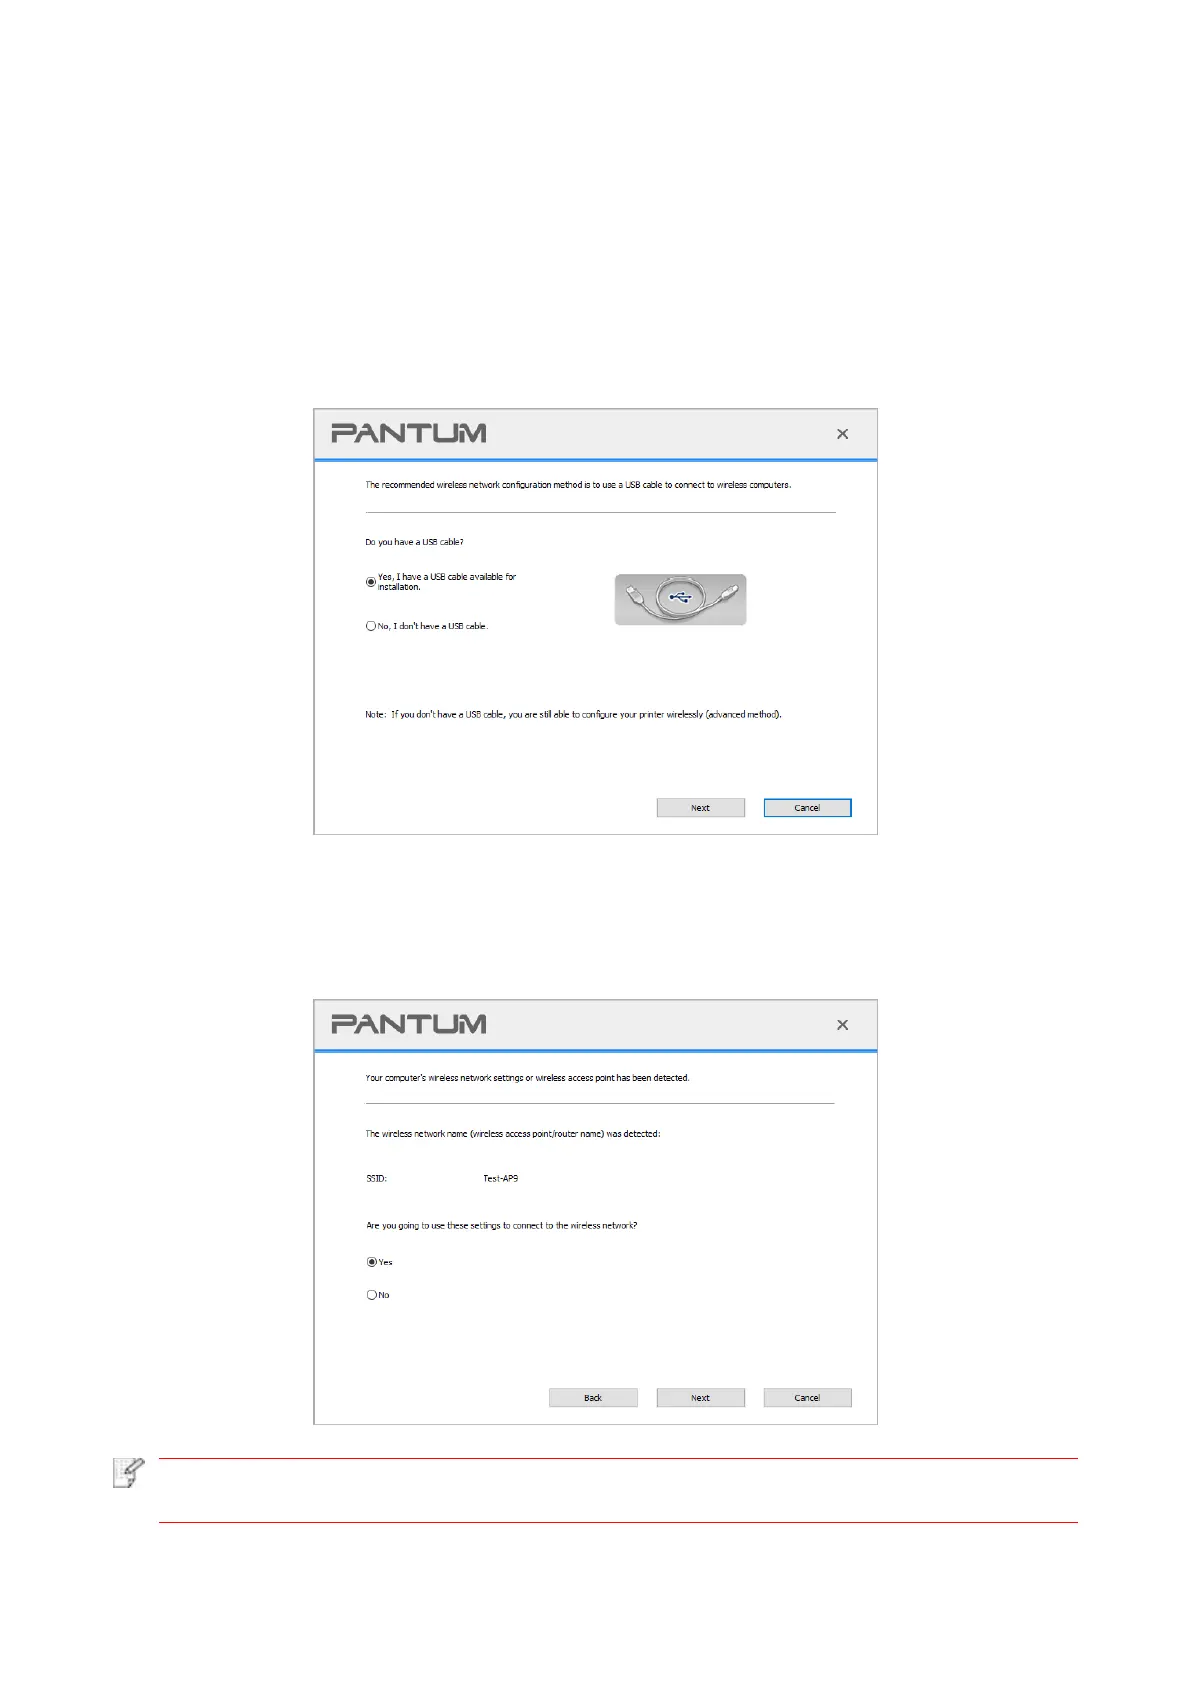
2.1 The computer has been connected to wireless network.
1) The currently wireless network currently connected to computer is selected as wireless network
configuration tool by default. Complete configuration according to interface prompt.
• The SSID you selected should be consistent with the SSID of access point (wireless
router) connected to your computer.
 Loading...