22
DRB1536-A
En
22
! For information about setting the master for synchronization, see
Setting the master for synchronization on page 22.
! In the cases below, the [SYNC] function may not operate properly.
— When the loop length is under 1 beat
— When the [BPM] of the track on the deck for which the
[MASTER] button is pressed exceeds the adjustable tempo
range of the track on the deck for which the [SYNC] button is
pressed
— When the track has not been analyzed.
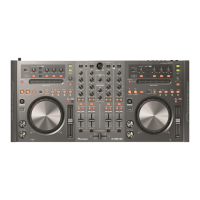
Setting the master for synchronization
Click [ ].
The master for synchronization can be selected and set from among the
four types below.
— Deck master (manual): The deck for which the [MASTER] button
is pressed is set as the master.
— Deck master (auto): Of the tracks being played, the deck with the
track that has been playing longest is set as the master.
It is also possible to set the deck for which the [MASTER] button
is pressed as the master.
— Clock master (internal): The BPM value input by the user or the
BPM value set by tapping is set as the master.
— Clock master (external): The MIDI clock of the external device is
set as the master.
By default, the master for synchronization is set to deck master (auto).
When set to clock master (internal or external), the [MASTER] button is
disabled.
Inputting the sound of a
microphone or external device
The sound of an external device connected to the [AUX IN] or [MIC]
terminals can be input to any of the decks and mixed.
By default on TRAKTOR Pioneer DDJ-T1 EDITION, the sound of external
devices connected to the [AUX IN] and [MIC] terminals is input to deck [D].
To achieve a suitable volume, adjust the [VOL] control on this unit’s rear
panel according to the device connected to the [AUX IN] terminals.
— Pioneer DJ player: Set near the center position.
— Portable audio player or other device with low volume: Set clockwise
of the center position.
— When operating on USB bus power, the [AUX IN] and [MIC] termi-
nals cannot be used.
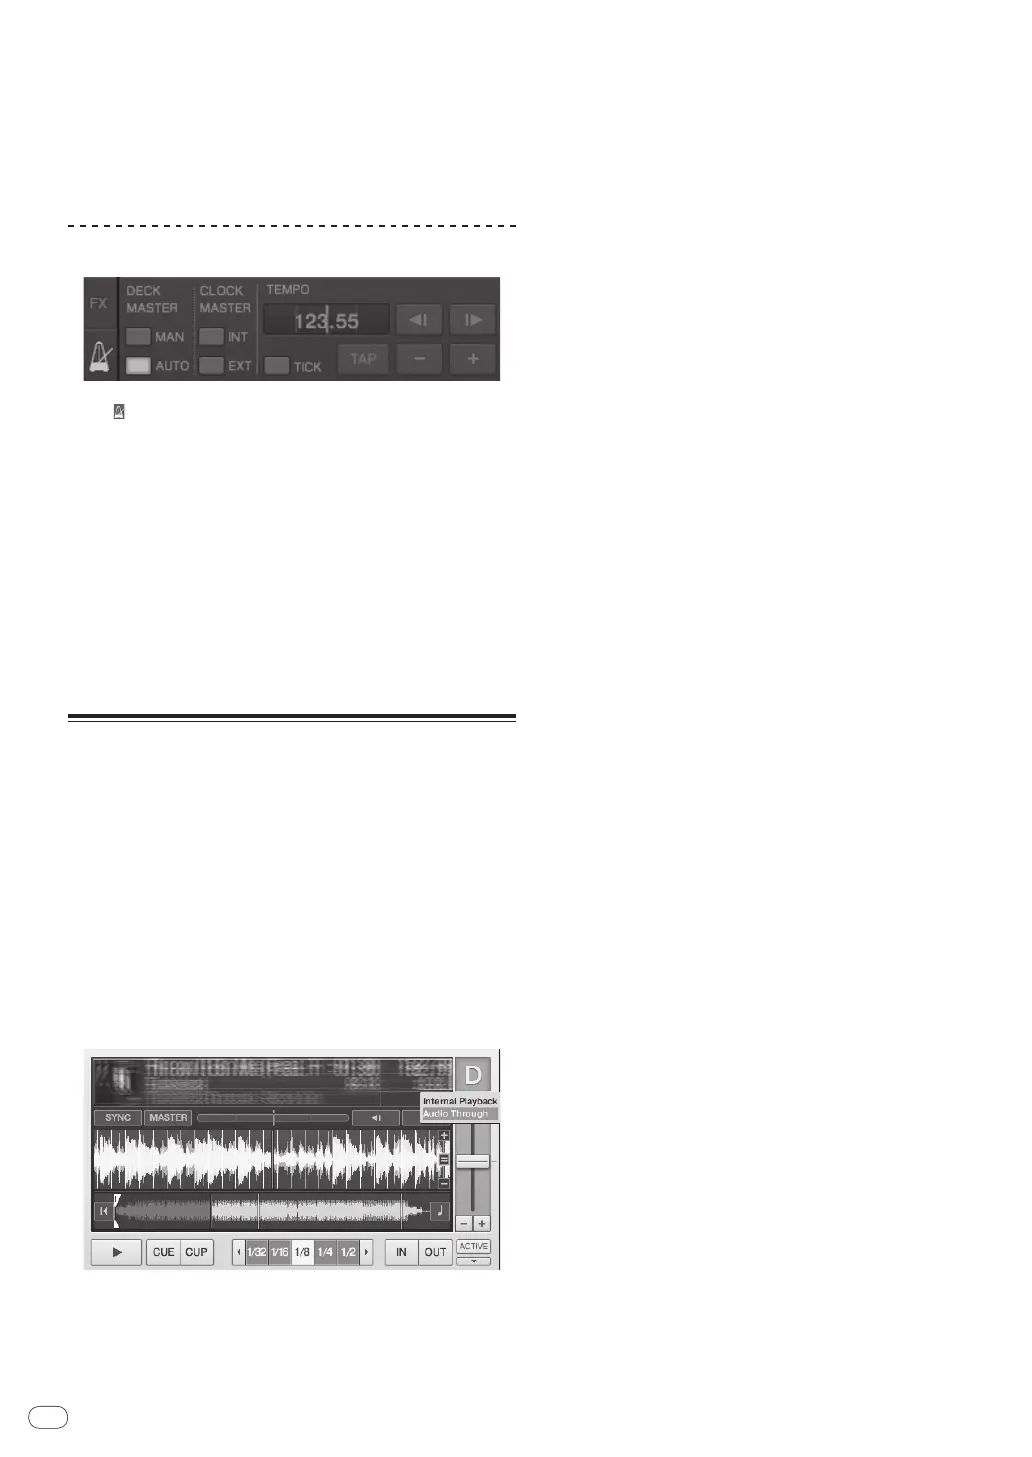
Click [b] on deck [D].
From the menu, select [Audio Through].
! To set the deck to which the external device’s audio signals are
input to a different deck, change the setting at [Input Routing] in
[Preferences].
! When the external device’s audio input deck is set to one of decks
[A] – [D], the effect functions, filter functions and EQ controls can be
used.
! To set the deck back as it was, click [b] and select
[Internal Playback].
 Loading...