En
75
11
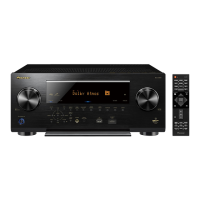
Controlling the rest of your system (In case of SC-LX75)
Selecting preset codes directly
1 Press and hold RCU SETUP, then press
‘1’ for three seconds.
Release the button after the LED flashes once.
The LED continues to flash.
! To cancel the preset setup mode press
RCU SETUP.
2 Press the input function button for the
component you want to control.
When assigning preset codes to TV CONTROL,
press TV CTRL here.
The LED blinks once and flashes continuously.
3 Use the number buttons to enter the
4-digit preset code.
See Preset code list on page 116.
If the LED lights for one second and continues
to flash, the setting has been successfully
completed.
When the preset code is fully input, the LED
flashes three times to indicate that the setting
has failed. If this happens, enter the 4-digit
preset code again.
4 Repeat steps 2 through 3 for the other
components you want to control.
To try out the remote control, switch the com-
ponent on or off (into standby) by pressing u
SOURCE. If it doesn’t seem to work, select the
next code from the list (if there is one).
5 Press RCU SETUP to exit the preset
setup mode.
Programming signals from
other remote controls
If the preset code for your component is not
available, or the available preset codes do not
operate correctly, you can program signals from
the remote control of another component. This
can also be used to program additional opera-
tions (buttons not covered in the presets) after
assigning a preset code.
The remote can store about 120 preset codes
from other components (this has been tested
with codes of Pioneer format only).
Certain buttons represent operations that can-
not be learned from other remote controls. The
buttons available are shown below:
CH
TV CONTROL
INPUT
INPUT
SELECT
iPod
USBOPTION
TUNER
VIDEO
ADPT
SAT
CD HMGTV
RCU SETUP
SOURCERECEIVER
MULTI
OPERATION
BDR
BD DVDDVR HDMI
RECEIVER
TV CTRL
MUTE
MASTER
VOLUME
VOL
D.ACCESS
CH
LEVELA.ATT DIMMER
SIGNAL SEL
MCACC SLEEP
TV
/
DTV MPX PQLS
PHASE
CTRL STATUSTHX
PGM
STEREO
iPod CTRL
HOME
MENU
TUNE
TUNE
TOOLS
LIST
PRESET
TOP MENU
BAND GUIDE
T.EDIT
VIDEO
PARAMETER
AUDIO
PARAMETER
ENTER
PRESET
RETURN
PTY
SEARCH
STANDARD
MENU
ADV SURR
AUTO
/
ALC
/
DIRECT
AUDIOHDMI OUT
INFO
CLASS
CH
22
HDDDVD
ENTER
DISP
546
8
0
79
13
/
CLR
2
LIGHT
ZONE 2 ZONE 3
1 Press and hold RCU SETUP, then press
‘2’ for three seconds.
Release the button after the LED flashes once.
The LED continues to flash.
! To cancel the preset setup mode press
RCU SETUP.
2 Press the input function button for the
component you want to control.
The LED blinks once and flashes continuously.
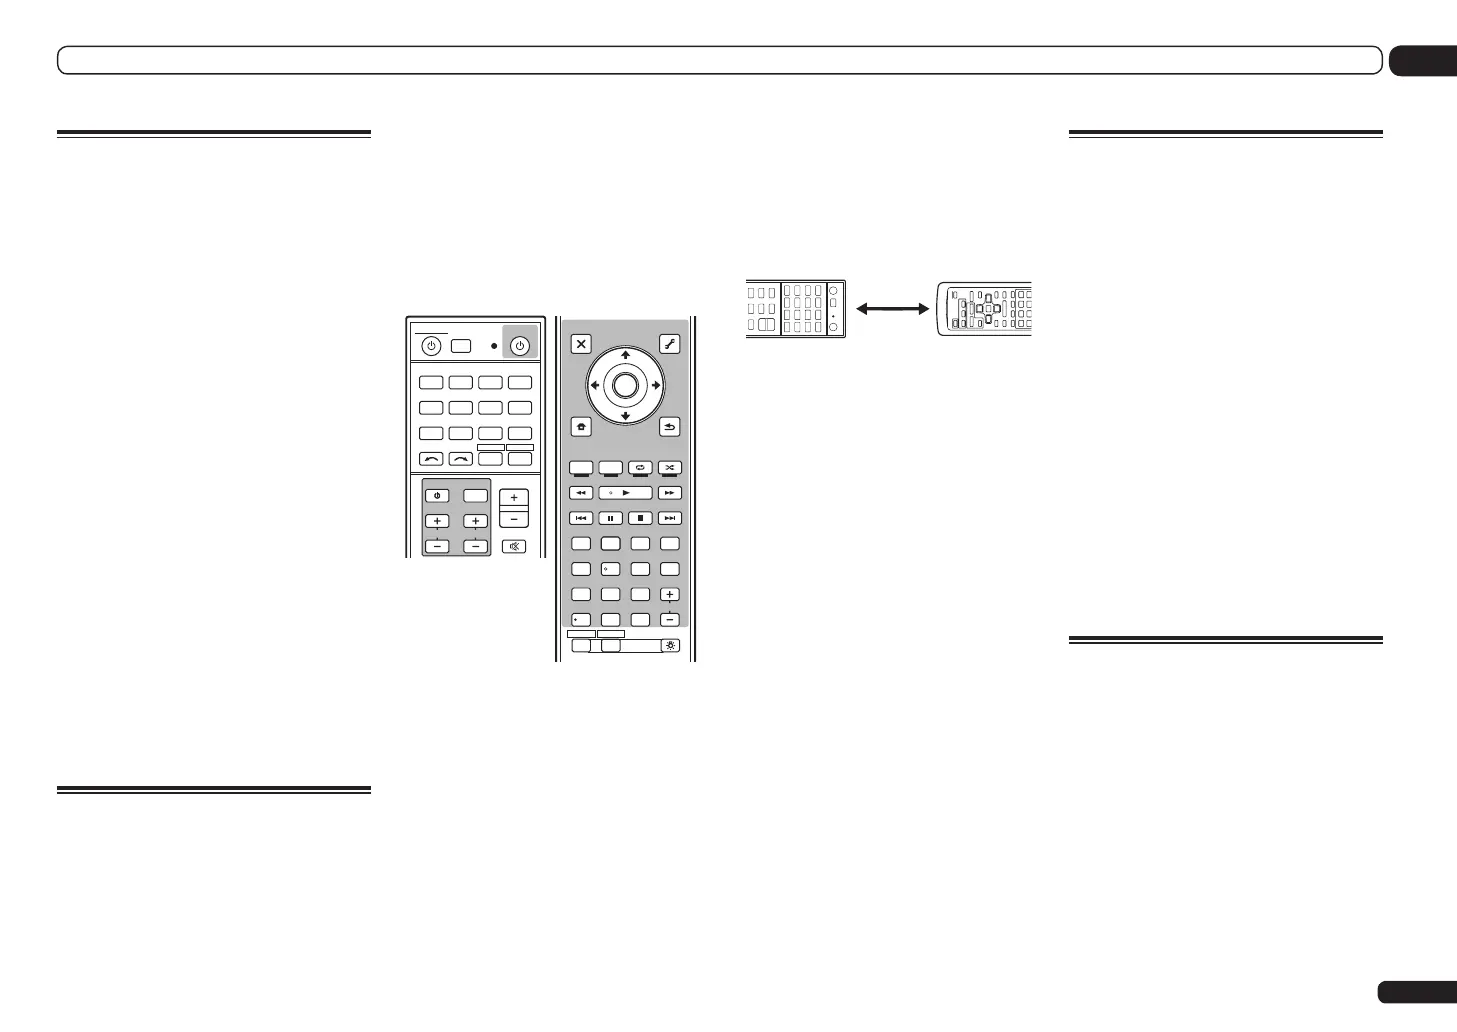
3 Point the two remote controls towards
each other, then press the button that will
be doing the learning on this receiver’s
remote control.
The LED flashes once, then stops flashing,
remaining lit.
! The remote controls should be 3 cm apart.
3 cm
This receiver’s
remote control
Other remote
control
4 Press the corresponding button on
the other remote control that is sending
(teaching) the signal to this receiver’s
remote control.
If the LED lights for one second and continues
to flash, the setting has been successfully
completed.
! If the LED flashes for five seconds, it means
the memory is full. See Erasing all learnt
settings that are in one input function on
page 75 to erase a programmed button
you’re not using to free up more memory
(note that some signals may take more
memory than others).
! Note that interference from TVs or other
devices will sometimes result in the remote
control learning the wrong signal.
! Some commands from other remote controls
cannot be learned, but in most cases the
remotes just need to be moved closer
together or farther apart.
5 To program additional signals for the
current component repeat steps 3 and 4.
To program signals for another component, exit
and repeat steps 2 through 4.
6 Press RCU SETUP to exit the
programming mode.
Erasing one of the remote
control button settings
This erases one of the buttons you have pro-
grammed and restores the button to the factory
default.
1 Press and hold RCU SETUP, then press
‘7’ for three seconds.
Release the button after the LED flashes once.
The LED continues to flash.
! To cancel the preset setup mode press
RCU SETUP.
2 Press the input function button
corresponding to the command to be
erased, then press ENTER.
The LED flashes once.
3 Press and hold the button to be erased
for three seconds.
If the LED lights for one second, the erasing has
been successfully completed.
4 Repeat step 3 to erase other buttons.
5 Press RCU SETUP to exit the erasing
mode.
Erasing all learnt settings that
are in one input function
This operation erases all the operational
settings of other devices that have been pro-
grammed in one input function, and restores
the factory default.
This function is handy for erasing all data pro-
grammed for devices no longer being used.
1 Press and hold RCU SETUP, then press
‘9’ for three seconds.
Release the button after the LED flashes once.
The LED continues to flash.
! To cancel the preset setup mode press
RCU SETUP.
 Loading...