5554
You can manage XMp3 radio settings by selecting menu → Settings. The list of settings will
vary depending on whether you’re using XMp3 radio in a portable mode, docked into a vehicle
cradle, in a home kit, or in a sound system.
Aiming the Antenna
For best reception, your XM antenna should have an unobstructed view of the XM satellites in
the southern sky. In large cities, XM’s network of repeaters helps increase signal coverage.
XMp3 radio can help you aim the antenna for best reception.
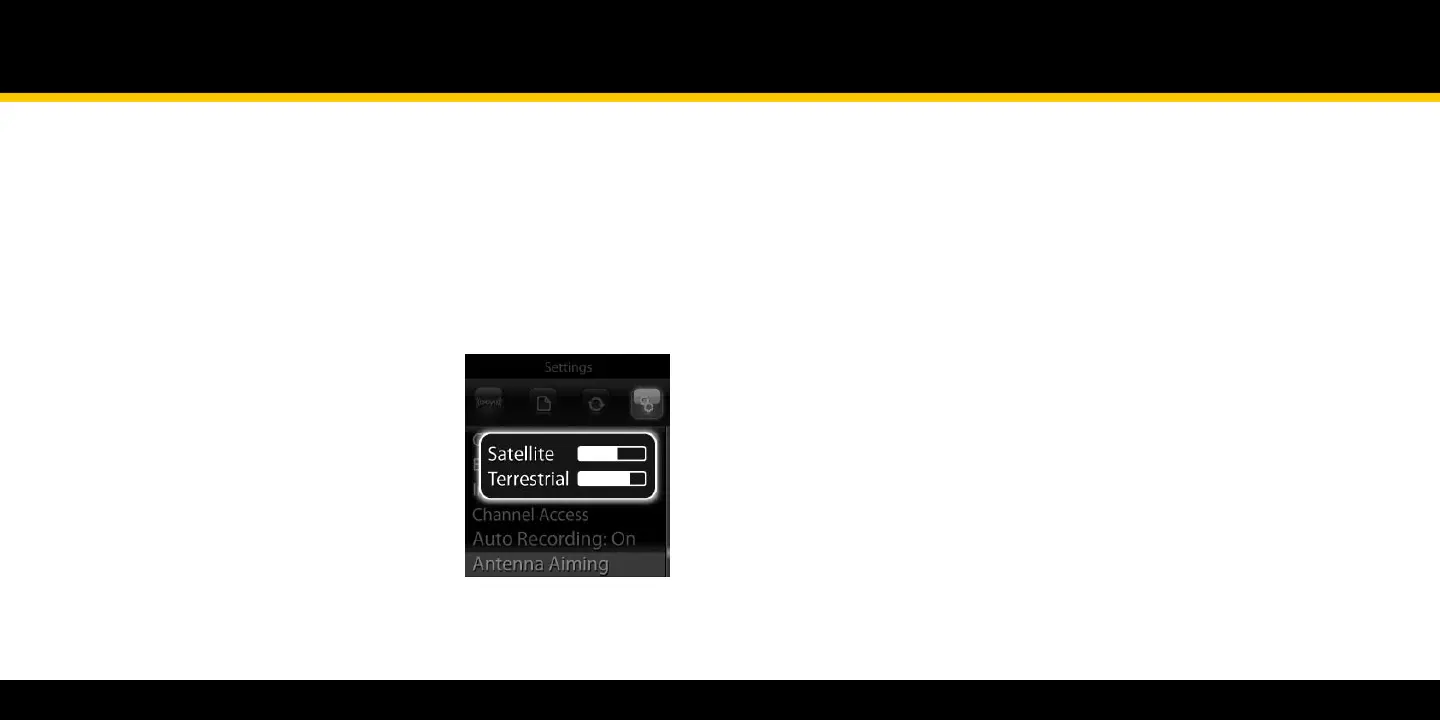
Select 1 menu → Settings → Antenna Aiming.
The “Satellite” and “Terrestrial” bars show 2
the level of your current signal.
Rotate or move the antenna to make at 3
least one of the bars as strong as
possible.
Settings
Audio Tone
Change the tone by selecting menu → Settings → EQ Settings. By pressing the XM button,
you can choose between “Flat,” “Max Boost,” “Pop,” “Rock,” “Classical,” and more.
The EQ setting is not available when listening to XM through your vehicle’s FM radio. To change
the audio quality, use the tone or EQ controls of the FM radio.
Audio Line Out Level
When you connect your XMp3 radio to a home stereo or to your vehicle’s stereo (using a
cassette adapter or the vehicle’s auxiliary input), you should set your XMp3 radio’s audio level to
match the volume of other audio sources.
Select 1 menu → Settings → Line Out Level.
Turn the wheel to increase or decrease the audio level.2
Press the 3 XM button to set that level.
Do not use the Line-Out Level menu item as a volume control; you should use the volume
control on your home or car stereo instead.
 Loading...