BODY 7 - 14
MUDGUARD
DESCRIPTION
The mudguards are color keyed to match the hood.
They are attached to the body side panel to form
the trailing portion of the front fenders.
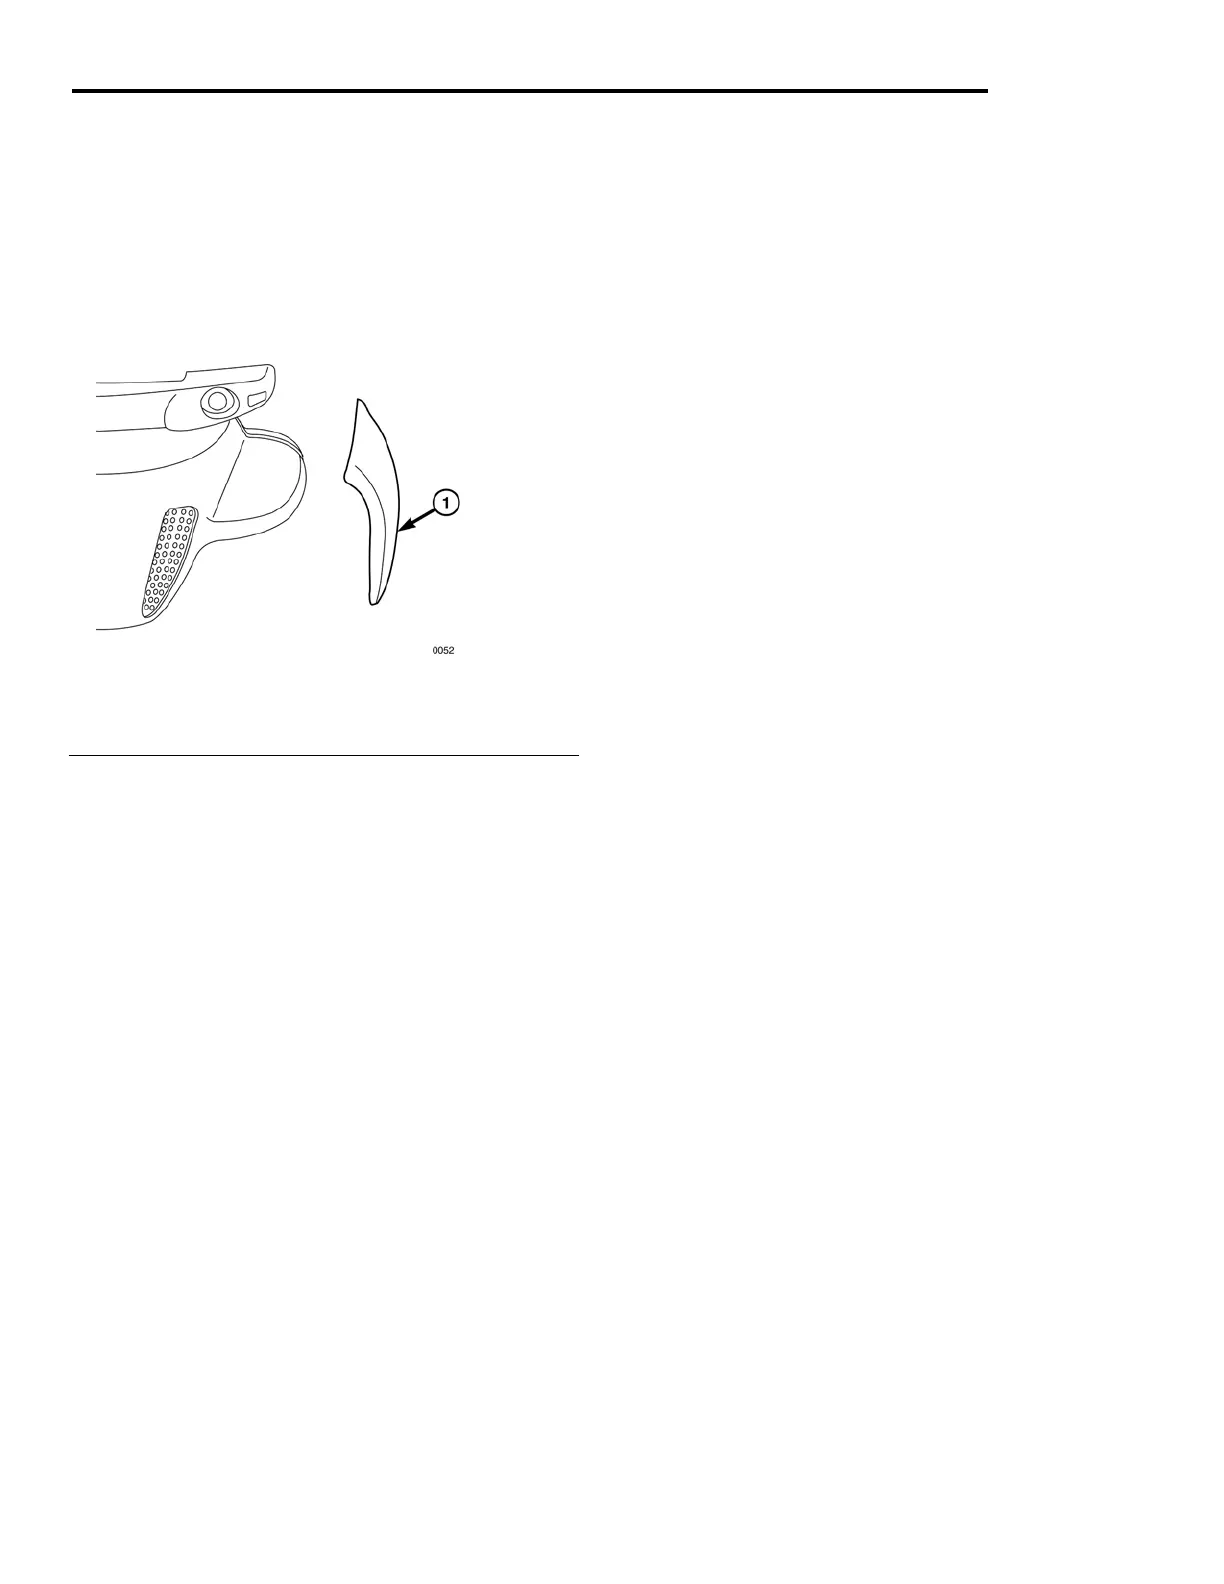
Fig. 8 Mudguard (Typical)
1 - Mud Guard LH
REMOVAL
1. Remove the 4 bolts and speed nuts attaching
the mudguard to body side panel.
2. Remove the mudguard.
INSTALLATION
1. If installing a new mudguard, drill four 1/4"
holes through mudguard, if necessary. (Use old
mudguard to determine hole locations).
2. With hood closed, position mudguard against
body side panel so that the mudguard forms a
clean line and fit with the fender portion of the
hood assembly.
3. Install the mudguard and install the four bolts
and speed nuts.
November 2007 GEM Service Manual
 Loading...