7 - 15 BODY
MUDFLAP
DESCRIPTION
The mudflaps are attached to the mudguards that
are positioned behind the front fenders. They help
deflect road debris and add an attractive, sporty
accent to the lower body of the vehicle.
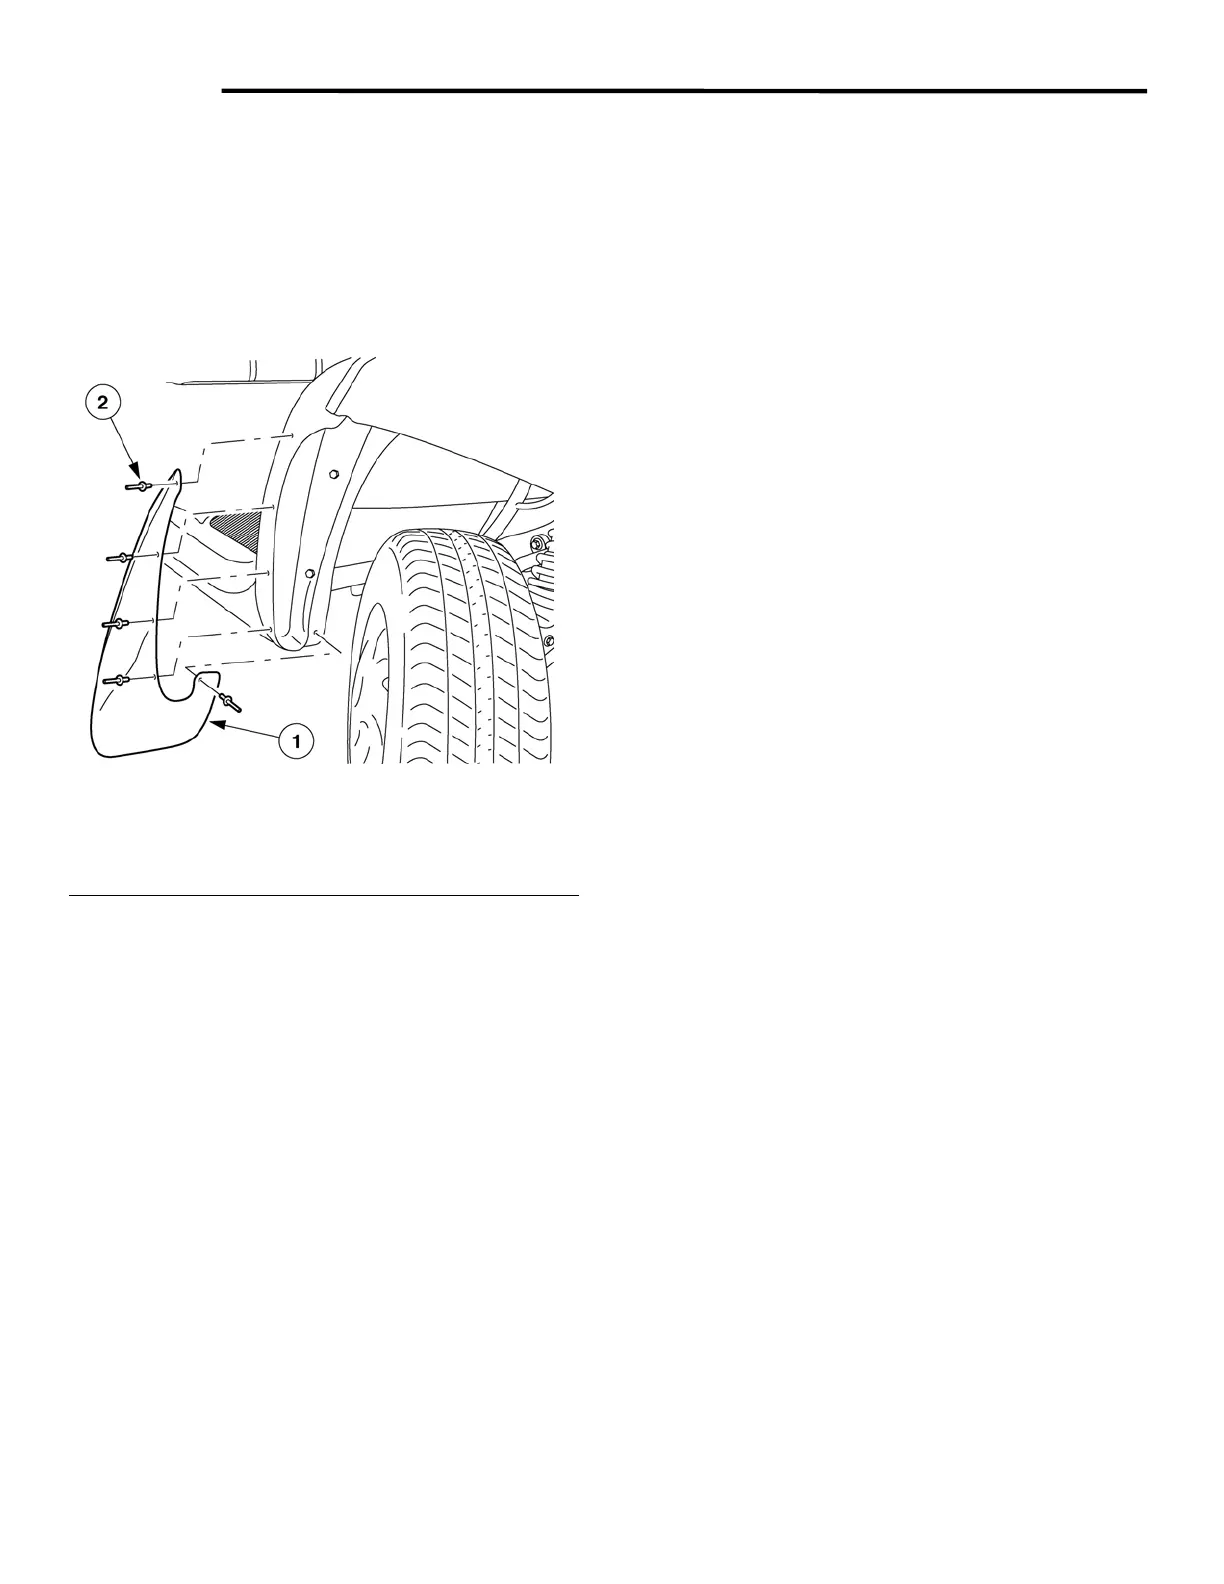
Fig. 9 Mudflap (Typical)
1 - Mudflap RH
2 - Rivets
REMOVAL
1. If equipped, drill out the rivets and remove the
mud flap.
INSTALLATION
1. Check the fit of the mud flap to the vehicle.
• The mud flap should fit with no gaps larger
then 1/8”. Trim as necessary for proper fit.
2. Mark the first hole 1 inch from the top; the
remaining holes are spaced at 5 inches starting
from the top hole.
• Space all holes on the mud flap evenly from
the edge.
NOTE: If the vehicle originally had mud flaps,
use the existing holes in the vehicle to mark the
mud flaps.
3. Using a 3/16” drill bit, drill holes in the mud flap.
4. Using a suitable clamp, secure the mud flap to
the vehicle and drill the bottom hole.
5. Install the bottom rivet from the inside.
6. Drill and install the remaining rivets working
from the bottom up, installing the top rivet from
the front.
GEM Service Manual November 2007
 Loading...