30
DELTABELL-WE
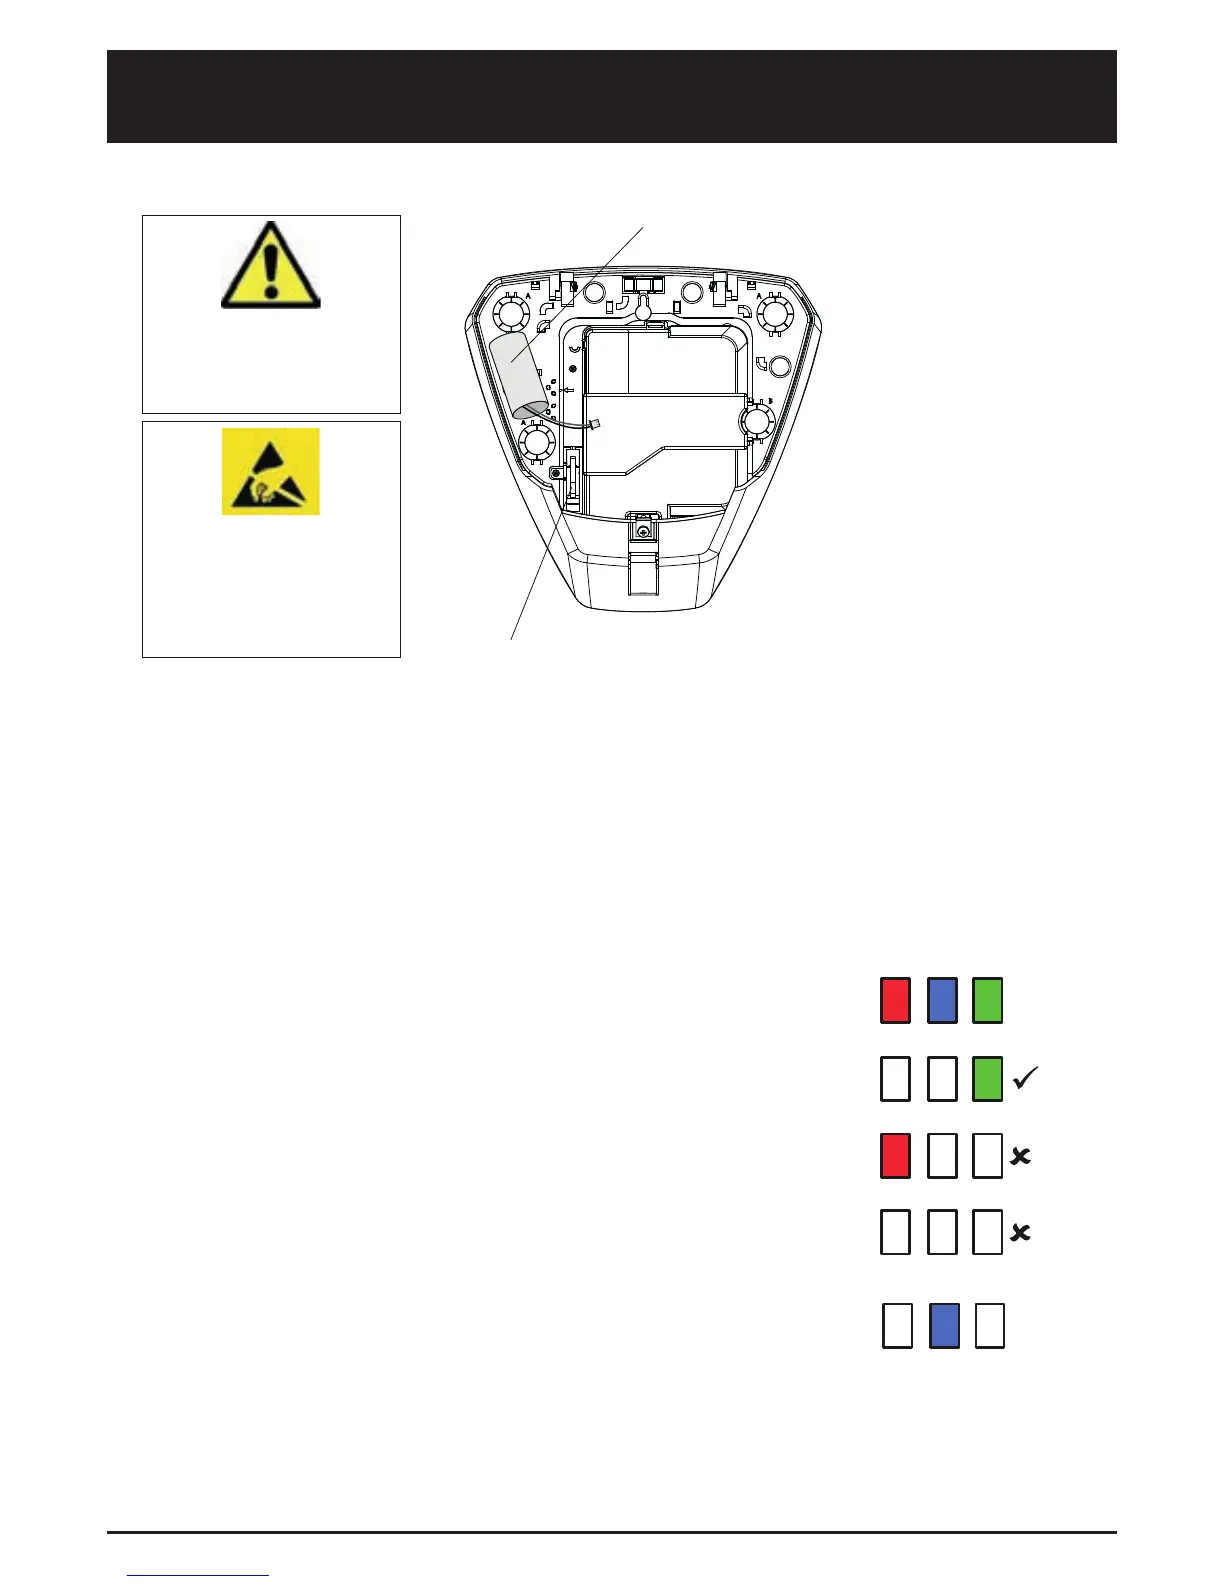
External sounder
Battery
Tamper
levelling
screw
AC/DC
BATTERY
SOUNDER
TAMPER
LEARN
BAT
+
-
LED3 LED2 LED1
Comfort LED
Enable/Disable
link
Learn button
Optional
auxillary 12
volt PSU input
Battery
Sounder
Tamper
Red LED
Blue LED
Green LED
Strobe
Comfort LEDs
The batteries supplied have been
chosen to provide long service life
whilst, for safety reasons, having
limited output current.
Replace only with approved batteries.
To prevent possible damage to
components, any static charge on your
body needs to be eliminated before
touching the inside of the unit. This can
be accomplished by touching some
grounded/earthed metallic conductor
such as a radiator/pipework
immediately before replacing batteries.
Battery
Tamper switch
Battery CR3 3.0 volt
11000MAh
Lithium battery
Strobe duration 10mS
Strobe Frequency 1Hz
Sound pressure level 101dBA
Dimensions 290 x 285 x 50 mm
Reverse polarity protected
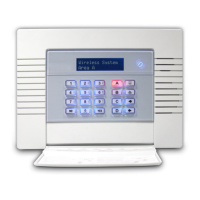
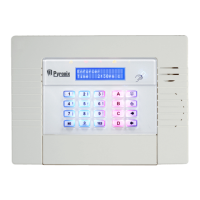
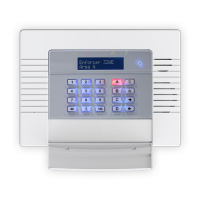
When you are ready to learn the device to the control panel, and when the Enforcer is in the learn
mode (see Enforcer Programming Manual) follow the procedure below.
1. Make sure the battery is installed correctly and the plastic wrapping removed.
2. Press and Hold the Learn button until the 3 LEDs start cycling through the different colours, then
release the Learn button.
3. The device is correctly learnt when the Green LED flashes.
The three coloured LEDs give a visual indication of the signal strength.
Green indicates good signal strength and is a good location to install.
Red indicates poor signal strength and the device should not be
installed in that position.
If no LED illuminates then the device is completely out of range.
The blue LED will illuminate when the device is activated.
Learning the DELTABELL-WE to the Enforcer
Back view of the MC1-WE
Tamper Switch
Using Magnetic Contact 1 (S1)
To enable Magnetic Contact 1 you must remove the
jumper link from the S1 enable pins:
Door
Door Frame
Reed Switch
S1
S1 Enable
Learn
S2 Enable
Z T
Test Result
T
C
Z
WINDOW
Contact
Magnet
TAMPER
Tamper
Enable/
Disable
Zone
Enable/
Disable
Magnetic
Contact 1
Enable/
Disable
Learn
Button
Status LEDs
ZONE
S1
S1 Enable
Learn
Z T
Test Result
T
C
Z
Example:
Universal Transmitter
T
C
Z
Z T
T
T
N / C
Door
Contact
/ Sensor
+
-
S1
S1 Enable
Learn
Z T
Test Result
T
C
Z
CR2 Battery
CR2 Battery
If the battery needs to be replaced, the
correct battery type (CR2) must be
installed
RED BLUE GREEN
RED BLUE GREEN
RED BLUE GREEN
RED BLUE GREEN
RED BLUE GREEN
MC1-WE
WHITE
3mm ABS, 0.4mm HDPE in Lens Area
868MHz, FM Transceiver Narrow Band
Fully Encrypted Rolling Code
300m Free Space
Three LED Combinations
(RSSI, Battery Status and Alarm)
1 x MC1-WE
2, Side and End
1 External Input & 1 External Tamper Input
3.6V 2.2Ahr AA Lithium Battery
Up to 2 Years
Front+Optional Rear Tamper
-20°C to 50°C
-10°C to 50°C
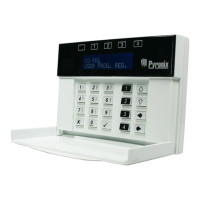
Model:
Colour:
Casing:
Transmission Frequency:
Transmission Method:
Transmission Range:
Indication:
Reed Switch:
Detection Points:
Detection Inputs:
Battery:
Battery Life:
Tamper Switch:
Storage Temperature:
Operating Temperature:

 Loading...