Page 24
Incorrect entry gives an audible error tone and correct entry gives three bleeps. Communication Delay is factory set at
zero seconds.
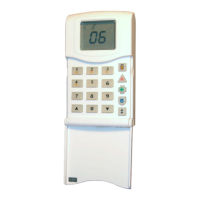
9.11 Changing the Engineer Code
Enter
Then the old Engineer Code (Factory Set at 9999) -this gives an audible acceptance tone.
Then
the new Engineer Code - gives an audible acceptance tone
Then
the new Engineer Code again- gives an audible acceptance tone
If an incorrect key is entered an error tone will be given and the function ended.
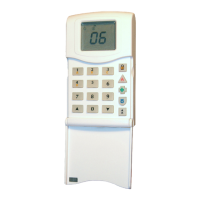
9.12 Programmable Outputs
9.12.1 Programmable Output 1.
Enter
followed by - for following options:
0 OFF (programmable output 1 not used).
1 PIR remote LED enable.
2 PIR latch memory.
3 Shock Sensor reset.
9.12.2 Programmable Output 2.
Enter
followed by - for following options:
0 OFF (programmable output 2 not used).
1 PIR remote LED enable.
2 PIR latch memory.
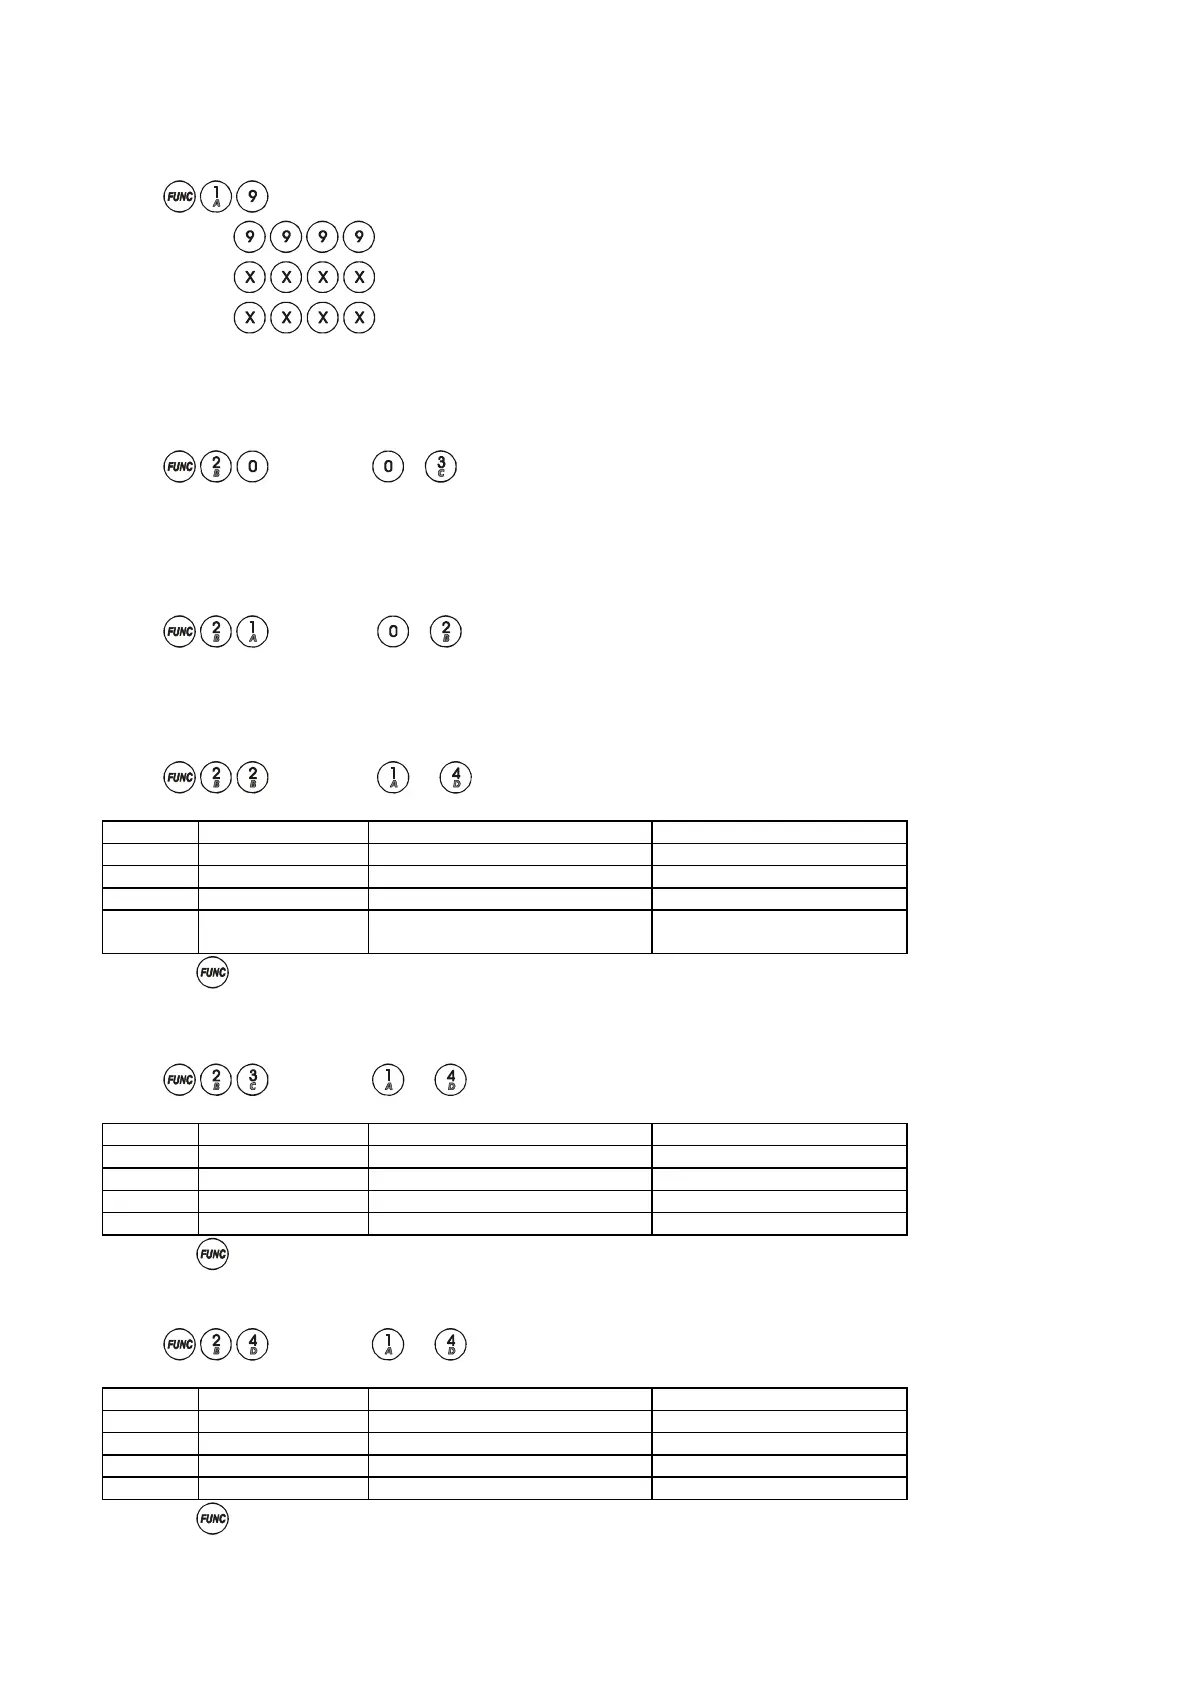
9.12.3 System Option 1.
Enter
followed by - The RKP LEDs will toggle on and off indicating the selection made.
Key Keypad LED LED ON LED OFF
1 Alarm Silent P.A. Audible P.A.
2 Tamper User log reset enabled User log reset disabled
3 P.A. Engineer only system reset User system reset
4 Fire External and Internal Sounders
on Tamper activation
Internal sounder only on
tamper activation
Press the key to accept changes.
9.12.4 System Option 2.
Enter
followed by - to toggle RKP LEDs
Key Keypad LED LED ON LED OFF
1 Alarm Engineer code lock NVM reset Power up NVM reset
2 Tamper Siren enable on line fail No siren on line fail
3 P.A. Panel set on AC fail No panel set on AC fail
4 Fire Limited Reset All Reset
Press the key to accept changes.
9.12.5 System Option 3.
Enter followed by - to toggle RKP LEDs
Key Keypad LED LED ON LED OFF
1 Alarm Alarm digi active high Alarm digi active low
2 Tamper P.A. digi active high P.A. active low
3 P.A. Fire digi active high Fire digi active low
4 Fire Confirmed digi active high Confirmed digi active low
Press the key to accept changes.
 Loading...