Raisecom
ISCOM RAX711 (B)Product Description
Raisecom Technology Co., Ltd.
Figure 4-4 Installing device vertically on wall
Installing device on workbench
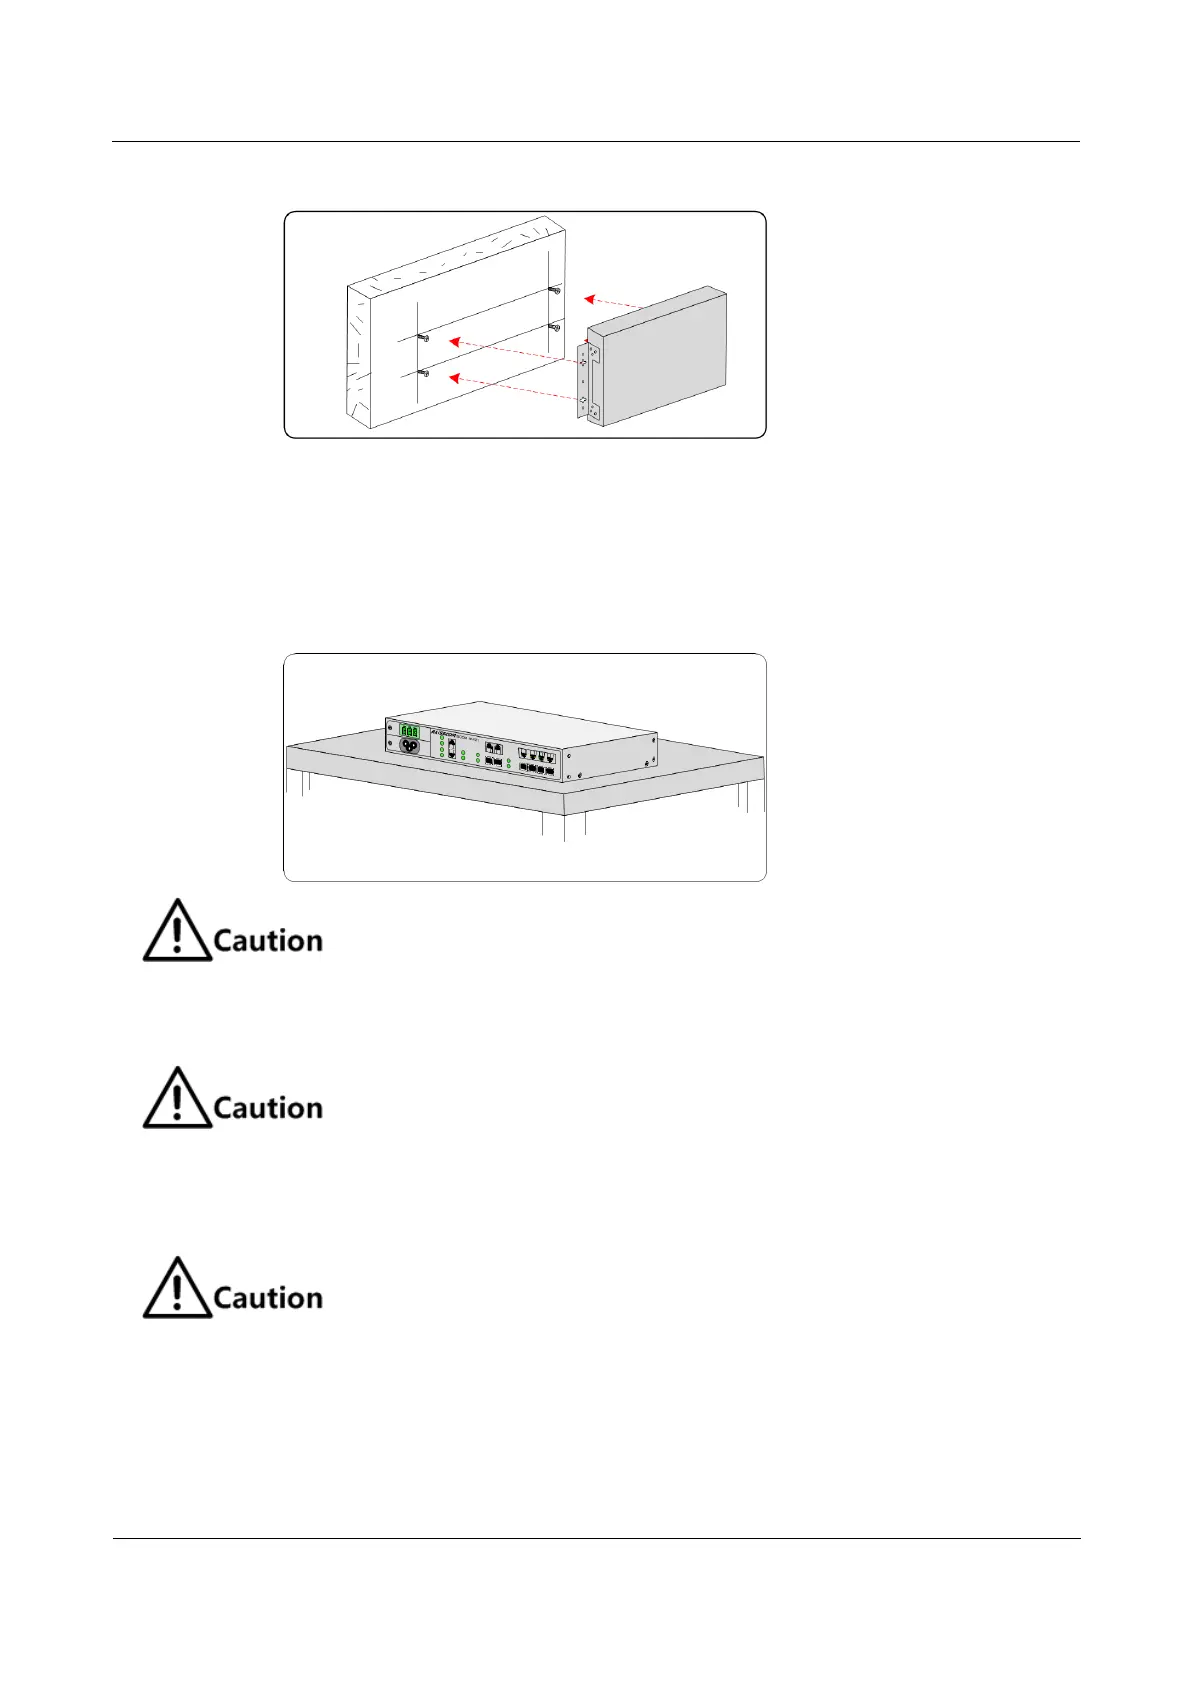
The ISCOM RAX711 supports being installed on a workbench, with steps as below:
Step 1 Lay the device stably on the workbench, as shown in Figure 4-5.
Figure 4-5 Installing device on workbench
Laying heavy objects on the ISCOM RAX711 or covering it with objects is prohibited.
4.2.4 Connecting cables
To connect the Ethernet interface or SNMP interface, use the shielded Ethernet cable,
and ensure good grounding at both ends.
Connecting grounding cable
Connecting the grounding cable properly is an important guarantee to lightning
protection, shock proof, and anti-interference. When installing and using the device,
ensure that the grounding cable is properly connected; otherwise, personnel injury or
equipment damage may be caused.
Install the grounding cable as below:
Step 1 Unscrew grounding terminal counterclockwise, remove the screws and shims.
 Loading...