Raisecom
ISCOM RAX711 (B)Product Description
Raisecom Technology Co., Ltd.
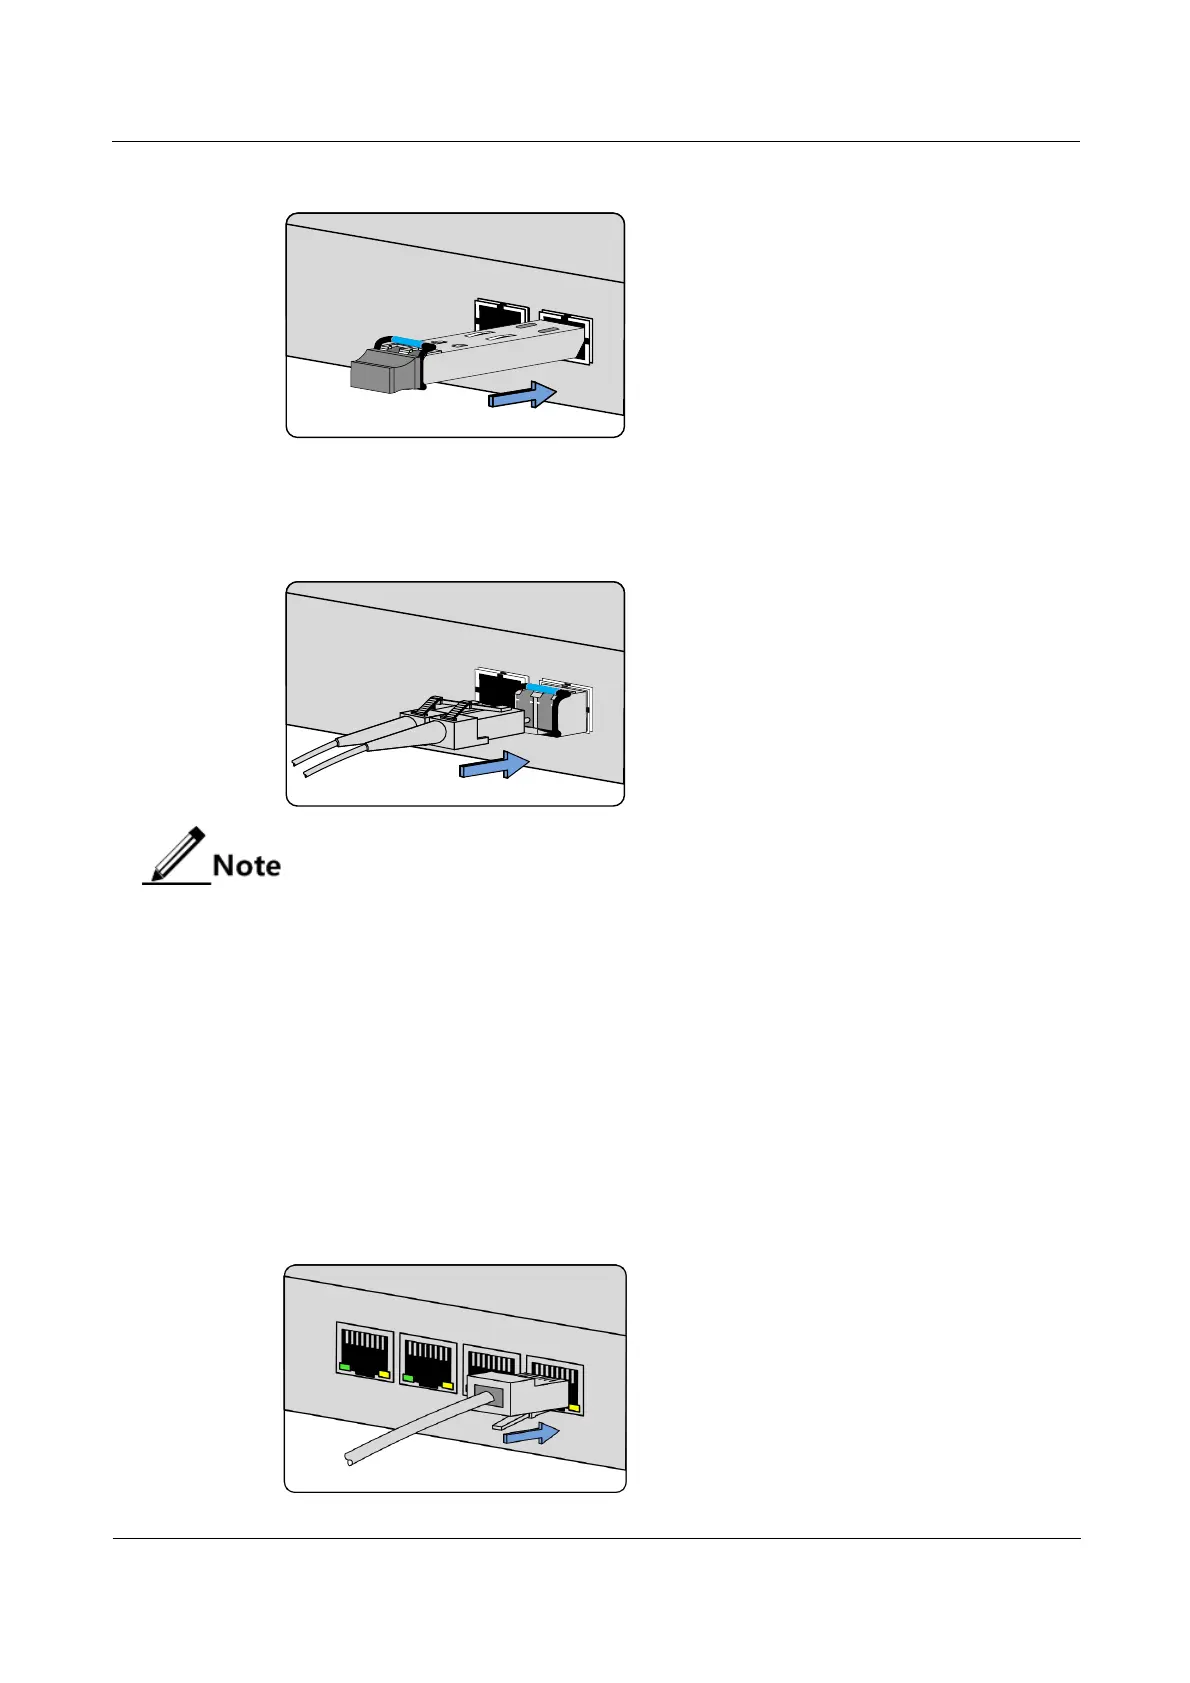
Figure 4-10 Inserting SFP optical module
Step 2 Remove the dustproof cover from the LC/PC fiber, align the fiber with the SFP optical
interface, and insert the fiber slightly into the SFP optical interface, as shown in Figure 4-11
Figure 4-11 Connecting fiber
When the optical interface is idle, cover it with the dustproof cover to prevent dust
and dirt from entering it and causing the ISCOM RAX711 to work improperly.
Connecting Ethernet cable
Connect the Ethernet cable as below:
Step 1 Choose a proper length for the Ethernet cable according to cabling path, and make an Ethernet
cable accordingly.
Step 2 Insert the RJ45 connector of the Ethernet cable into the Ethernet interface of the ISCOM
RAX711, and insert the other RJ45 connector of the Ethernet cable into the Ethernet interface
of the peer device, as shown in Figure 4-12.
Figure 4-12 Connecting Ethernet cable
 Loading...