Raisecom
ISCOM RAX711 (B)Product Description
Raisecom Technology Co., Ltd.
External SPD (Surge Protection Device) is not required to be installed with the
ISCOM RAX711.
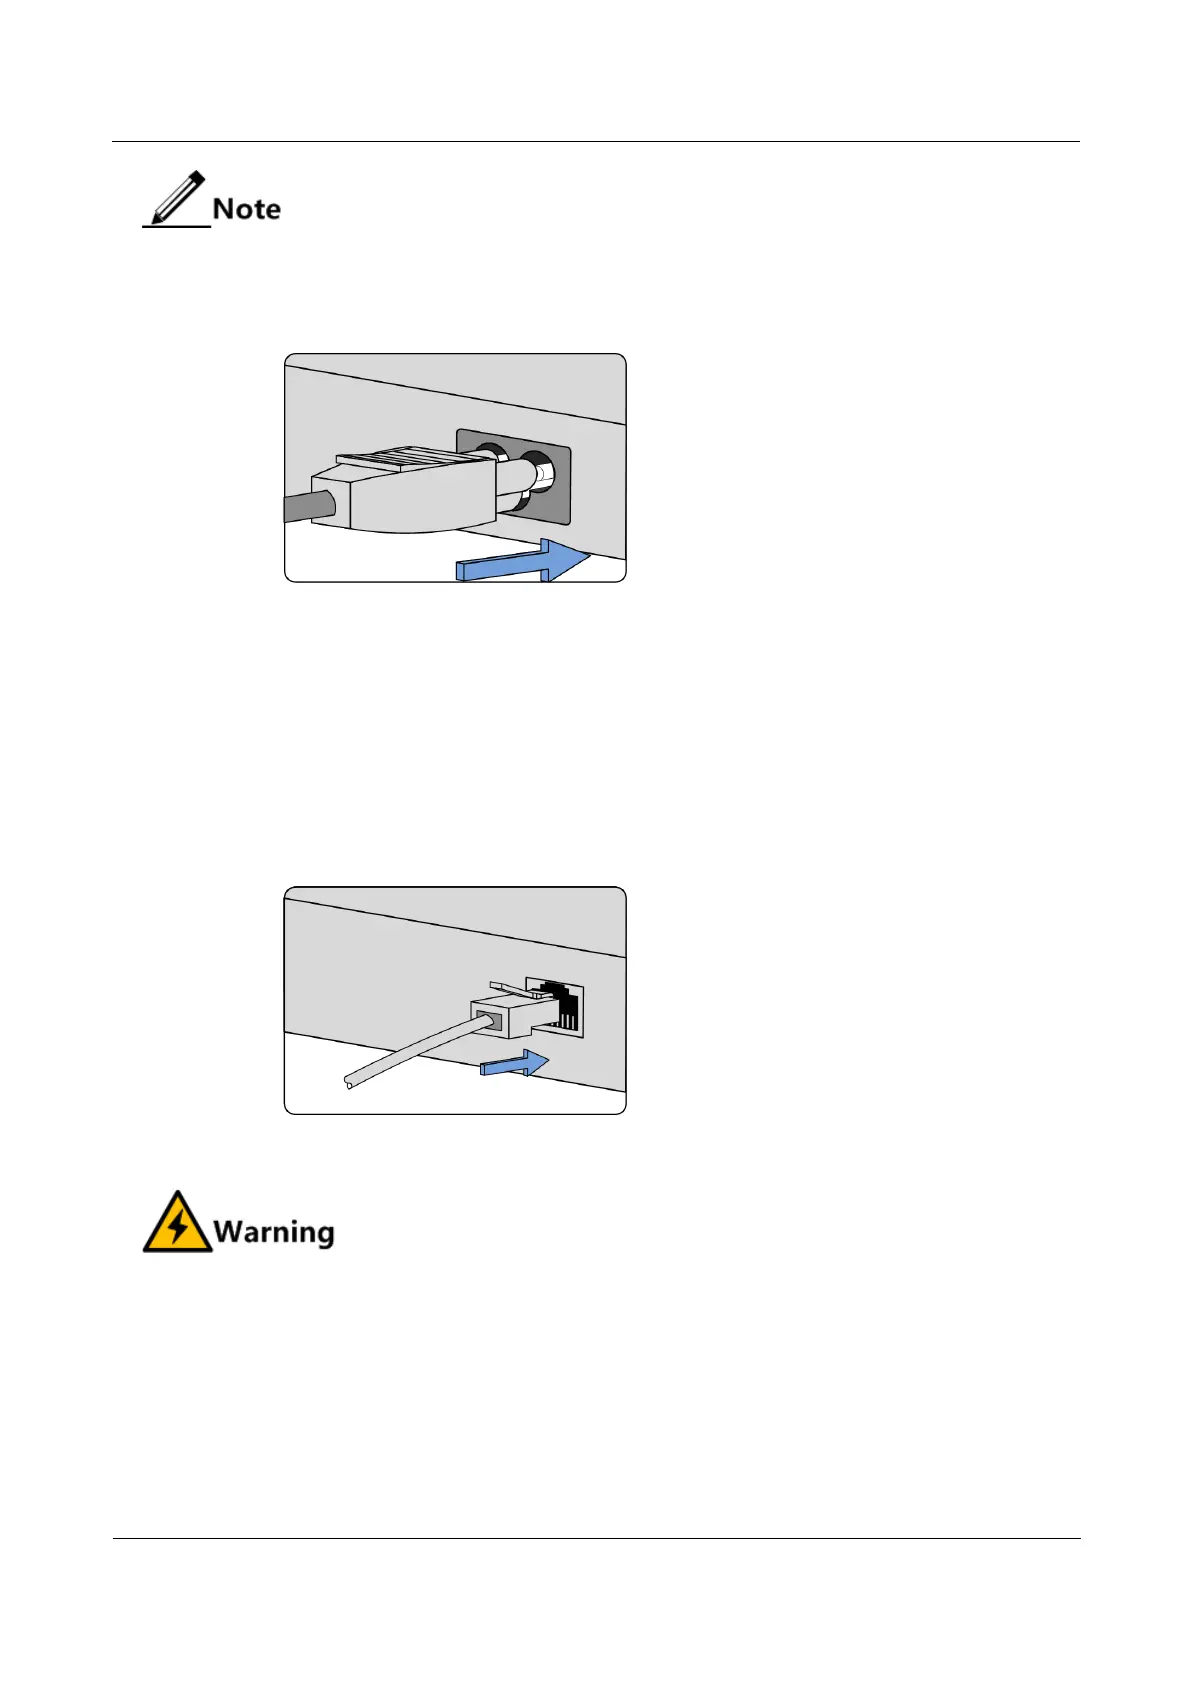
Figure 4-8 Connecting AC power cable
Connecting Console cable
Install the Console cable as below:
Step 1 Insert the RJ45 connector of the Console cable into the Console interface on the ISCOM
RAX711, as shown in Figure 4-9.
Step 2 Insert the other end of the Console cable into the RS-232 serial interface on a PC (or
maintenance terminal).
Figure 4-9 Connecting Console cable
Connecting fiber
There is invisible laser inside the ISCOM RAX711 and it harms eyes. Do not directly
stare into the optical interface, fiber connector, or breakage of fiber.
Connect fiber as below:
Step 1 Remove the dustproof cover from the SFP optical interface and SFP optical module, and
insert the SFP optical module into the optical interface on the ISCOM RAX711, as shown in
Figure 4-10.
 Loading...