5-6 Raynav 300 GPS Plotter
Pole Mounting
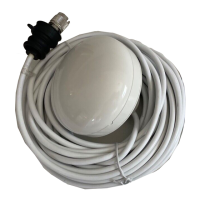
➤ Refer to Figure 5-3:
1. Screw the pole mount base to a suitable pole or rail mount bracket,
having an industry standard 1inch 14TPI thread, until secure.
2. Pass the cable through the centre hole of the pole mount base (A) or
insert the cable into the side exit channel (B).
3. Check that the cable is positioned correctly and secure the GPS
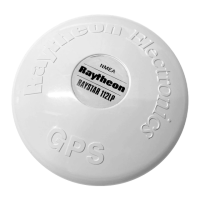
Antenna to the pole mount base using the two screws provided.
If the cable is to exit from the side of the GPS Antenna through the
side channel, remove the two plastic tabs obstructing the cable chan-
nel.
Note: Failure to remove the plastic tabs from within the cable channel
could result in cable damage.
.
Figure 5-3: Pole Mounting Arrangement
D4726-2
81171_4.BOOK Page 6 Thursday, November 29, 2001 11:34 AM
 Loading...

