Do you have a question about the Raymarine GPS Plotter and is the answer not in the manual?
Device intended as an aid to navigation, user responsibility for judgment.
Do not connect/disconnect GPS Antenna while power is applied.
Explains WAAS provides differential augmentation to GPS for enhanced accuracy.
Discusses WAAS broadcasting status, FAA certification, and online resources.
Explains WAAS differential GPS coverage for most of North America.
Describes similar systems in Europe/Asia (EGNOS, MSAS) and global augmentation.
States navigational accuracy is not guaranteed during testing phases.
Handbook covers Raynav 300 GPS Plotter, includes installation and operation info.
Instructions for registering ownership and warranty benefits.
Equipment designed to industry standards for Electromagnetic Compatibility.
Information correct at time of printing, subject to change.
Describes the Raynav 300 GPS Plotter and how the handbook is organized.
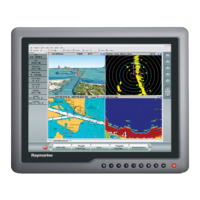
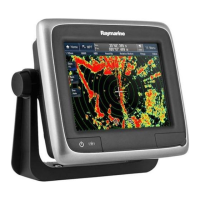
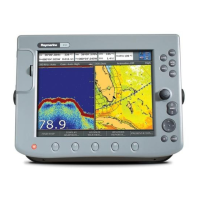
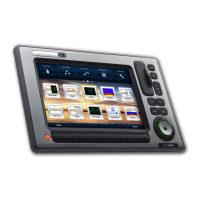
Overview of the Raynav 300 GPS Plotter's general features and display capabilities.
Explains how the plotter display shows vessel position, status bar, and route/waypoint info.
Describes the buttons, trackpad, soft keys, and menus for operating the unit.
Provides familiarization and instructions for using the display.
Explains how keys, menus, and procedures are represented in the handbook.
Describes the simulator mode for practicing operation without GPS data.
Instructions for turning the display unit on and off.
How to adjust screen and key backlighting and contrast levels.
How the display is controlled using cursor and control keys.
How to select different display modes using the DISPLAY key.
Functions for controlling the plotter display, including panning and zooming.
Explains how to navigate with the Raynav 300 GPS Plotter and its topics.
Warning about checking route safety before traveling towards a waypoint.
How to select desired screen modes using the DISPLAY key.
Explains waypoint placement, storage, editing, erasing, and moving.
Explains how to create, save, retrieve, clear, and edit routes.
Functions to follow routes and go to waypoints, including options.
Methods for transferring waypoint and route lists between units.
Function to mark, set up, manage, and convert vessel's trail.
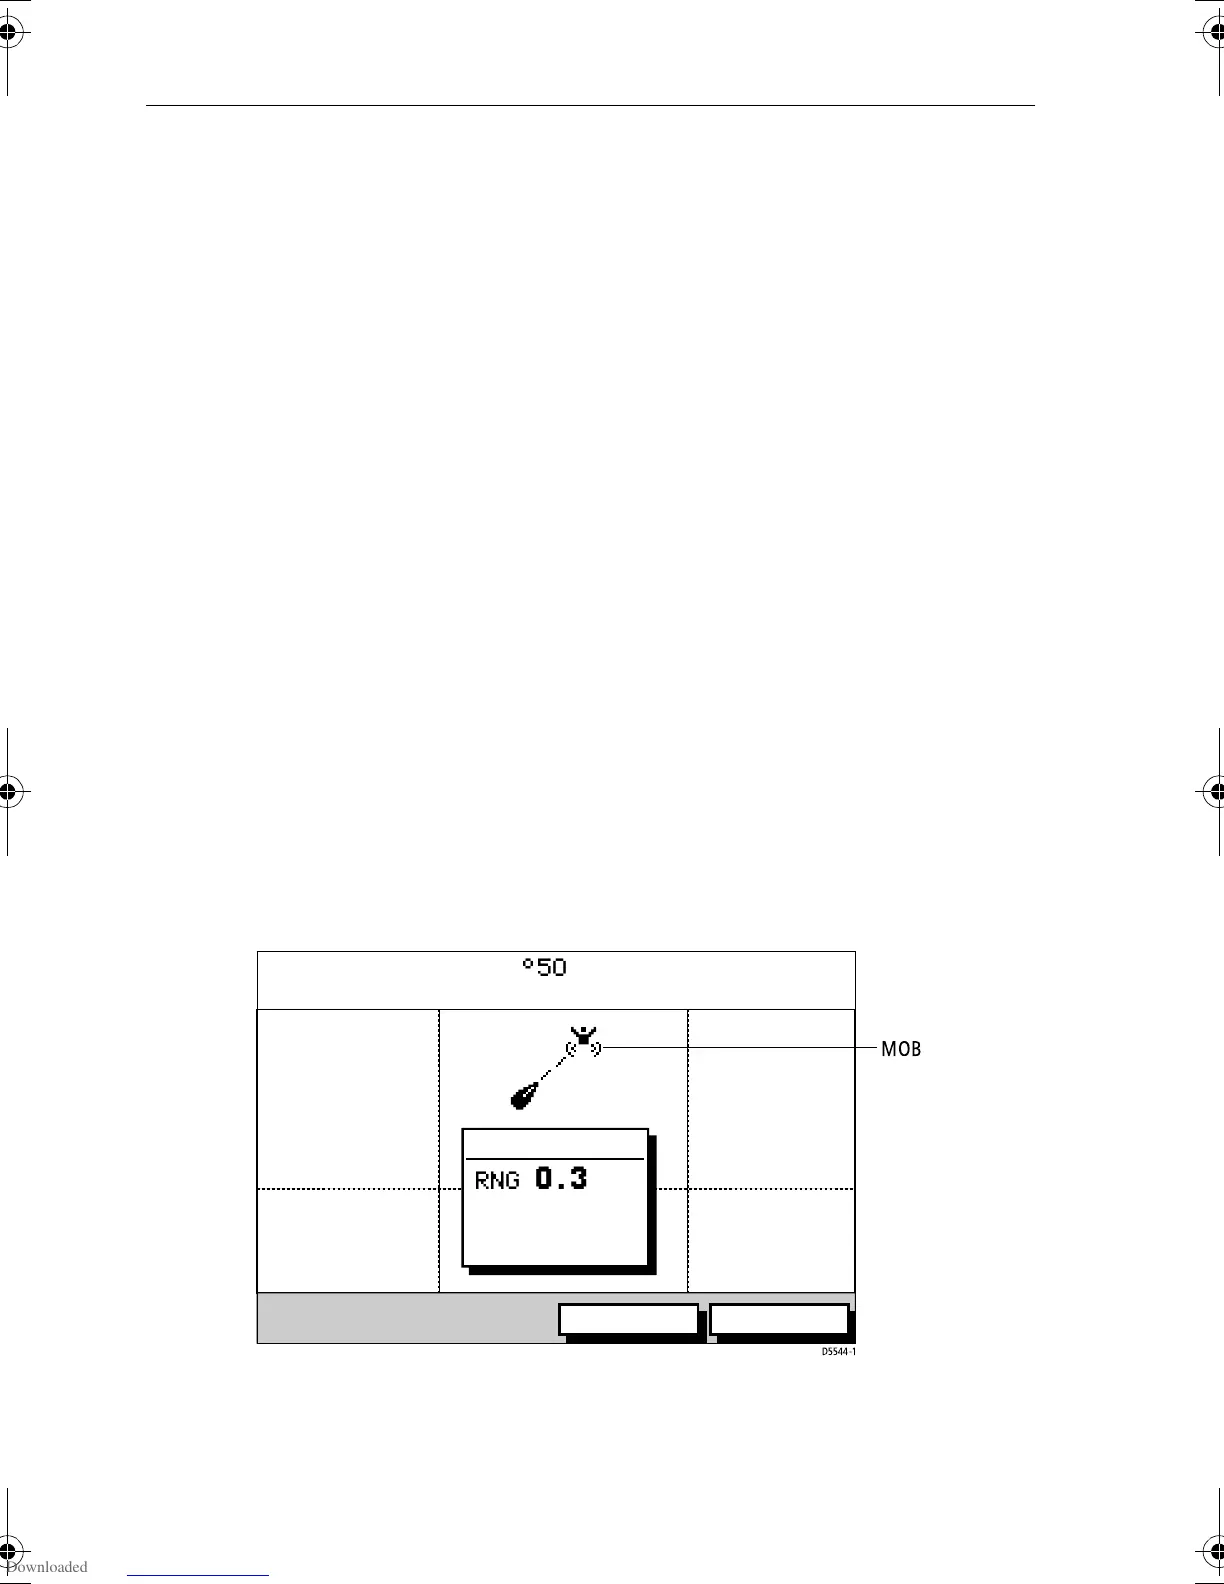
How to use the MOB function to return to a lost person or object.
Details the types of alarms and timers available and how to set them.
Setting up cursor transfer between plotter and other equipment.
Explains how to set up the plotter according to user preferences.
Step-by-step guide to setting default parameters.
Details parameters for system setup, including bearing mode and units.
Mode for displaying bearing and heading data (magnetic or true).
Mode for displaying cursor readout (relative or mag/true).
Controls how cursor data is shown (lat/lon, range/bearing, or off).
Option to change target presentation between DAY and NIGHT modes.
Enables prompt messages in the status bar for soft keys and menus.
Controls the display behavior of default soft keys.
Controls whether keys produce sound when pressed.
Controls if MOB data is based on GPS or dead reckoning.
Sets how long menus and soft key labels remain displayed.
Sets units for speed, depth, and temperature.
Selects Auto or Manual mode for variation source.
Sets individual NMEA sentences to ON or OFF.
Enables display of cursors from other equipment.
Sets preferred date and time formats and local time offset.
Specifies the source of GPS data (built-in or external).
Filters SOG/COG data for smoother display.
Selects NMEA input setting (NMEA or RTCM).
Selects display language and affects lat/long format.
Allows plotter operation without antenna or external data.
Sets up plotter according to system configuration and preferences.
Changes plotter orientation (North Up, Course Up, Head Up).
Controls whether waypoints are shown with their symbols.
Controls whether waypoint numbers are shown in the current route.
Provides a selection of symbols for the default waypoint display.
Displays Heading, Tide, and Course Over Ground vectors.
Selects datum (WGS 84 or LOCAL) for geographical position.
Provides GPS status and setup options, including Fix Mode.
Selects the method for acquiring a position fix (GPS, DGPS, SDGPS).
Sets up external Differential GPS receiver automatically or manually.
Sets the frequency for differential beacon reception.
Sets the bit rate for differential beacon reception.
Indicates received signal strength and SNR from beacon receiver.
Re-acquires GPS position fix, performing a cold start.
Instructions for planning the installation of the Raynav 300 GPS Plotter.
Guidelines for optimal EMC performance during installation.
Steps for unpacking and checking system parts and accessories.
Instructions for completing the warranty registration card.
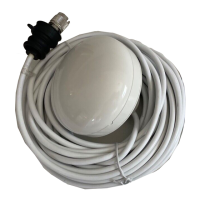
Guidance on installing the GPS antenna for optimal signal reception.
Instructions for surface mounting the GPS antenna.
Instructions for mounting the GPS antenna on a pole.
Considerations for mounting the display unit.
Instructions for mounting the unit using the trunnion bracket.
Instructions for panel mounting the unit using the optional kit.
How to connect the unit to other NMEA or SeaTalk equipment.
Points to consider before installing system cables.
Checks and initial switch-on procedures after installation.
Steps for turning on the plotter and initial setup.
Verifying correct operation after installation.
Routine checks and guidelines for servicing and safety.
Guidelines for disposing of the unit at end of operational life.
Procedures for performing Power-On and Factory Resets.
Guide to identifying and correcting common faults.
Summary of the GPS Plotter's technical specifications.
Defines data received on NMEA/SeaTalk ports and data transmitted.
Glossary of abbreviations used in the handbook.
Legal agreement for SiRF software embedded in the product.