Chapter 4: Installing the RayPilot 650 37
4 Installing the RayPilot 650
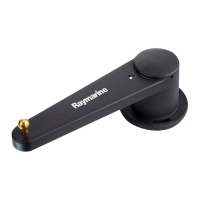
4.3 Joystick installation (optional)
Note: The joystick is an option for Type 100/300 course computers.
Mounting
The mounting surface must be smooth and flat to insure that there is
adequate waterproofing.
1. Use the template provided to mark the centers for the two fixing
holes and outline of the body aperture.
2. Drill the fixing holes and cut-out the aperture for the body.
3. Remove the mounting template.
4. Peel off the protective paper from the rear of the weather gasket
and fix to the mounting surface.
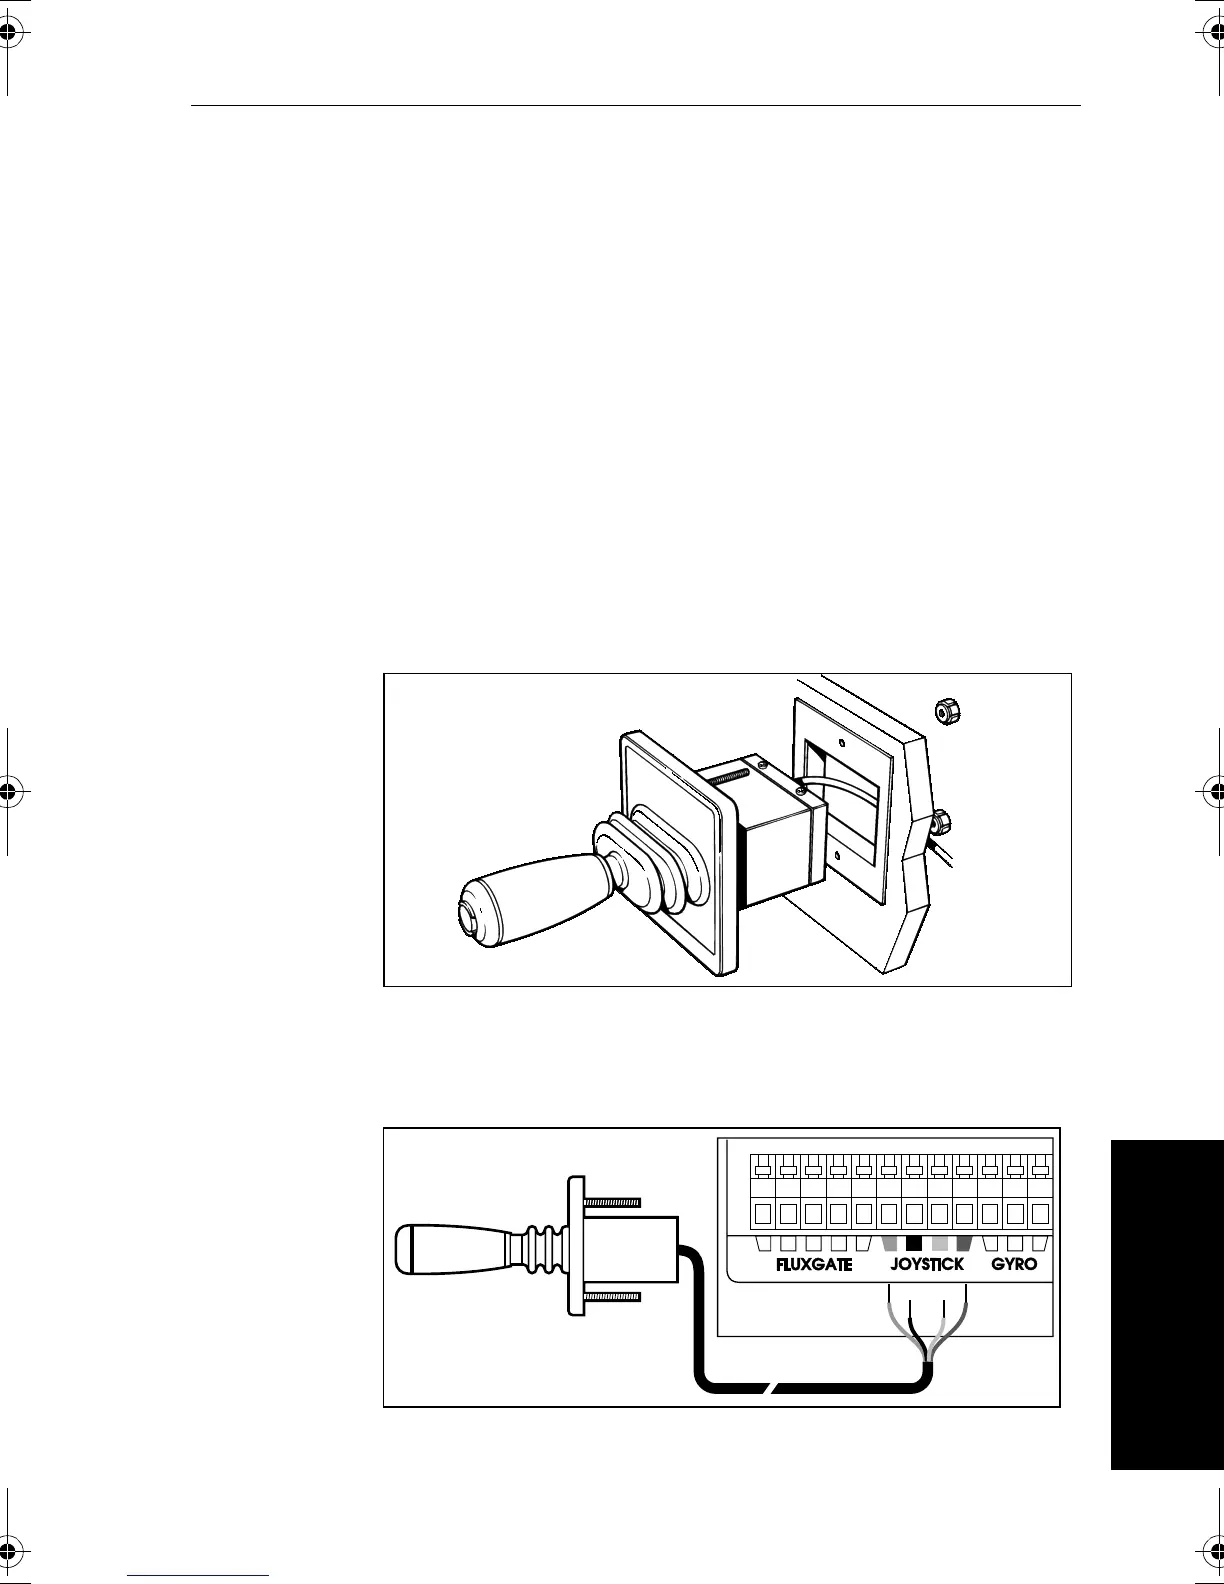
5. Pass the cable through the body aperture and secure the joystick
with the thumb nuts provided.
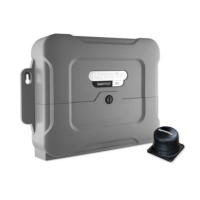
Cabling
The joystick is supplied with 26ft (8m) of cable which should be
connected to the Type 100/300 course computer as shown.
Note: Only one joystick can be connected to the course computer.
R1004-1
D984-1
Screen
Red
Green
Blue
81013_4.book Page 37 Wednesday, July 25, 2001 11:04 AM
 Loading...