• When printing onto OHP transparencies, remove printed sheets one by one.
1. Press [Home] ( ) at the bottom of the screen in the center.
2. Flick the screen to the left, and then press the [User Tools] icon ( ).
3. Press [Tray Paper Settings].
4. Press [Printer Bypass Paper Size], and then specify the paper size.
5. Press [OK].
6. Press [ Next].
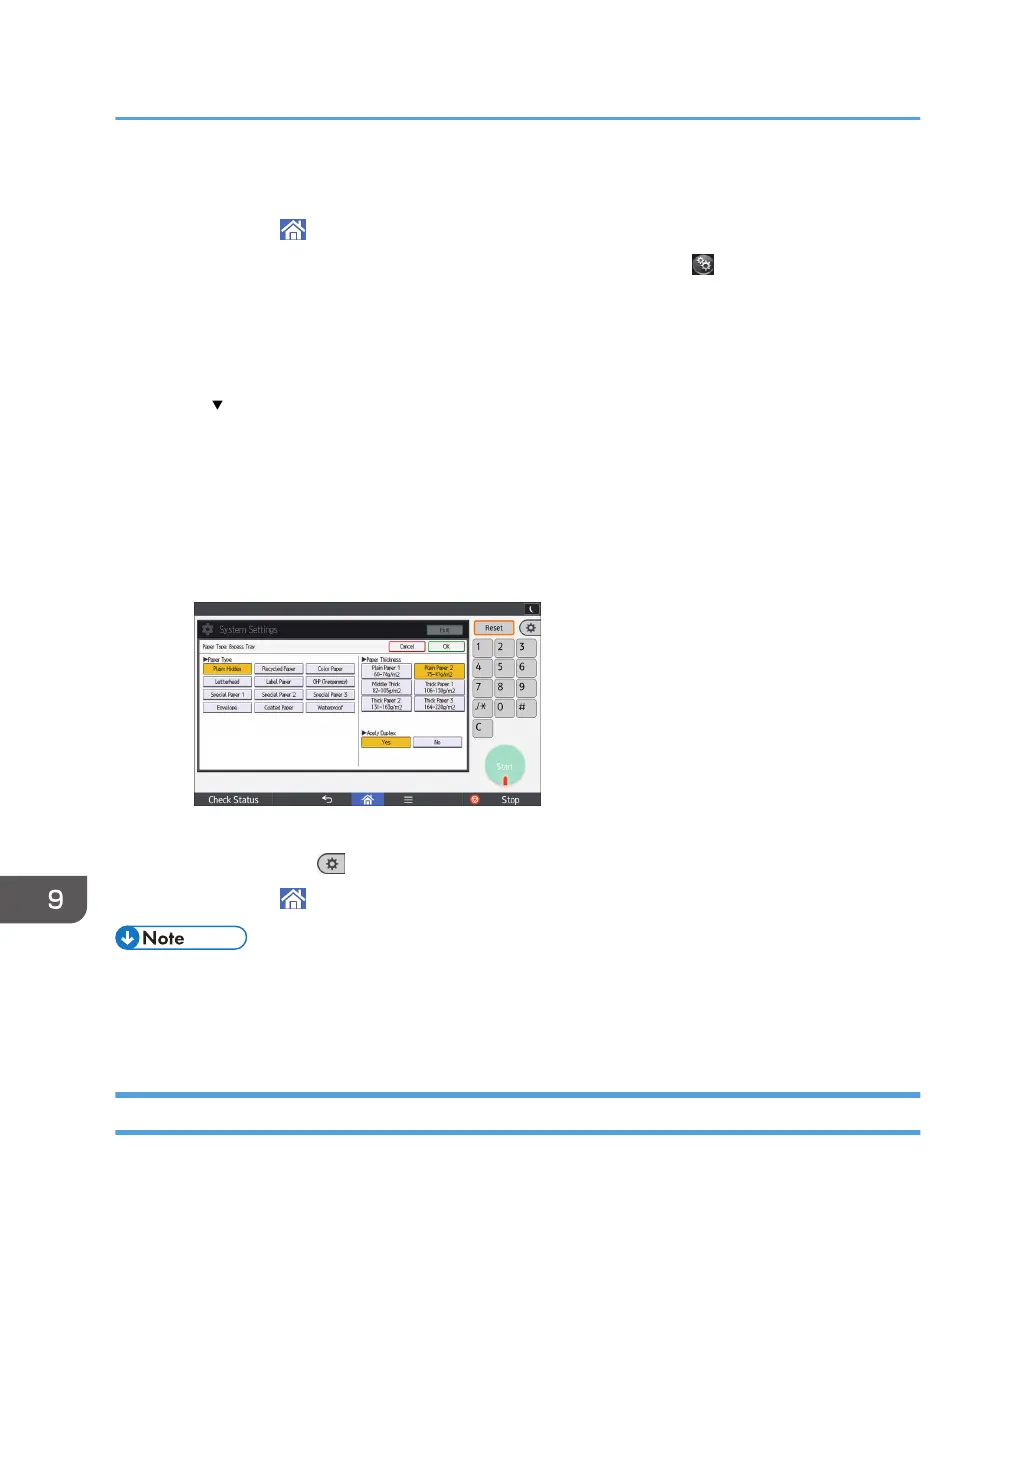
7. Press [Paper Type: Bypass Tray].
8. Select the proper items, according to the paper type you want to specify.
• Press [OHP (Transparency)] on the [Paper Type] area when loading OHP transparencies.
• To load thin paper, press [Plain: Hidden] on the [Paper Type] area, and then select the
appropriate paper thickness in the [Paper Thickness] area.
9. Press [OK].
10. Press [User Tools] ( ) on the top right of the screen.
11. Press [Home] ( ) at the bottom of the screen in the center.
• We recommend that you use specified OHP transparencies.
• For details about paper thickness, see "Tray Paper Settings", Connecting the Machine/ System
Settings.
Loading Orientation-fixed Paper or Two-sided Paper
Orientation-fixed (top to bottom) or two-sided paper (for example, letterhead paper, punched paper, or
copied paper) might not be printed correctly, depending on how the originals and paper are placed.
Settings for the User Tools
• Copier mode
Specify [Yes] for [Letterhead Setting] in [Input / Output] under the Copier / Document Server
Features menu, and then place the original and paper as shown below.
9. Adding Paper and Toner
128
 Loading...