52
computer to the printer. You may also save your ripped file to a USB Drive install it into the printer. If
you save the ripped file, insert the storage media it was saved on into the printer. Select your image
from LOAD FROM USB FRONT or USB BACK; this will only appear when USB flash drive is inserted into
the Ri 3000 or Ri 6000 Control Panel. Images that have been saved to the Control Panel can also be
printed from the SELECT FROM INTERNAL STORAGE function.
When the blue Print Ready LED lights up behind, the printer has received a sufficient amount of data to
start printing. Press the <PRINT> button. The Print Table will move to the Print Start Position. When the
Print Table reaches the Home Position, the Print Start Position, the printing will start. Upon completion,
the Print Table will move to the Load Position and the printer will beep.
Remove the [Hoop and] garment from the Print Table, be careful not to touch the printed area or let the
garment fold. The printed area is still wet with ink. Cure the ink onto the garment, using a heat press or
textile oven.
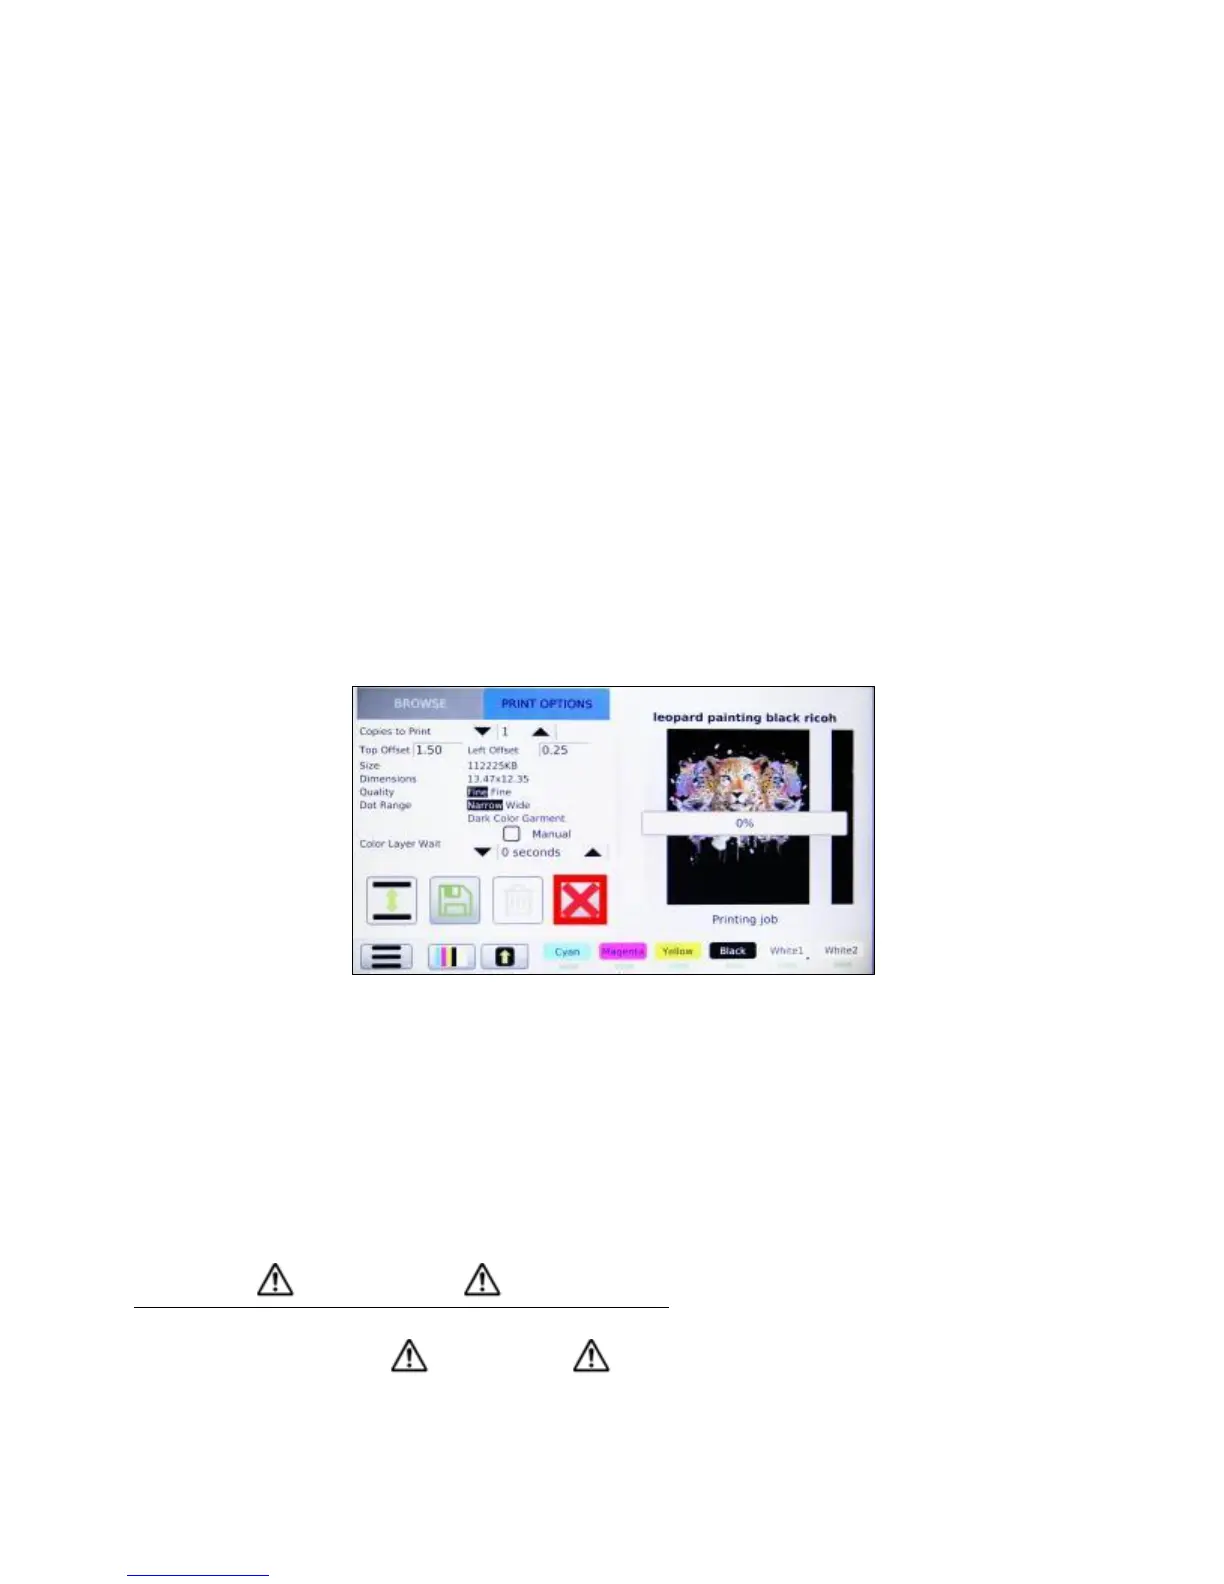
Canceling a Print Job
If you want to stop a printer operation press the red X <CANCEL> button. If a job is printing it will stop
immediately and return you to the start-up screen. Pressing the <CANCEL> button during LCD menu will
return you to the start-up screen.
Figure 4.5-2: Cancel a Print Job
6: Safety Warnings
Safety Labels of This Machine
This section explains the machine’s safety information labels.
Positions of WARNINGS and CAUTION Labels
This machine has labels for WARNING and CAUTION at the positions shown below. For safety,
please follow the instructions and handle the machine as indicated.
 Loading...