J
Jamie MartinAug 18, 2025
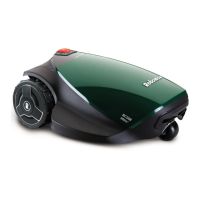
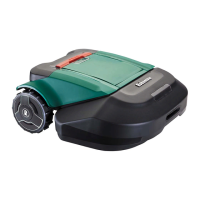
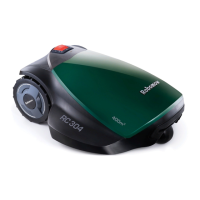
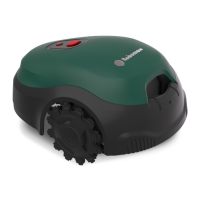
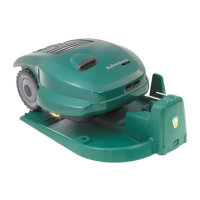
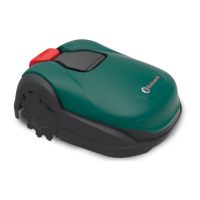
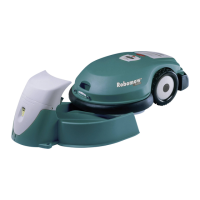
What to do if my Robomow Lawn Mower shows 'Check Power'?
- BBradley BlackburnAug 18, 2025
If your Robomow lawn mower displays a 'Check Power' message, ensure the power supply/charger is properly plugged into the main power supply and that the charging plug is fully inserted into the mower's charging socket. A temporary power loss might have occurred; disconnect and reconnect the charging plug. Also, check if there is power to the receptacle or if the main power is shut off. Ensure the mower contacts touch the base station contacts, and that the contacts are clean. Confirm a good connection of the cables to the Base Station contacts and check the Charging fuse 5A.