29
Guide lines
25 mm
(1 in.)
or more
25 mm
(1 in.)
or more
Brake
Roll material
Screws
Brake
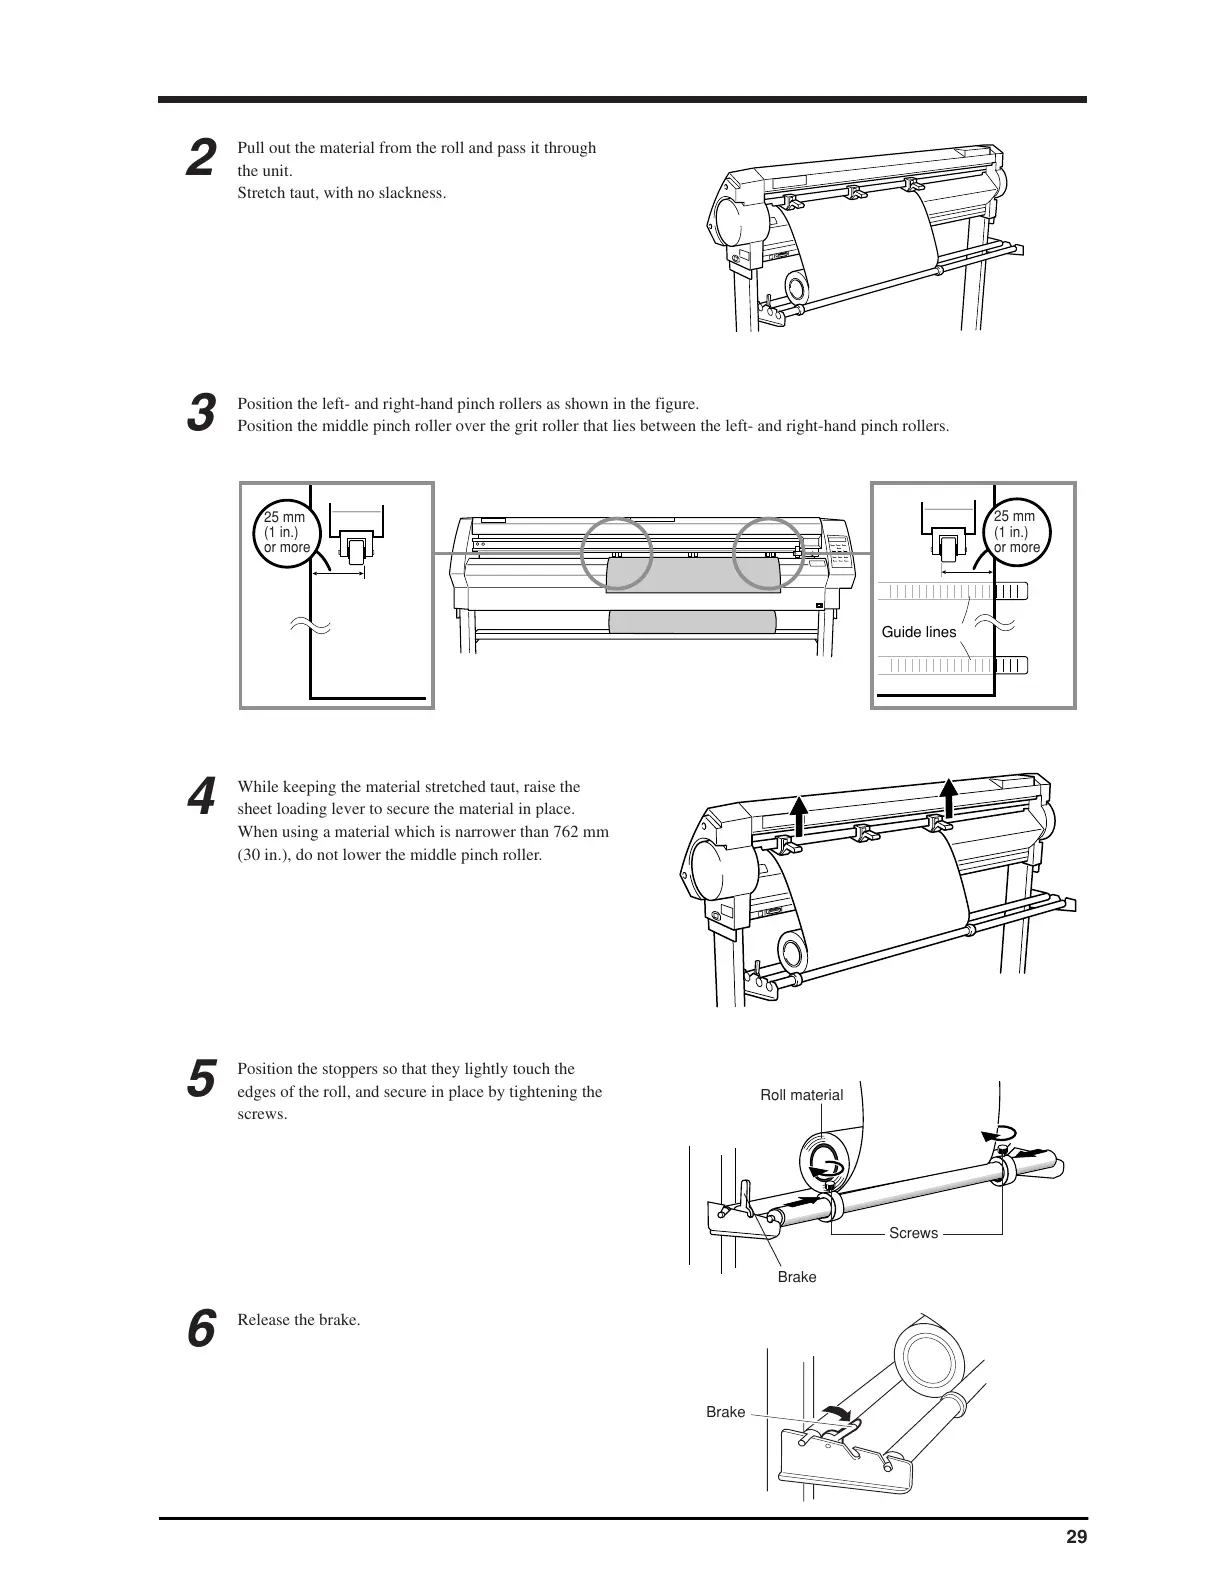
2
Pull out the material from the roll and pass it through
the unit.
Stretch taut, with no slackness.
3
Position the left- and right-hand pinch rollers as shown in the figure.
Position the middle pinch roller over the grit roller that lies between the left- and right-hand pinch rollers.
4
While keeping the material stretched taut, raise the
sheet loading lever to secure the material in place.
When using a material which is narrower than 762 mm
(30 in.), do not lower the middle pinch roller.
5
Position the stoppers so that they lightly touch the
edges of the roll, and secure in place by tightening the
screws.
6
Release the brake.

 Loading...