Selecting Parameters
111
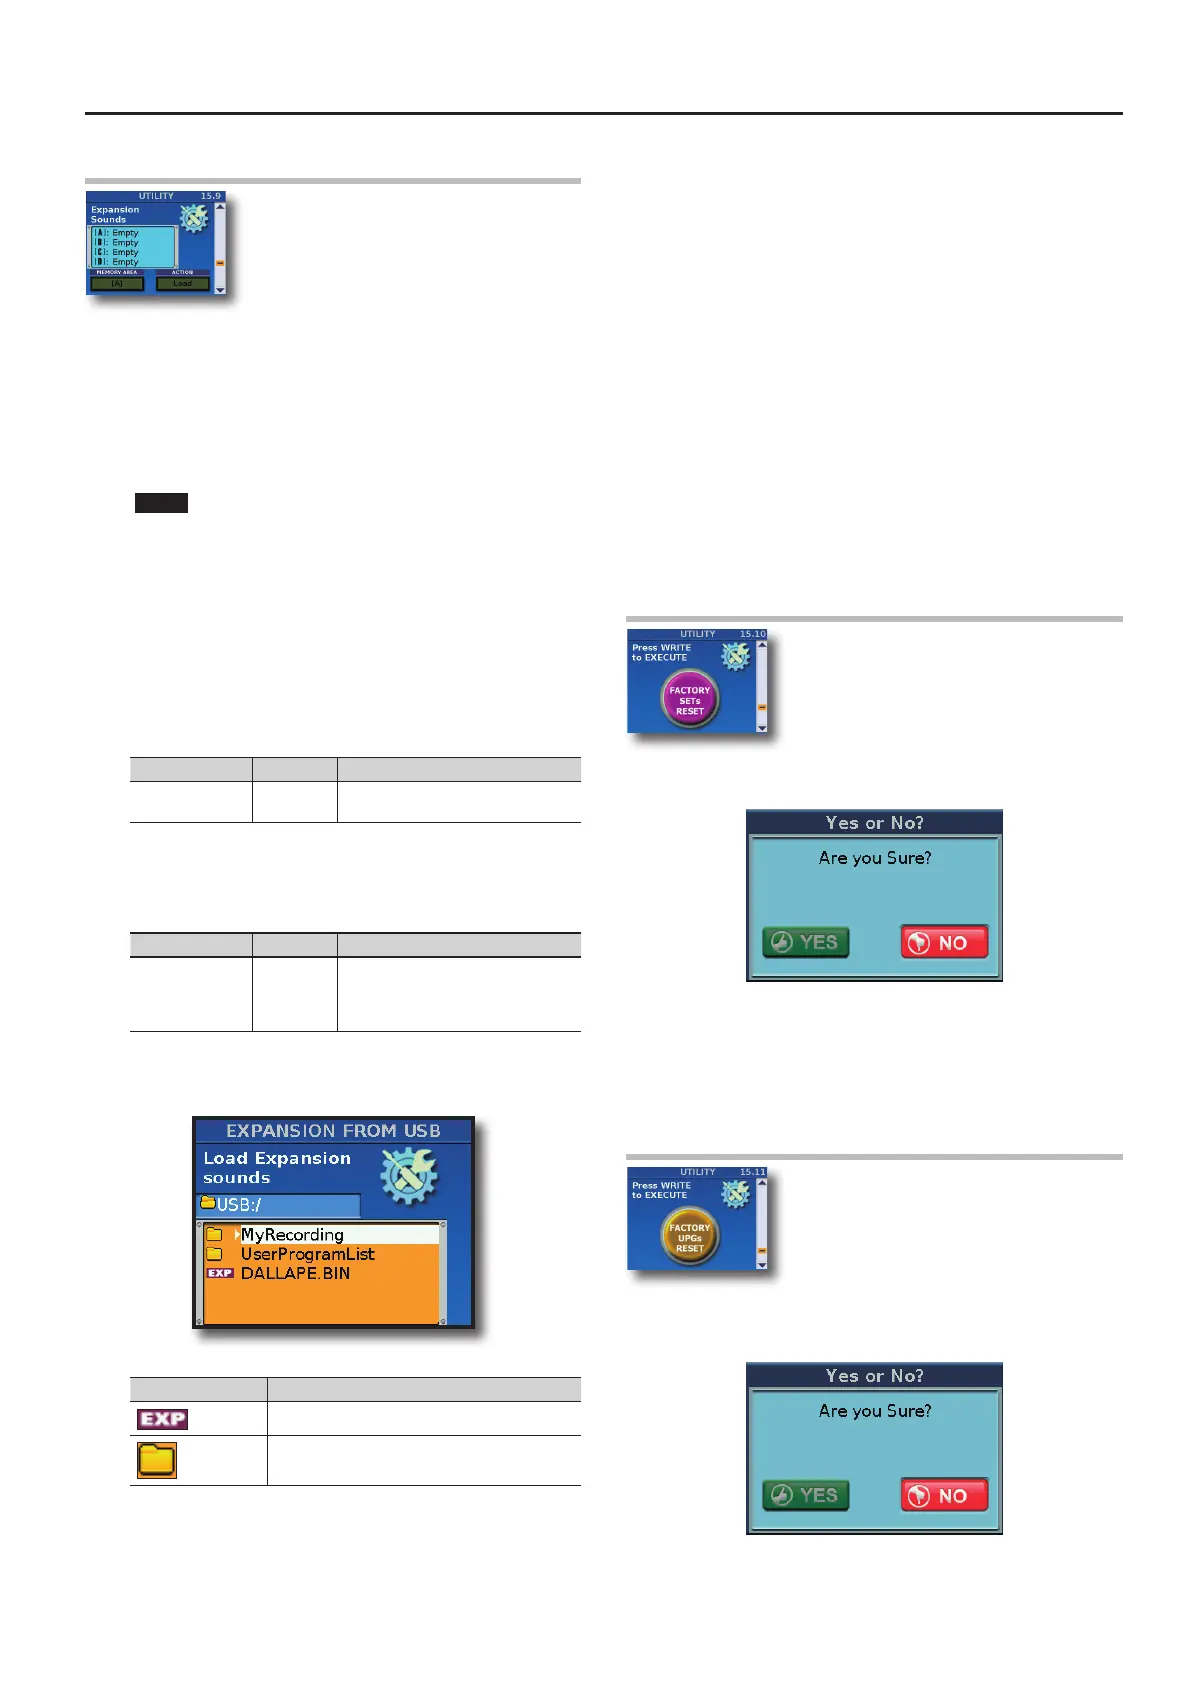
15.9 Expansion Sounds
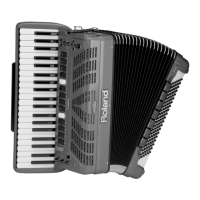
The FR-8x allows you to add new sounds to the
internal sound memory area. The new sounds (les
with the “.bin” extension) must be copied to a USB
storage device, after which you can load them
with the FR-8x. “Loading” means that they will be
copied to a permanent internal memory area.
There are four such memory areas (“A” , “B”, “C” and “D”).
The display shows the list of any possible Expansion Sounds already
loaded.
Load an Expansion Sound
1.
Insert into the FR-8x USB port an optional USB memory
that contains the expansion to import.
NOTE
• Carefully insert the optional USB memory all the way into the
port until it is rmly in place.
• Never remove a USB memory while this unit is turned on.
Doing so may corrupt the unit’s data or the data on the USB
memory.
• The FR-8x supports USB memories with a capacity of up to 2
TB.
2. Use the [DATA/ENTER] knob to choose the “MEMORY
AREA” to load the Expansion Sound.
Parameter Value Explanation
MEMORY AREA
[A], [B], [C],
[D]
Select the memory area to load a
Expansion Sound or to erase it.
3. Use the [DATA/ENTER] knob to choose the “ACTION” to do.
In this case we choose to “Load”.
Parameter Value Explanation
ACTION Load, Erase
Select if you want load a Sound
Expansion or Erase the internal the
selected memory area ([A], [B], [C],
[D]).
4. Press the [MENU/WRITE] button to proceed.
The display shows the contents of the USB memory:
The icons to the left of the le names indicate the le type:
Icon Explanation
Expansion Sound le (.BIN)
Folder
5. Use the [DATA/ENTER] knob to select the Expansion
Sound you want to load.
6. Press the [MENU/WRITE] button to load the Expansion
Data.
The display conrms this operation.
How to erase an expansion memory “MEMORY AREA”.
This procedure allows to delete an internal “MEMORY AREA” .
1. Use the [DATA/ENTER] knob to choose the “MEMORY
AREA” to erase.
2. Use the [DATA/ENTER] knob to choose the “ACTION” to do.
In this case we choose to “Erase”.
3. Press the [WRITE] button to erase the selected “MEMORY
AREA” .
After an “Deleting…” message the display will show “Function
complete”.
The “Expansion” page is shown again. The selected memory area is
now empty.
15.10 FACTORY SETs RESET
You can reset the FR-8x SETs to its factory settings,
which means that all SETs are replaced by the
settings the FR-8x contained when you rst got it.
1. Press the [MENU/WRITE] button to reset the SETs.
The following message is displayed:
2. To reset the SETs rotate the [DATA/ENTER] knob to select
“YES” and push it. Otherwise, select “NO” or press the
[EXIT] button.
The display conrms this operation.
15.11 FACTORY UPGs RESET
You can reset the FR-8x User Program memories to
its factory settings, which means that all User
Program memories are replaced by the settings
the FR-8x contained when you rst got it.
1. Press the [MENU/WRITE] button to reset the User Program
memories.
The following message is displayed:
2. To reset the User Program memories rotate the [DATA/
ENTER] knob to select “YES” nad push it. Otherwise, select
 Loading...