3 x Installation
27
FA ROTEX Solaris - 08/2007
3.4.2 Installing the supporting structure for subsequent installation on a flat roof
More detailed information can be found in the installation manual entitled "ROTEX Solaris installation on a flat roof", supplied
with the installation system.
3.4.3 Installing the supporting structure for subsequent in-roof installation
More detailed information can be found in the installation manual entitled "ROTEX Solaris in-roof installation", supplied with the
installation system.
3.4.4 Installing the first solar panel
1. Push the slide blocks (dual or single clip) into the mounting rail in the correct sequence.
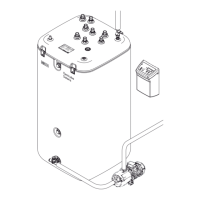
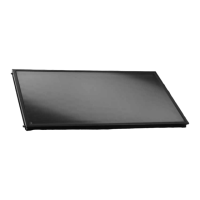
2. Observing the clearance applicable to the solar panel type concerned, hook the solar panel securing clips into the top lateral
guide notch on the lower mounting profile and tilt downwards. After they have been hooked on, the solar panel securing
clips can be moved sideways (see Fig. 3-58 and Fig. 3-59).
3. Lift the solar panel onto the roof, e.g. with a crane. If no crane is available, the solar panel can be hoisted onto the roof with
a rope, using a ladder leaning on the roof edge as a slipway. Depending on the installation requirements, the solar panel can
be unpacked and the protective caps for the pipes removed either before or after the solar panel has been lifted onto the roof.
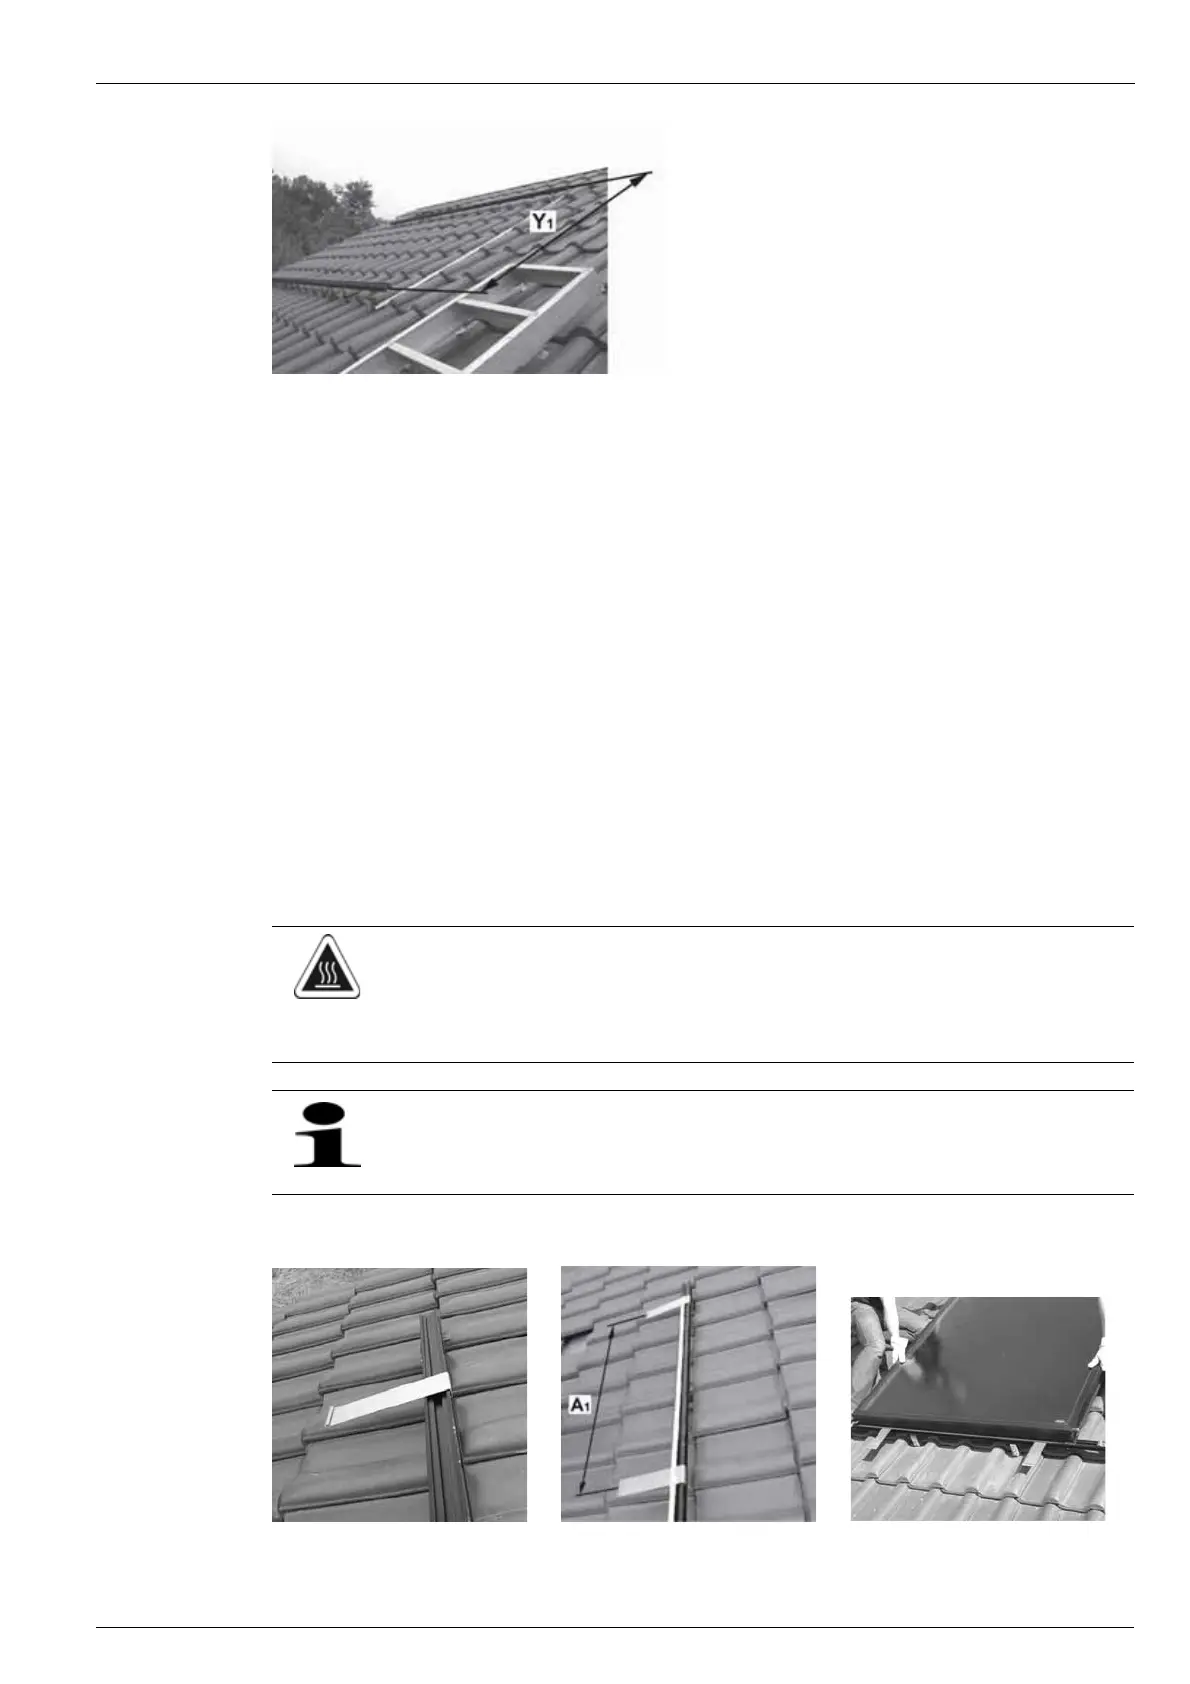
4. Position the solar panel above the mounting rails as shown in Fig. 3-60 and carefully lower it into the securing clips.
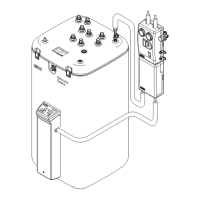
Fig. 3-57 Mounting the upper rails (see Table 3-1 for dimension)
CAUTION!
Danger of burns from hot solar panel couplings and hot solar panel frame.
• Do not touch hot parts.
• Wear protective gloves.
Make sure to lift the solar panel onto the roof in the correct orientation for mounting (avoids errors during
connection or complicated manoeuvres). The upper side of the solar panel is marked with a label on the
packaging. The type plate attached on the frame profile and the sleeve for the solar panel temperature sensor
must be located on the top right when aligning the solar panel.
Fig. 3-58 Inserting the solar panel
securing clips
Fig. 3-59 Positioning the solar panel
securing clips
Fig. 3-60 Lowering and aligning the solar
panel
 Loading...