English _21
● INSTALLATION & CONNECTION
Installing by wall mount
`
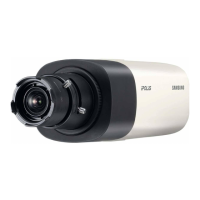
Fix the installation base with the bracket
1. Fix the base with the bracket by turning it
clockwise.
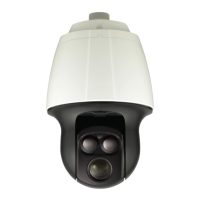
2. As shown in the picture below, gently press
and lift up the handle of the hinged door on the
bottom of the installation base. Please refer to
the “Camera Wiring Interface Board” on page
16, connect the wires.
J
`
Do not connect the camera to a power outlet until the
installation is complete. Supplying power while the
installation is in progress may cause fire or damage
the product.
M
Check cable connection method and install.
`
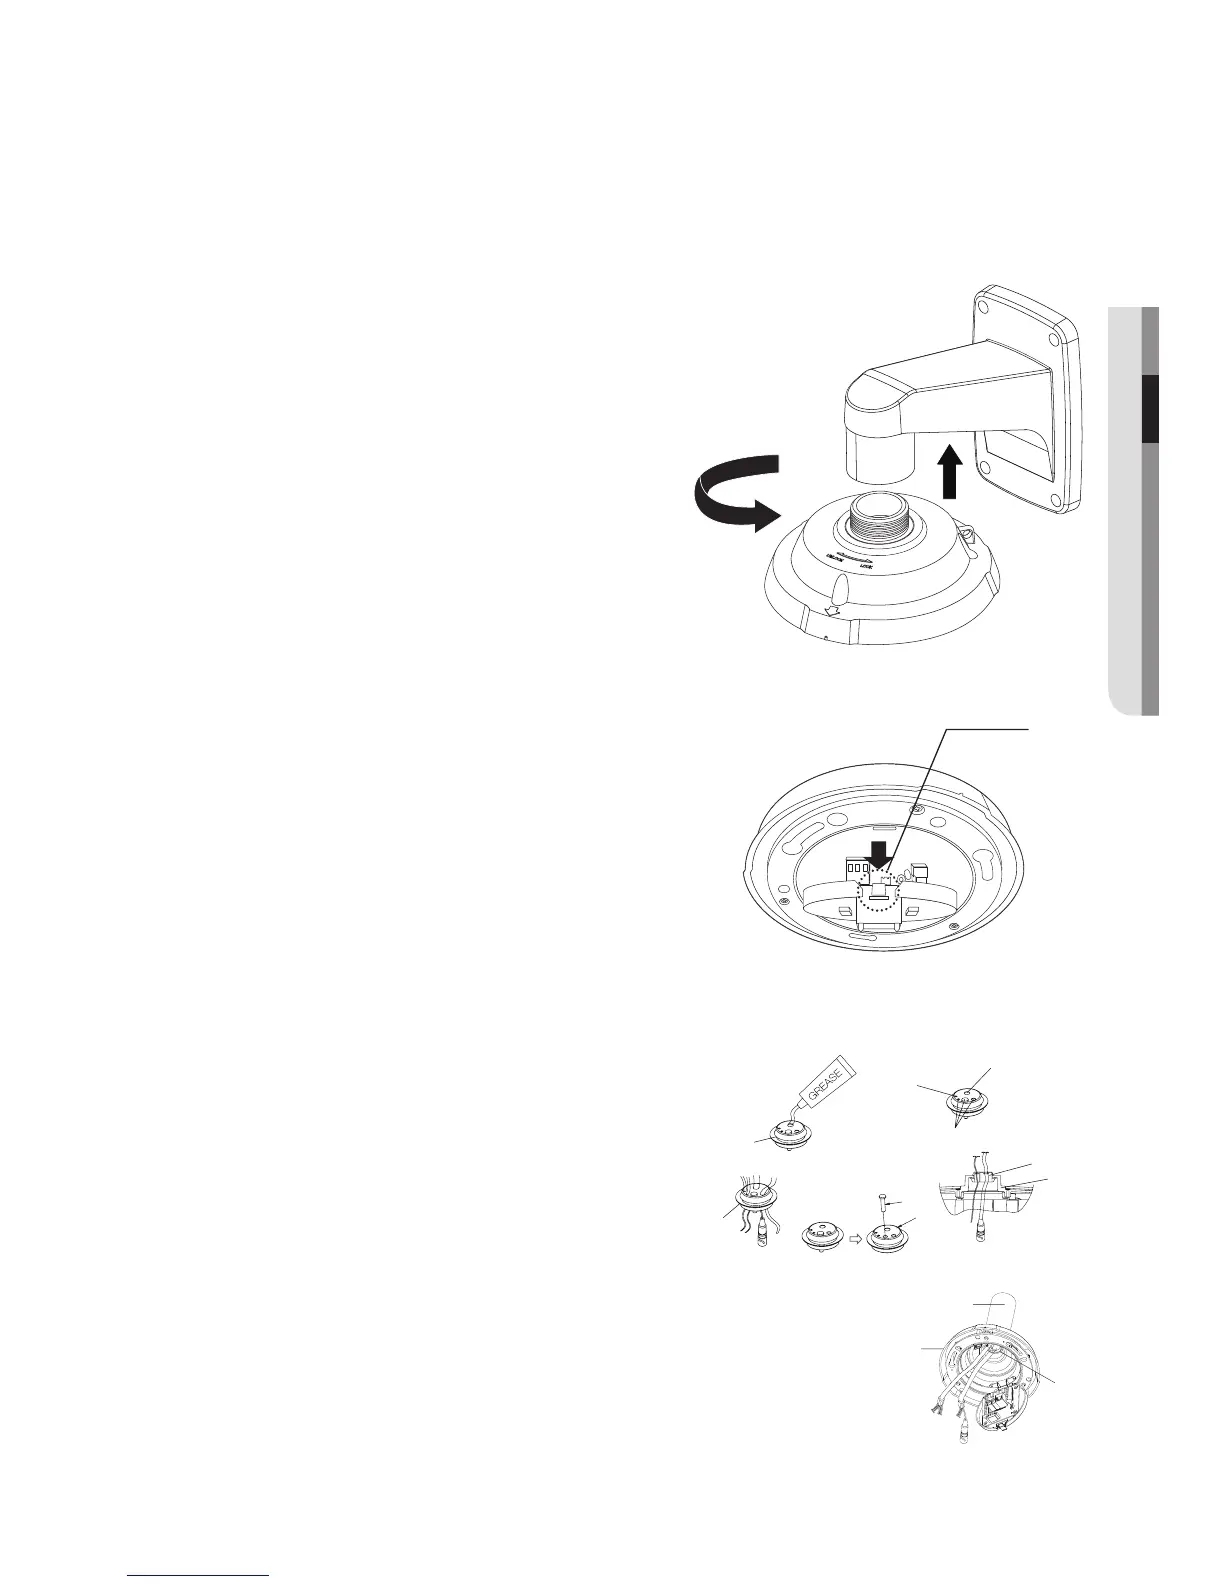
Note that BUSHINGs are provided for outdoor
installations where exposed to a moisture
condition through the PIPE or MOUNT, install
the HOUSING using the BUSHING to prevent
moisture entering.
-
Apply grease of proper dose on the BUSHING
before assembling, and run cables through each hole of the
bushings. Use PINS to stop up empty holes having no cable
running.
-
Assemble the BUSHING to the top side of HOUSING’s inside
as shown in the diagram below. At the moment, apply pressure
evenly on the BUSHING to secure it tightly to the HOUSING as
shown in the diagram.
Knob
BUSH
BUSH
하우징
기타 케이블
POWER (AC24V)
POE+ 또는 이더넷 케이블
BUSH
핀
BUSH
 Loading...