STEP 5: FILL TANKS
PROCEDURE
1. Ensure that both steam actuators are in the “off” position, the drain
hoses and water lines are connected, and the cup tray panels have
been removed (per previous steps).
2. Turn on the main water supply.
3. Check the inside of the machine for leaks or collected water.
4. Turn on the power to your machine by pressing the power switch;
the steam
tank will begin to fill.
Filling will take 1-2 minutes and is complete when the pump motor
ceases to work and a “click” is heard.
5. Wait until the steam tank has filled completely, then fill the
groupheads by moving the brew actuators left, to the “on” position,
until water begins to flow. Factory settings for the volumetrics are
set (reference Factory Settings on page #20). You may need to
repeat this step multiple times, until water begins to flow.
6. Move the brew actuators right, to the “off” position.
7. Activate the electronics by pressing any one of the jog wheels on
the Barista Dashboard.
DO NOT move the steam actuators to the “on” position.
DO NOT engage the white heating element breaker.
1. Ensure that both steam actuators are in the “off” position, the cup
tray panels
have been removed, and the tanks have filled completely (per
previous steps).
2. Turn on the heating elements by moving the heating element
breaker left, to the “on” position.
Do not move the steam actuators to the “on” position.
3. Wait until the machine has heated fully, then move one of the
steam actuators down, to the “on” position. If steam is produced,
proceed to the next step. If no steam is produced, wait several
minutes before repeating this step.
4. Check the inside of the machine for leaks or collected water.
The anti-suction valve on the steam tank may sputter and release
small drops of water when first building pressure. During your
inspection, check for large pools or steady streams of water.
5. Install the four (4) cup tray panels.
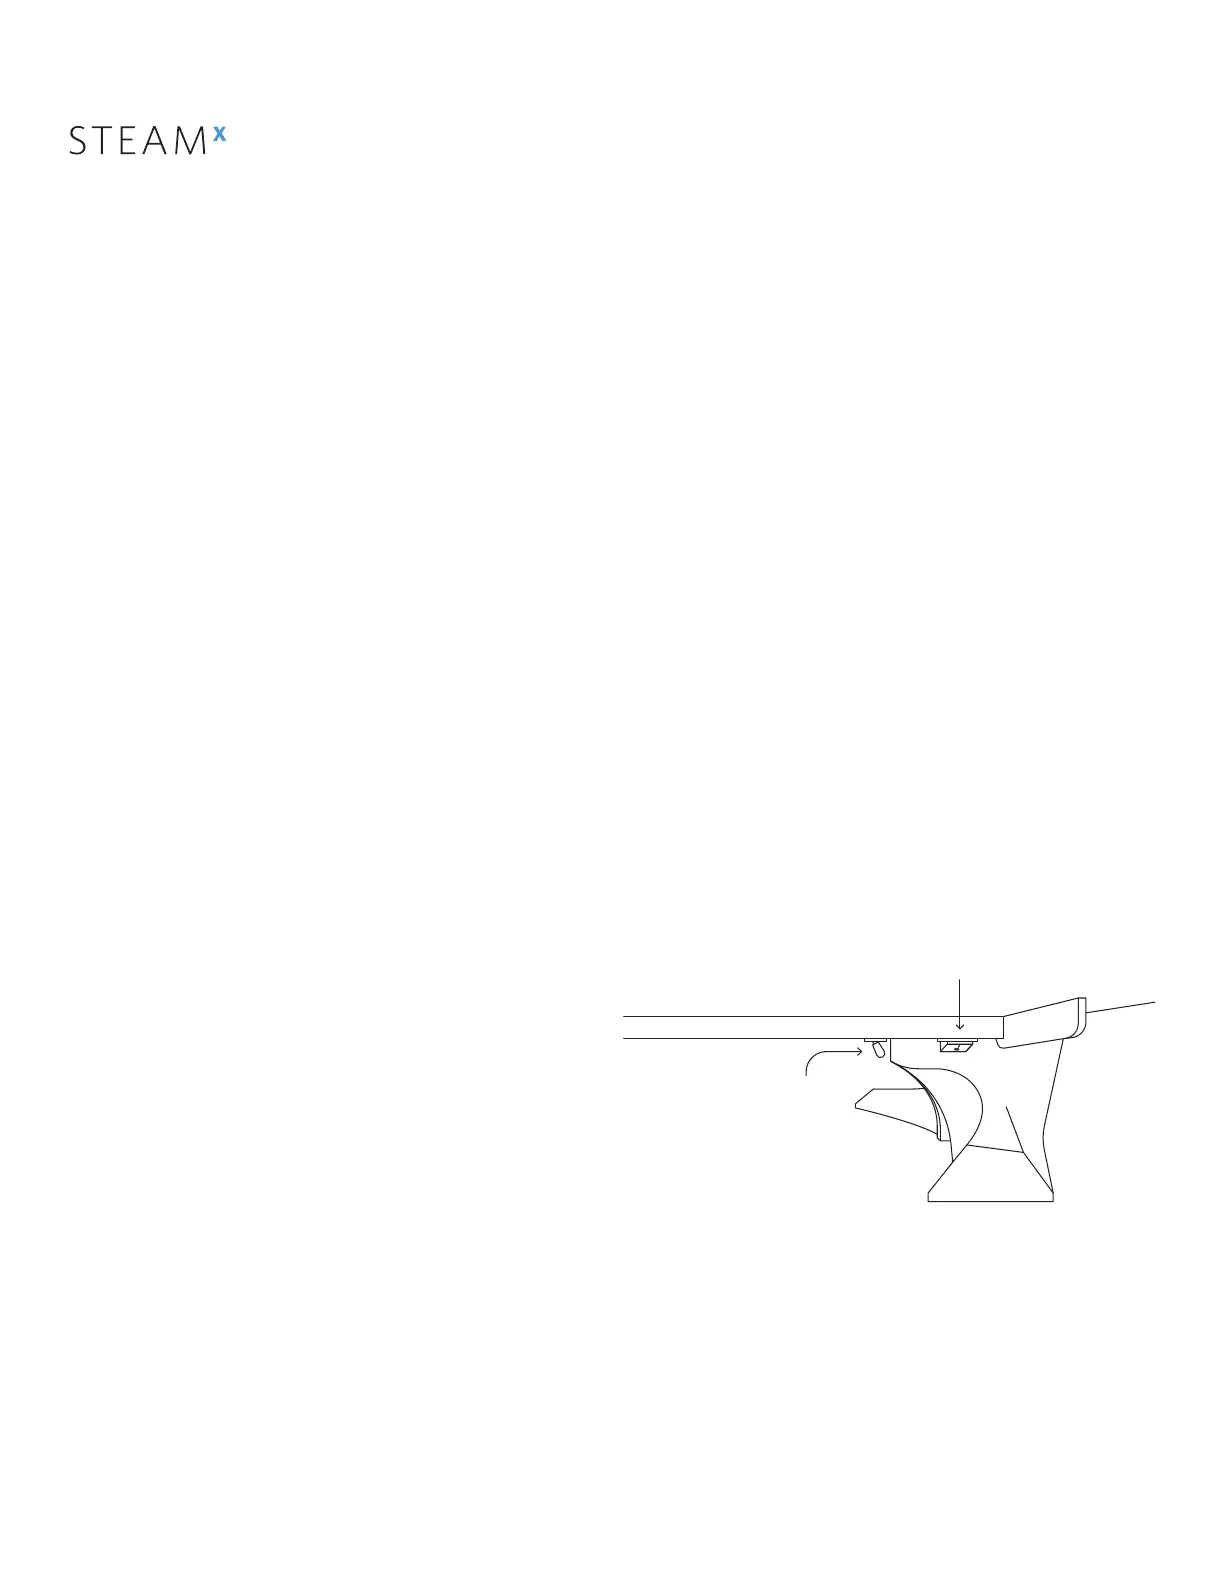
STEP 6: TURN ON ELEMENTS
PROCEDURE
Breaker
Power
SLAYER STEAM X USER MANUAL V1.1 | SEPTEMBER 2019
15
 Loading...
