- 10 -
(5) Configuration
Using the PLC setting software, the following steps are required to use the JXCP1 on a PROFINET
network.
- Install the GSDML file and icon.
- Using the hardware configurator, create a PROFINET network then add the device
(JXCP1 controller).
- Using hardware configurator, assign a device name and IP address to the device
(JXCP1 controller).
- Write a device name directly into the physical device (JXCP1), this should match the name used in
the hardware configuration.
When the setting of the PLC and JXCP1 controller is completed and the PROFINET communication
is established, the LED’s on the front of the controller will be set as shown in the table below.
Controller is operating correctly.
PROFINET connection is established.
Refer to
7 LED display (P.28)
for the explanation of the LED’s.
Communication between PLC and controller is not established when the BF red LED is on or is
flashing red.
Communication between PLC and controller is not established.
Refer to
19. Troubleshooting (P.79)
Check if the communication speed of the PLC and controller and the information of the host computer
are correctly set.
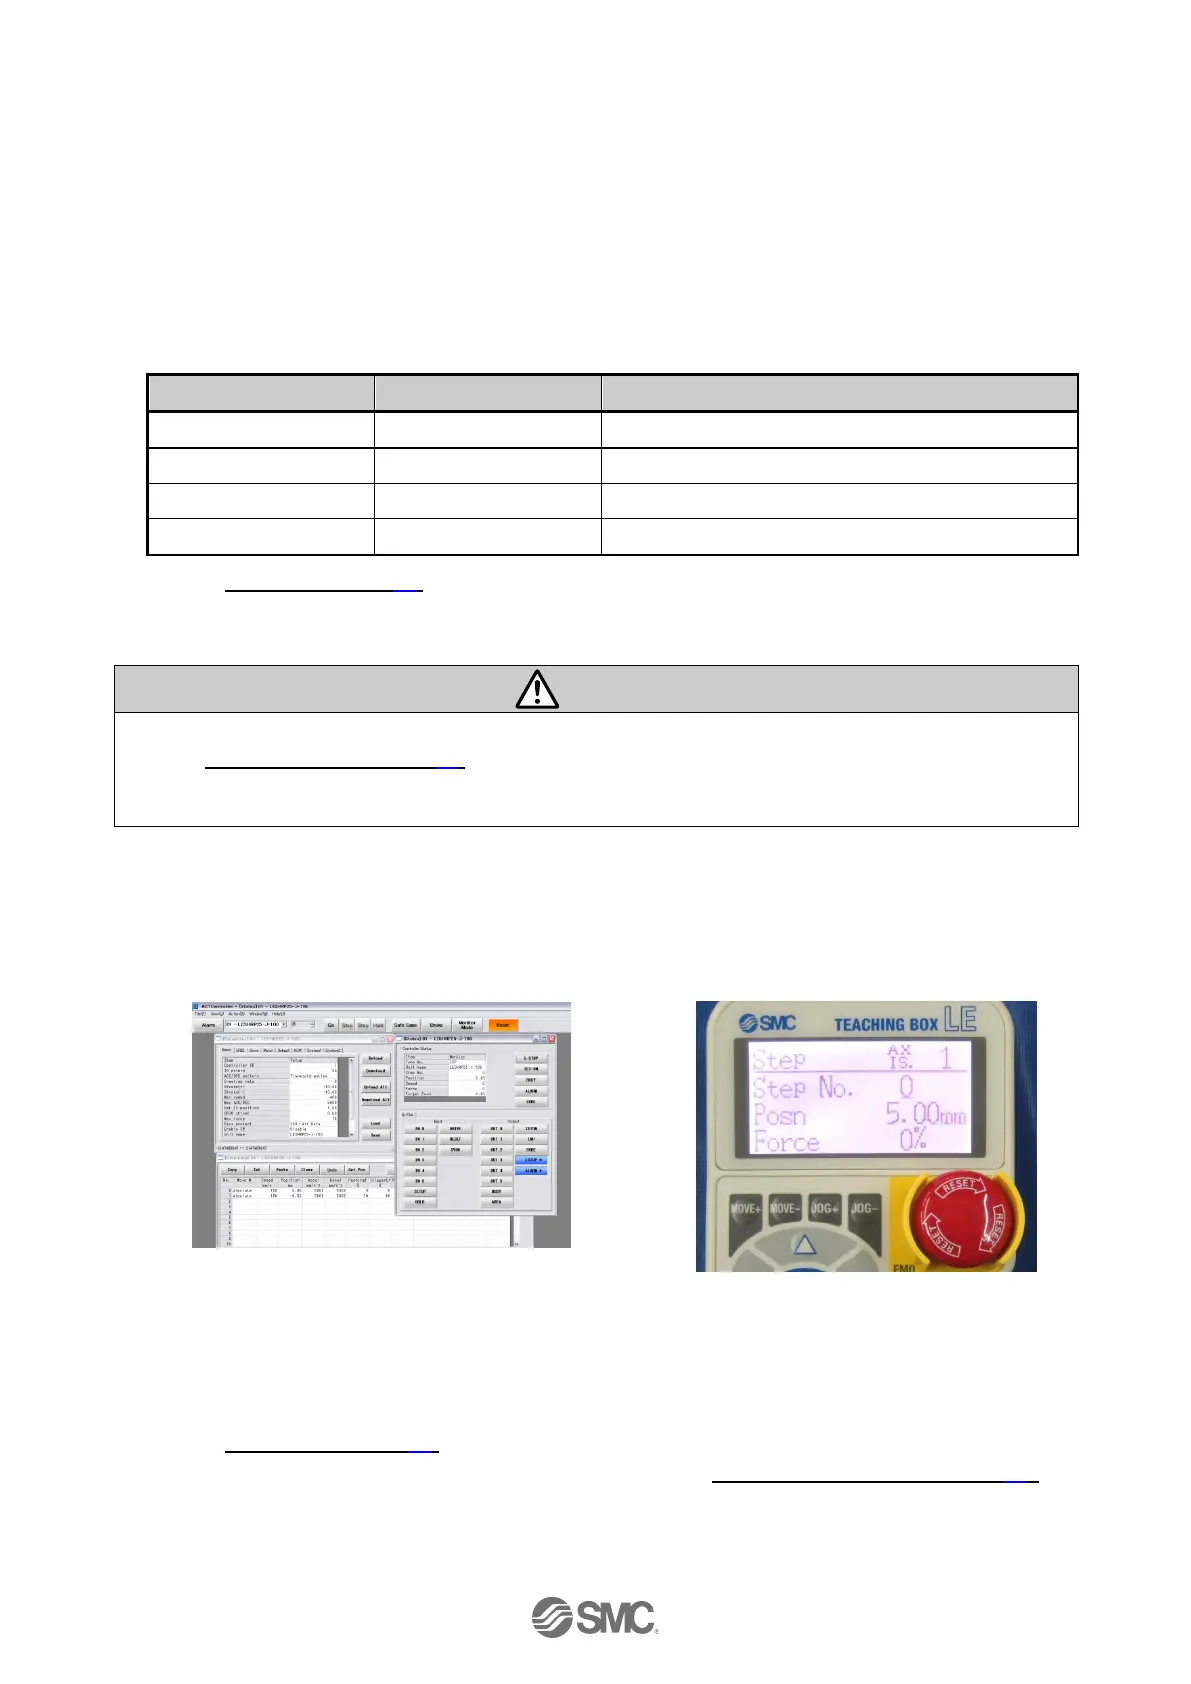
(6) Setup of the operation parameters
Set up the operation pattern (step data, basic parameters and return to origin parameters) to specify
the target position, speed, etc. by using a PC (with the controller setting software) or the teaching
box.
Please refer to the manuals of the controller setting software or the teaching box for how to set up the
operation pattern.
(7) Test run
Refer to
9. Memory map (P.30)
for the assignment of the memory.
Input signals from PLC for checking the operation. Refer to
13. Operation Instructions (P.52)
for
the operation.

 Loading...