3. PROD CANCEL check
Equipment: Oscilloscope
Test Point: TP1051 (F-5) /DPR-361 board
Adjusting Point: RV1050 (PROD RTS CANCEL) /DPR-361 board
Specification: There must be a point where “A” becomes the minimum within the range (60°) shown in the figure.
Check (ENG CANCEL)
1. Set the INTERCOM switch on the front panel to ENG.
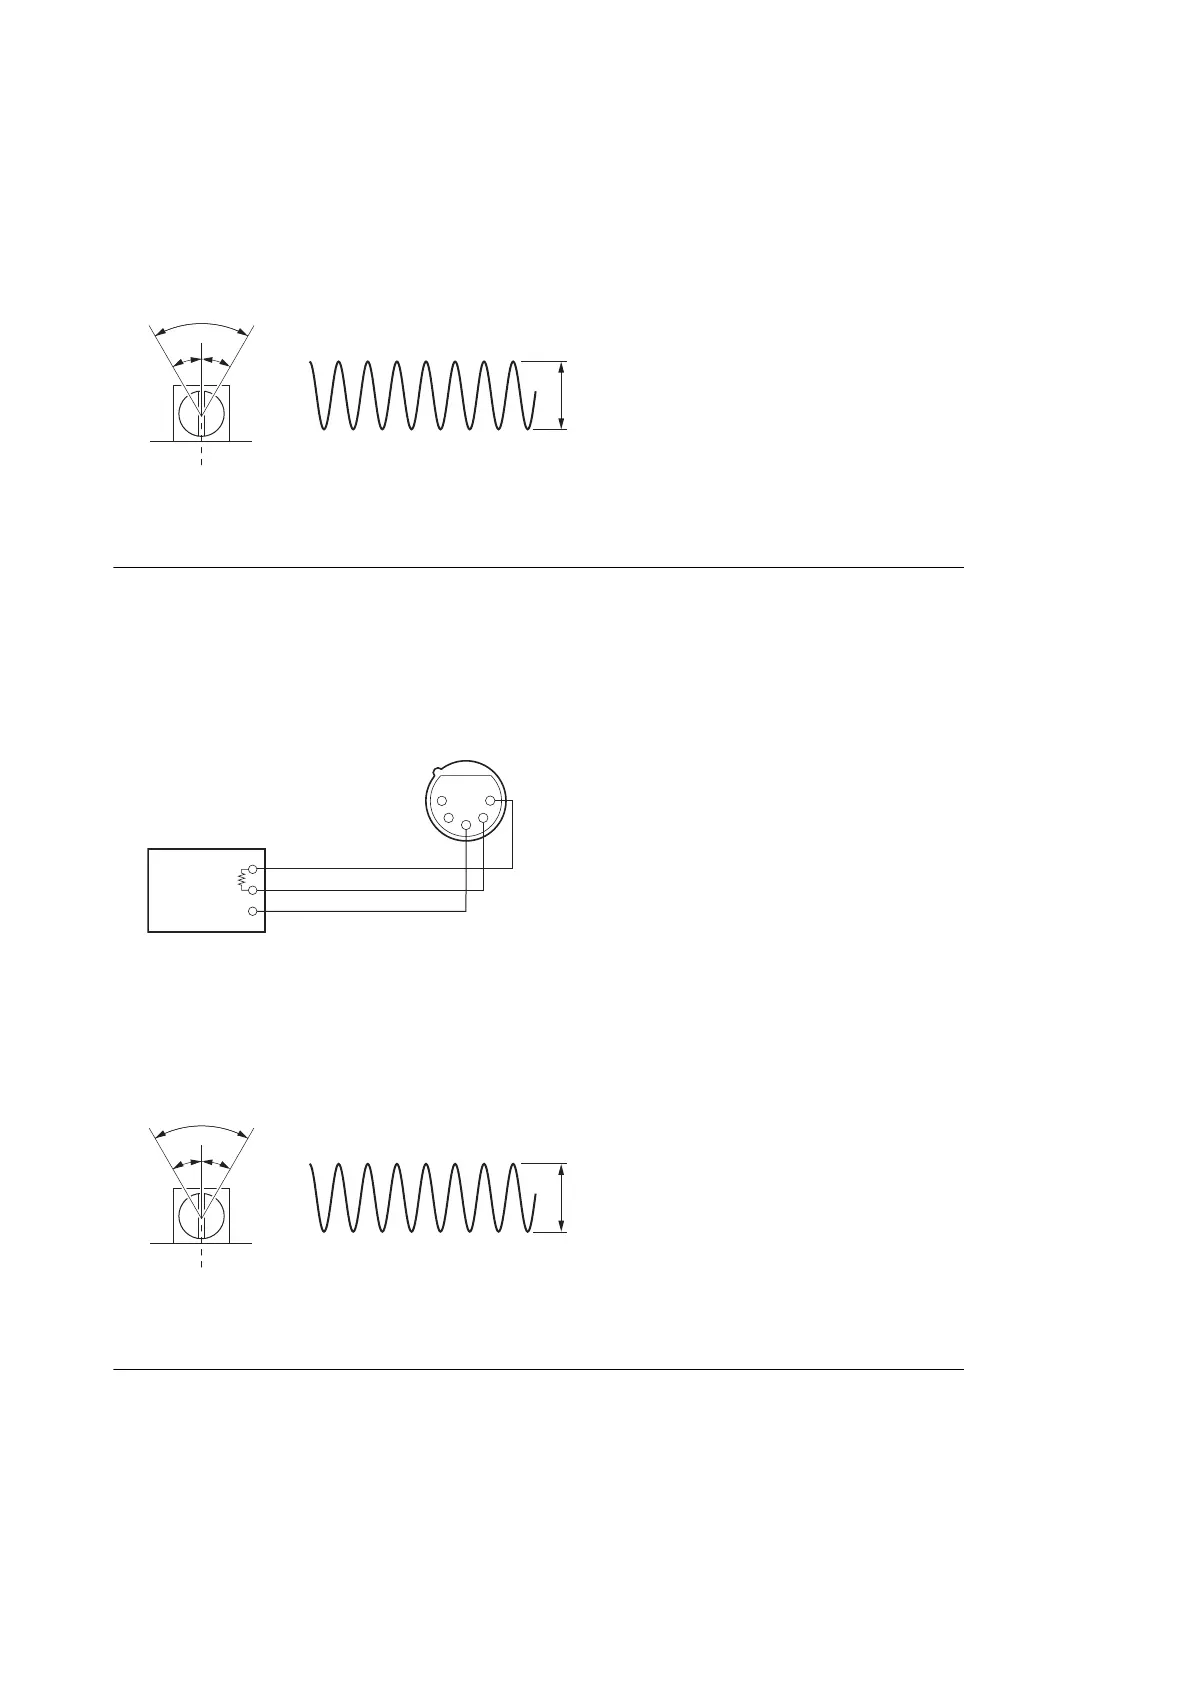
2. Input a sine wave (1 kHz, 220 mV p-p (-20 dBu)) to pin 2 (X), pin 1 (Y), and pin 3 (G) of the INTERCOM connector
from the audio oscillator.
600 Ω
Audio oscillator
INTERCOM connector
(Front panel)
GND
1
2
3
4
5
3. ENG CANCEL check
Equipment: Oscilloscope
Test Point: TP1050 (F-5) /DPR-361 board
Adjusting Point: RV1051 (ENG RTS CANCEL) /DPR-361 board
Specification: There must be a point where “B” becomes the minimum within the range (60°) shown in the figure.
Setting after Adjustment
After this adjustment is completed, set the switch and CCU CONFIGURATION menu to the previous state.
HXCU-TX70
5-4
 Loading...