15
Before installing the camera
Determine the shooting direction of the camera,
and then make the holes for the ceiling bracket
(B) and the connecting cables on the ceiling.
Notes
• The connecting cables cannot be passed
through ceiling bracket (B). A hole for the
wiring is required in the ceiling at the back of
the camera where it is attached to the ceiling.
• The recommended tightening torque for each
s
crew are described in below.
M3: 0.6 N·m (6.1 kgf·cm)
M2.6: 0.4 N·m (4.1 kgf·cm)
How to install the camera
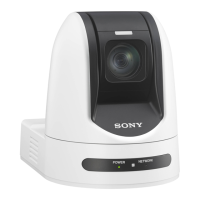
1 Attach the wire rope to the ceiling.
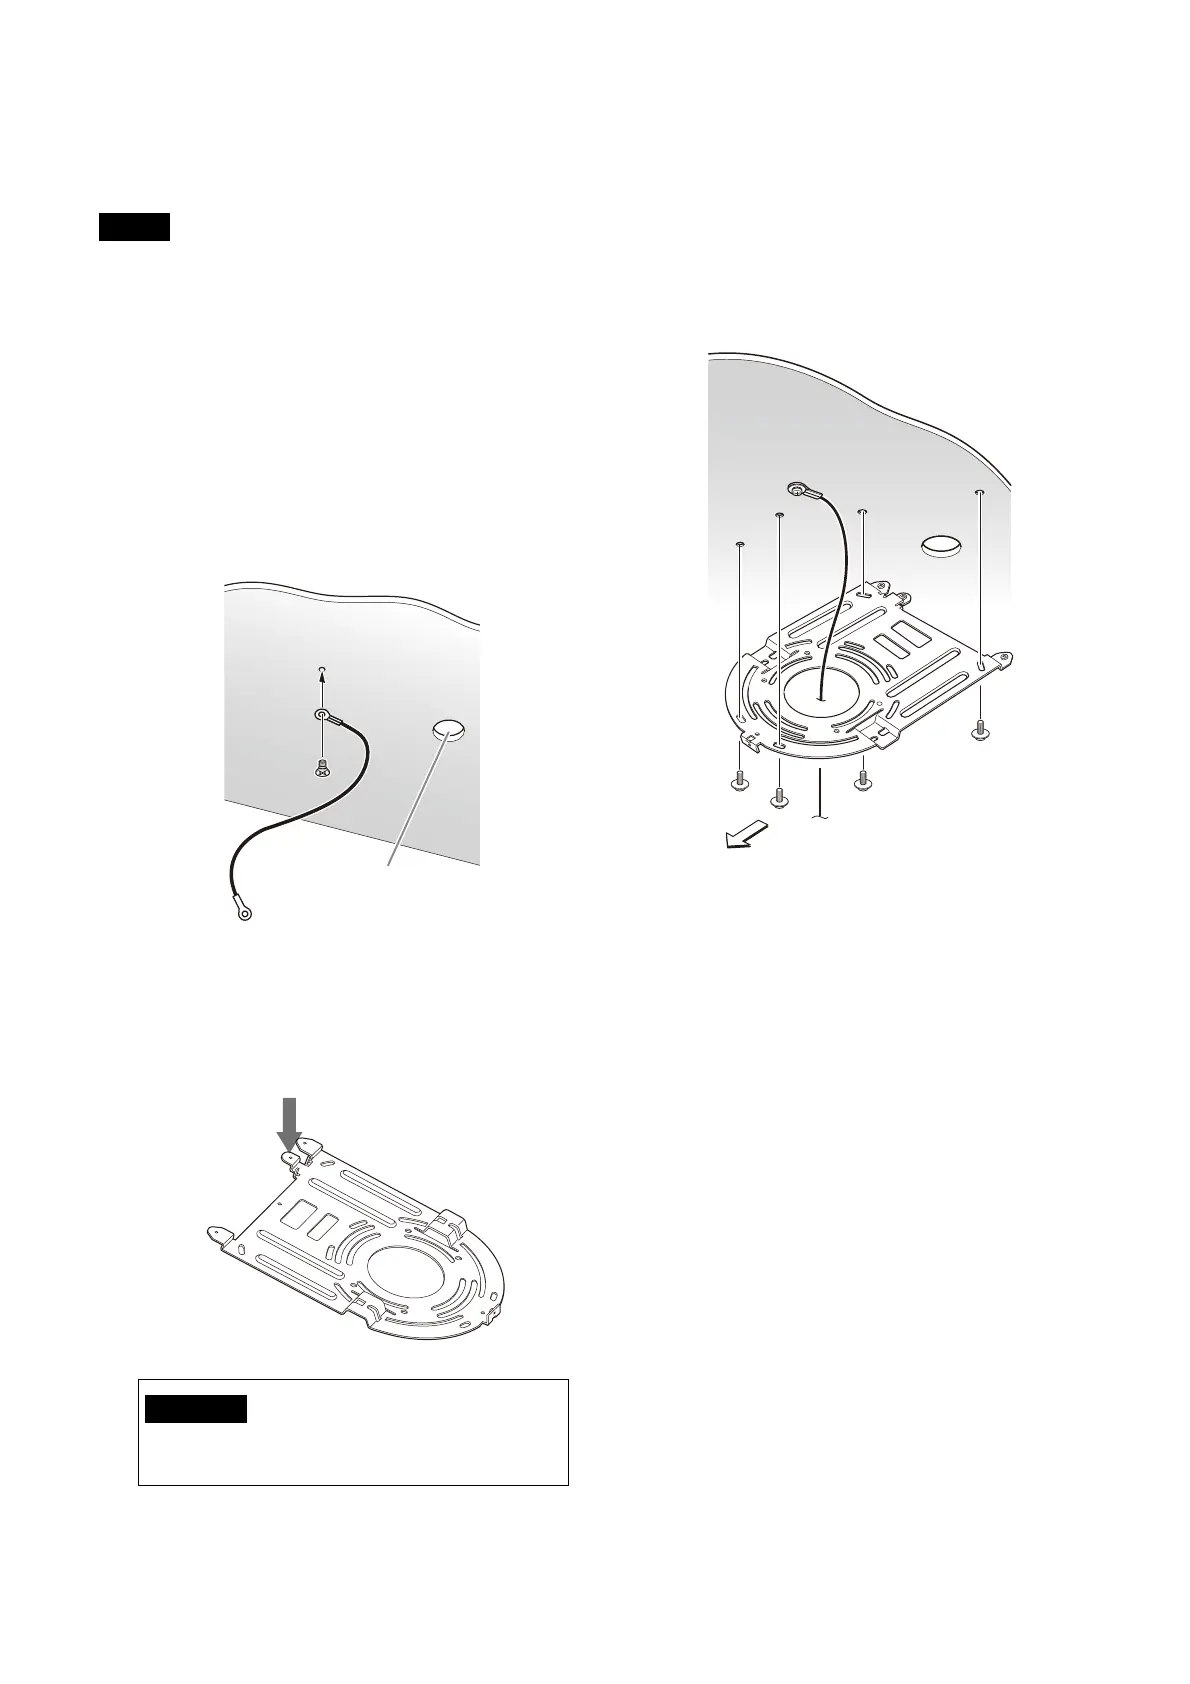
1-2 In the case that a wire cannot be attached
on the ceiling, attach the wire on the ceiling
bracket (B) as illustrated below with the
supplied screws (M3×8).
2 Attach the ceiling bracket (B) to the ceiling.
When attaching the ceiling bracket (B) to the
c
eiling, it is recommended to fix at the 4
positions illustrated below.
There are elongated holes for the screws
alo
ng the rounded edges of the ceiling
bracket (B). Later, the front of the camera will
be positioned along this edge. Face the
camera to the front, adjust the aim, and
attach it securely.
3 Attach the ceiling bracket (A) to the bottom
of the camera using the 4 screws (M 3 × 8)
supplied.
Align the bracket holes with the screw holes
o
n the camera, and attach the bracket to the
camera.
WARNING
Use the supplied screw. Otherwise, the wire
rope may not function properly.
Ceiling
Hole for
connecting cable
Front of the camera
Ceiling
bracket (B)
Ceiling
 Loading...