– 92 –
APPENDIX
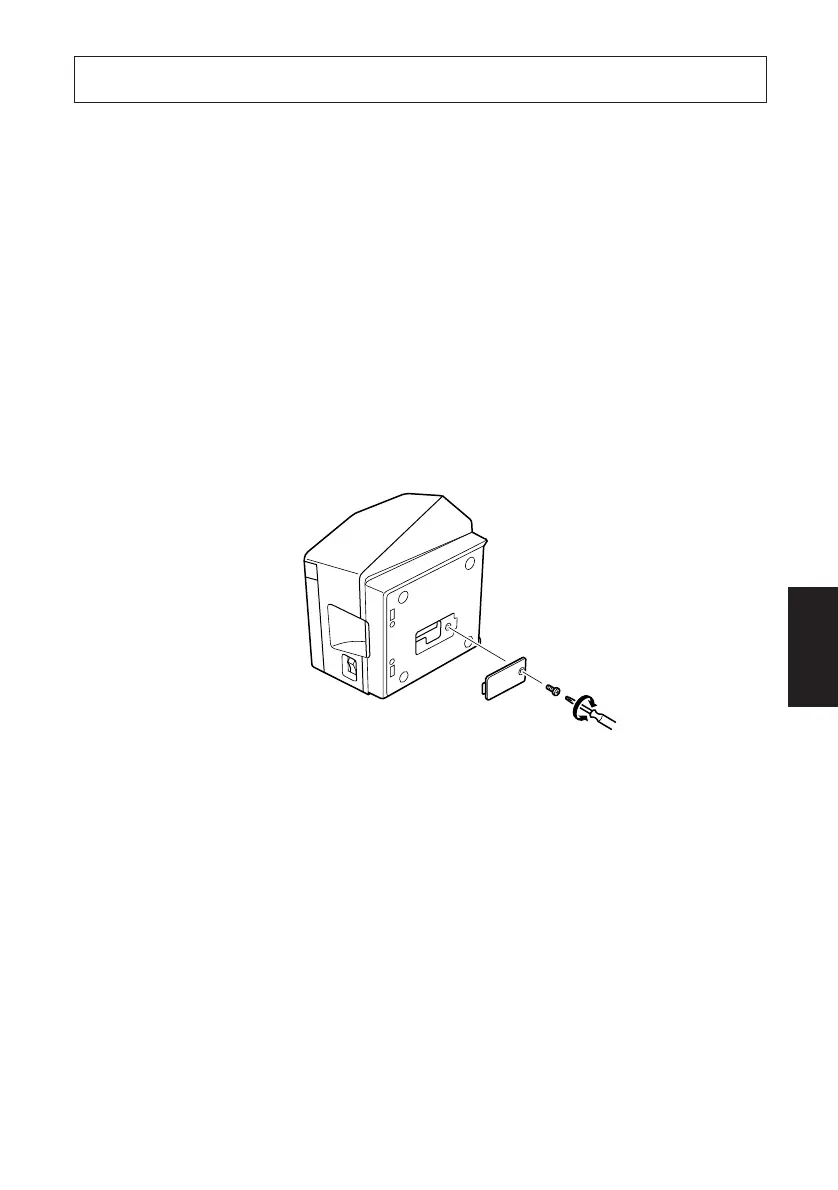
Appendix B: Dip Switch Setting
Two DIP switches are provided at the bottom of the printer, and can be set as given
in the table below. Be sure to set the power switch to off before changing the
settings. It is recommended to use a pointed item like a pen or flat-blade driver
screw to change the settings. The settings will become effective when the power
switch is set to on again.
The following is the procedure for changing the settings on DIP switches.
1. Make sure the printer is turned off.
2. Remove the screw from the DIP switch cover. Then take off the DIP switch
cover, as shown in the illustration below.
3. Set the switches using a pointed tool, such as a pen or flat-blade screwdriver.
4. Replace the DIP switch cover. Then secure it with the screw.
The new settings take effect when you turn on the printer.
 Loading...