Note: T he dri v er should dri v e up to the
measurement area and sta y seated in the v ehicle
while the measurement is being tak en.
If the v ehicle will be r un with medium to hea vy
loads most of the time , set the toe-in on the
high side of the recommended amount. If it
is g oing to be r un with a light load most of
the time , set the toe-in on the lo w side of the
recommended amount.
1. Ensure that the front suspension is adjusted
properly; refer to Adjusting the F ront
Suspension. Adjust if necessar y .
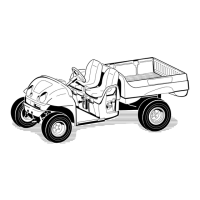
2. Measure the distance betw een both of the
front tires at the axle height at both the front
and rear of the front tires ( Figure 44 ). A fixture
or alignment g aug e is needed for the rear
measurement of the front tires at axle height.
Use the same fixture or alignment g aug e to
accurately measure the front of the front tires
at axle height ( Figure 44 ).
Figure 44
1. Tire center line-back
4. Fixture
2. Tire center line-front 5. Axle center line distance
3. Axle center line
6. 6 inches (15 cm) ruler
3. If the measurement does not fall within the
specified rang e (refer to the dimensions and
parameters at the beginning of this procedure),
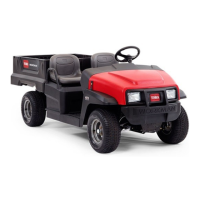
loosen the jam n uts at both ends of the tie
rods ( Figure 45 ).
Figure 45
1. Jam nut
2. Tie rod
4. R otate both tie rods to mo v e the front of the
tire inw ard or outw ard.
5. Tighten the tie rod jam n uts when the
adjustment is cor rect.
6. Ensure that there is full tra v el of the steering
wheel in both directions .
Maintaining the Primary
Drive Clutch
After ev er y 400 operating hours or yearly , clean
and lubricate the clutc h as follo ws:
1. Raise and latc h the carg o bo x.
2. Stop the engine , remo v e the k ey , and set the
parking brak e .
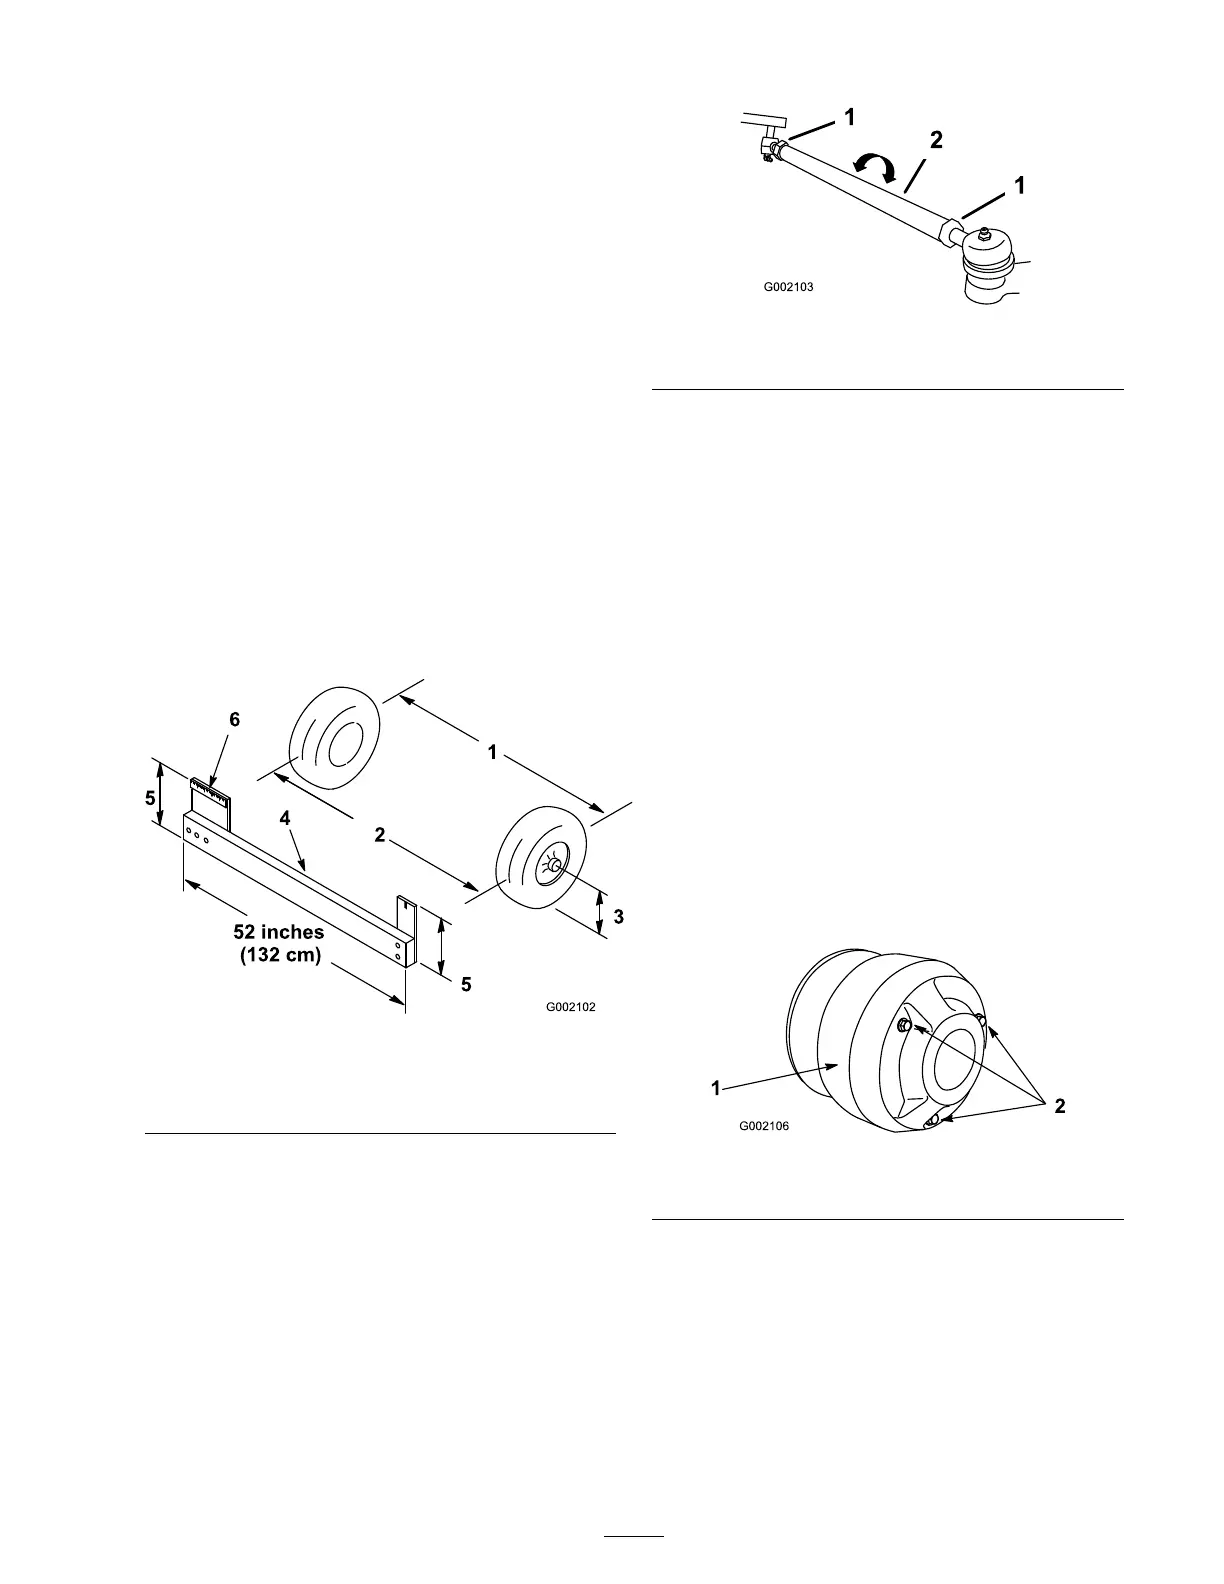
3. R emo v e the 3 bolts securing the co v er to the
clutc h and remo v e the co v er ( Figure 46 ).
Figure 46
1. Cover
2. Bolts
4. T horoughly clean the inside of the co v er
and the inner w orkings of the clutc h using
compressed air .
39
 Loading...