EasyManuals Logo

TP-Link AX5400 User Manual

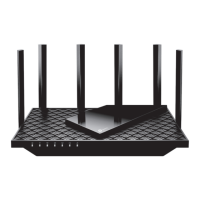
TP-Link AX5400
141 pages
To Next Page IconTo Next Page
To Previous Page IconTo Previous Page
Page #40 background imageLoading...
Page #40 background image
36
Chapter 7
Wireless Settings
7. 3. 2. Connect via the Router’s PIN
Select Router’s PIN in Method 1 to enable Router’s PIN. You can use the default PIN or
generate a new one.
Note:
PIN (Personal Identification Number) is an eight-character identification number preset to each router. WPS supported
devices can connect to your router with the PIN. The default PIN is printed on the label of the router.
7. 3. 3. Push the WPS Button
Click Start on the screen or directly press the router’s WPS button. Within two minutes,
enable WPS on your personal device. Success will appear on the screen and the WPS
LED of the router should change from flashing to solid on, indicating successful WPS
connection.
7. 4. Advanced Wireless Settings
Check advanced wireless settings for your device.

Table of Contents

Other manuals for TP-Link AX5400

Questions and Answers:

Question and Answer IconNeed help?

Do you have a question about the TP-Link AX5400 and is the answer not in the manual?

TP-Link AX5400 Specifications

General IconGeneral
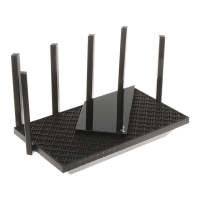
ModelArcher AX73
Wi-Fi StandardWi-Fi 6 (802.11ax)
BandsDual-Band
Maximum Speed5400 Mbps
2.4 GHz Speed574 Mbps
5 GHz Speed4804 Mbps
Frequency2.4 GHz and 5 GHz
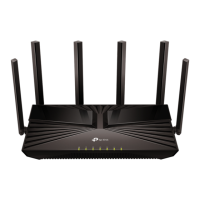
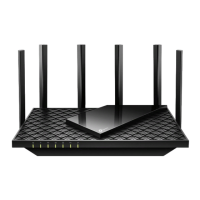
Antenna6x External Antennas
Processor1.5 GHz Triple-Core CPU
Ports1x Gigabit WAN, 4x Gigabit LAN, 1x USB 3.0
SecurityWPA3, WPA2
FeaturesOFDMA, MU-MIMO, Beamforming
Memory512 MB RAM

Related product manuals