All rights reserved 8 Servicemanual_UR3_en_rev3.1.2
2.2 Robot arm
2.2.1 Visual inspection of robot arm
Of safety reasons confirm that the 4 rubber covers over the mounting screws are present on the
Base mounting bracket.
If you observe oil on the robot arm you simply clean it with a cloth.
In very rare cases the grease is from the inside of the joint. There is still enough grease in the gear
for life time you just clean the joint with a cloth.
Move robot arm to HOME position (if possible)
Turn off and disconnect power cable from controller
Inspect cable between controller and robot arm for any damage
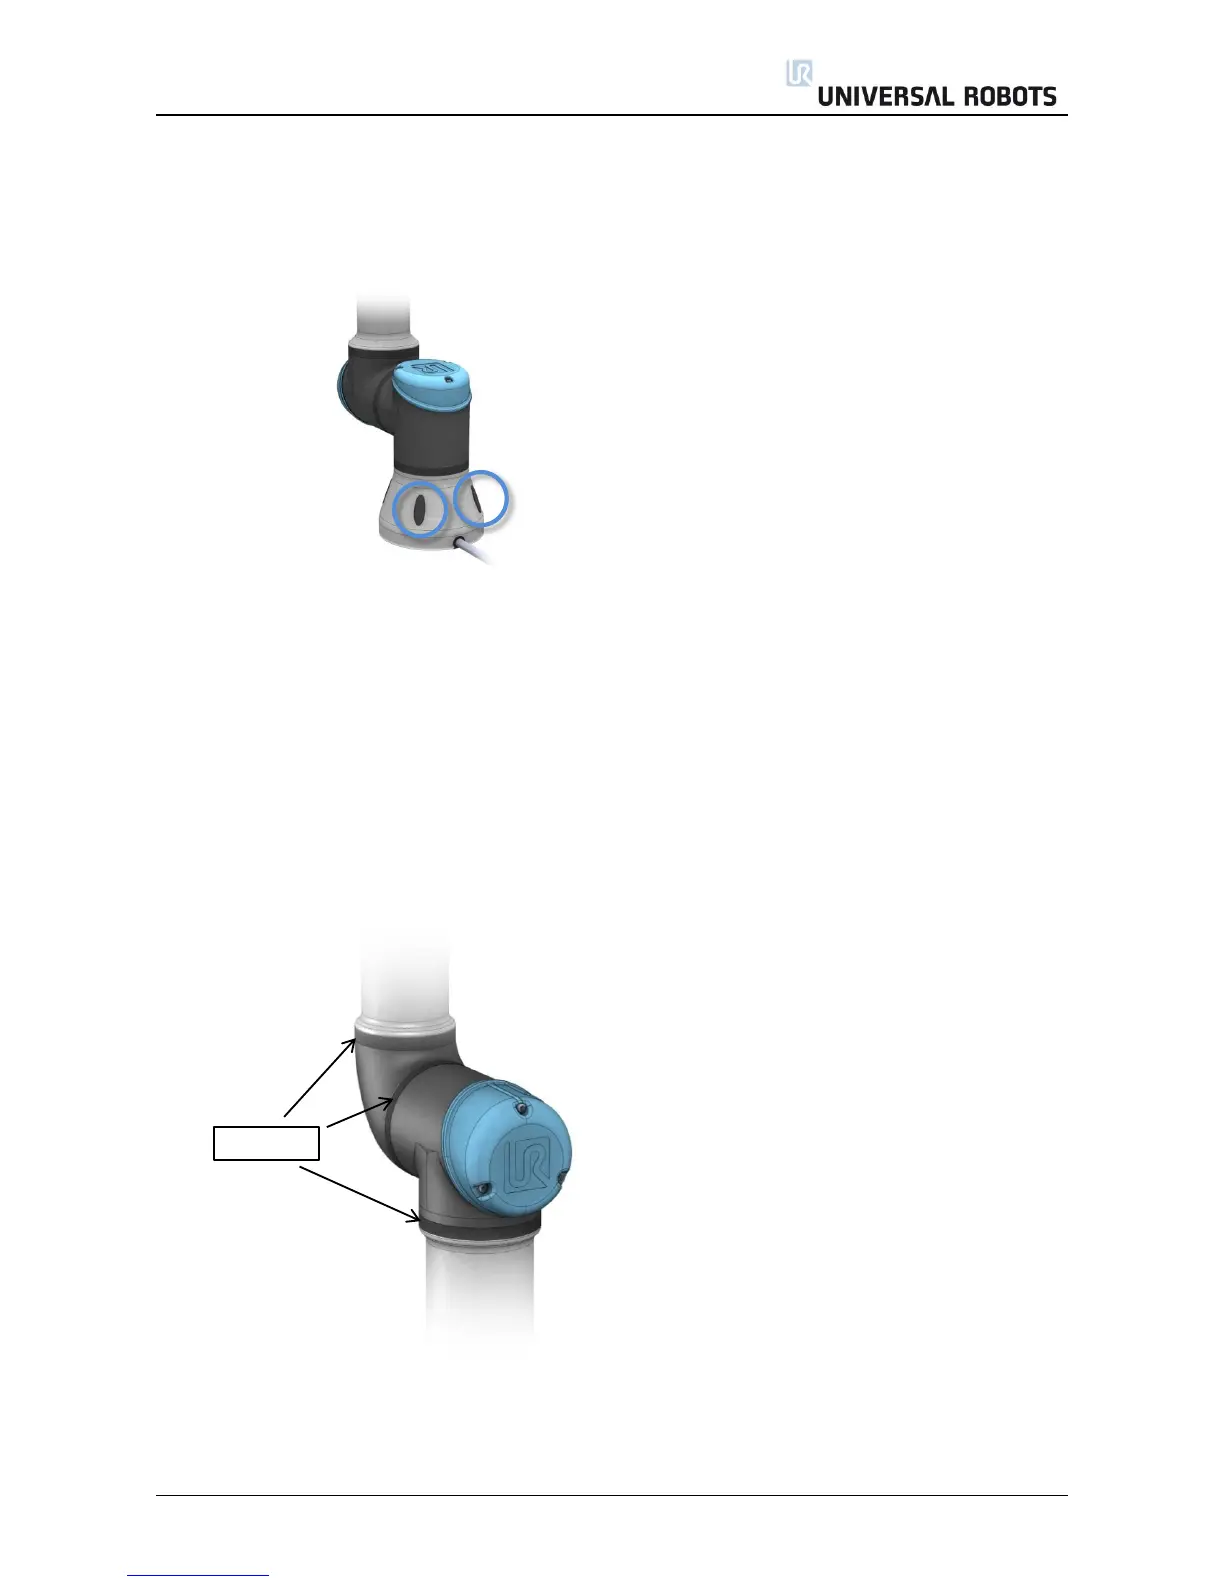
Inspect flat rings for wear and damage
» Replace flat rings if worn out or damaged
Inspect blue lids on all joints for any cracks or damage
» Replace blue lids if cracked or damaged.
Inspect that screws for blue lids are in place and properly tightened
» Replace screws, tighten properly if necessary
Correct torque value for screws on blue lids are 0.4Nm
If any damage is observed on a robot within the warranty period, contact the distributor from which the
robot has been purchased.

 Loading...


