5-2
Sending Functions
Original Size
Select the size of originals that will serve as the basis for scanning. Be sure to select the original size before starting
the sending process.
Choose the original size from the following groups of original size.
Use the procedure below to select the original size when sending scanned images.
1 Press the Send key.
2 Place the original.
3 Press the Function Menu key. Function Menu appears.
4 Press the U or V key to select [Original Size].
5 Press the OK key. Original Size appears.
6 Press the U or V key to select the desired original size
and then press the OK key.
Completed. is displayed and the screen returns to the
basic screen for sending.
7 Specify the destination, and press the Start key to start
sending.
NOTE: Press the Reset key to reset the settings selected in
Function Menu.
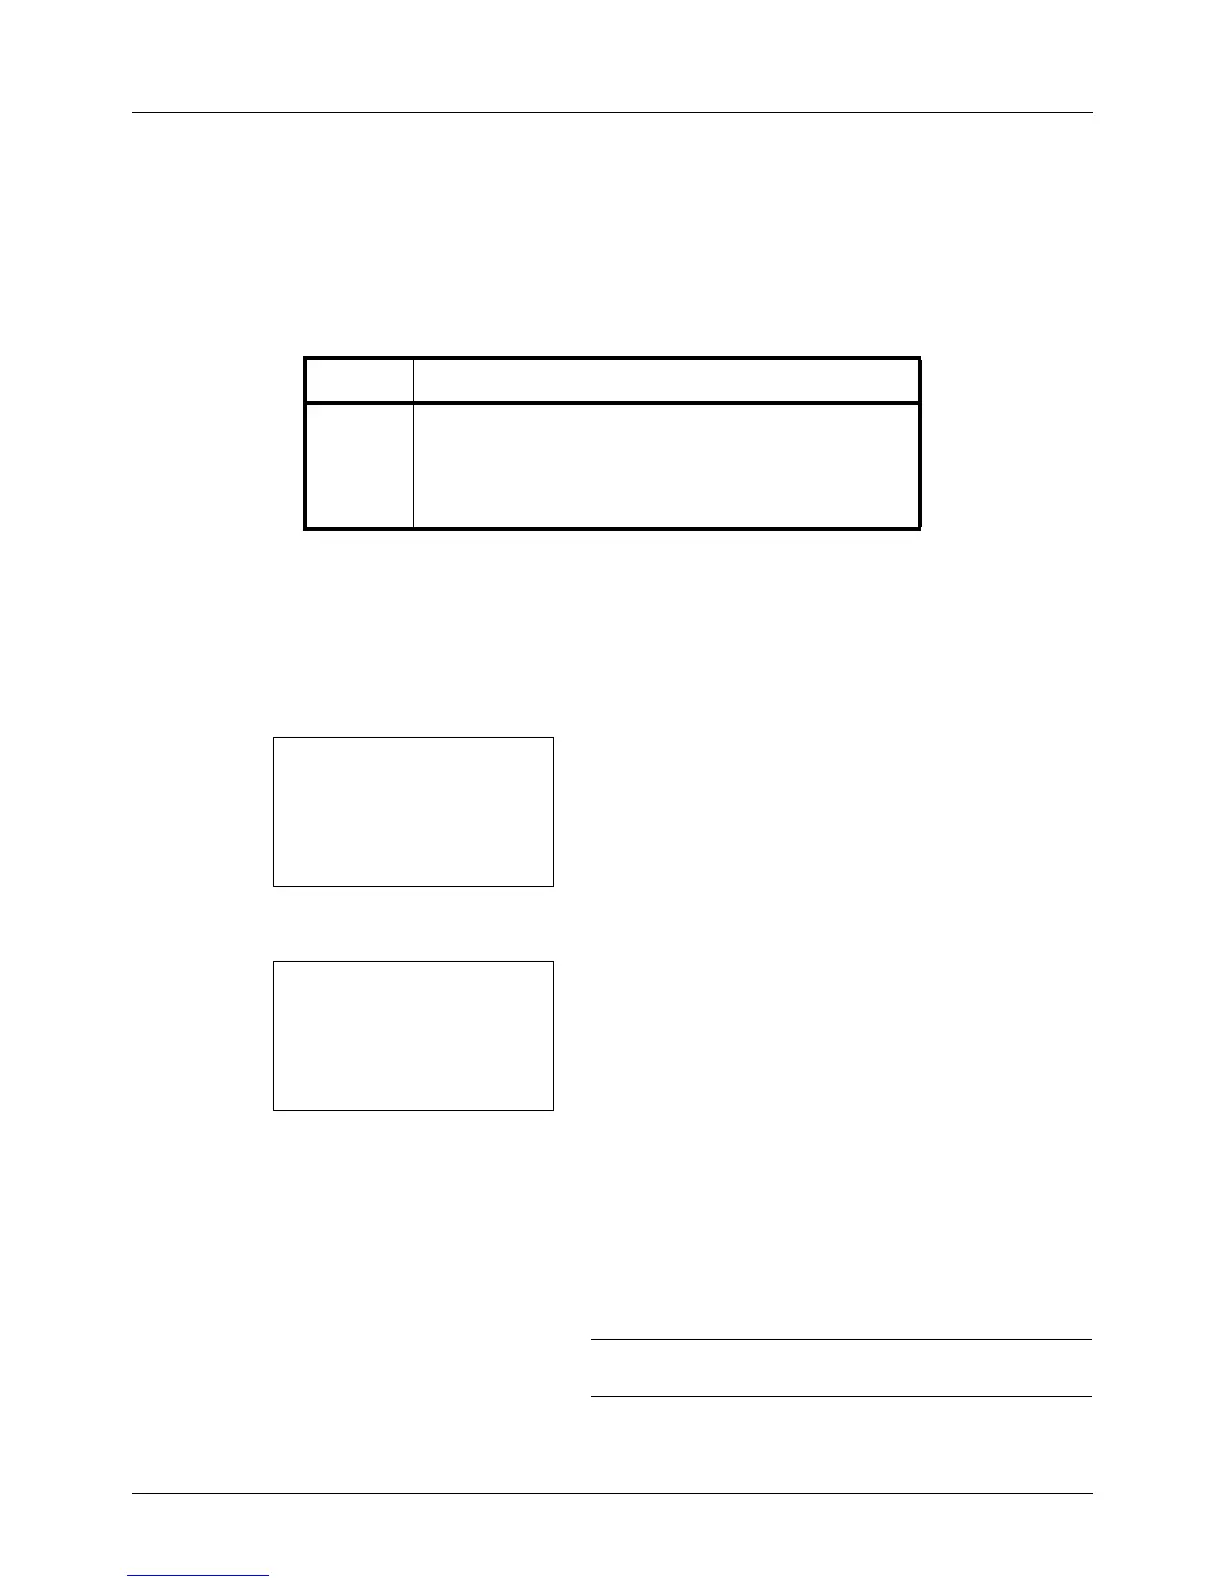
Item Size
Original
Sizes
Letter, Legal, Statement, Executive, Officio II, A4, A5, A6,
B5, B6, Folio, 16K, ISO B5, Envelope #10, Envelope #9,
Envelope #6, Envelope Monarch, Envelope DL, Envelope
C5, Hagaki, Oufuku Hagaki, Youkei 4, Youkei 2 and
Custom*
* Regarding the setting method of Custom Original Size, refer to
Custom Original Size Setup on page 8-7.
 Loading...