_________________________________________________________________________________________________________________________________________________________
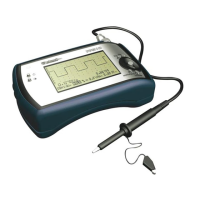
*The pictures may differ depending on the type of PersonalScope
10
OPERATION
G NOTE:
• If functions are used together with cursor keys a short indication will pop up at the right bottom of the screen.
• Some keys have double function selected with a long --- or short — press.
• In most selections, the unit will return to the default t-V/div mode if no key is pressed during 10 sec, a selection
will be cancelled.
POWER ON/OFF
Short press: On (Off) with auto power off timer.
Long press: On without auto power off timer.
G Note:
• Pressing a key resets the auto power off timer.
• The power-off mode is displayed at the bottom of the screen during start-up.
• All scope settings are retained after power off.
• If ‘HOLD’-mode was selected prior to pressing the ‘power on/off’-key, the displayed waveform will be retained.
G Just for HPS40 :
• After power on, the unit will send the current data through the RS232 port:
1– Settings and samples stored in memory.
2– Settings and samples of the screen.
Use a standard terminal program or download software from our web site.
ADJUSTING THE CONTRAST
Short press: Backlight on/off. (Only for HPS40)
Short press: Maximum contrast (Only for HPS10)
Long press: Change the contrast.
Keep pressing the ‘Contrast’-key to change the contrast. Release the button at the desired setting.
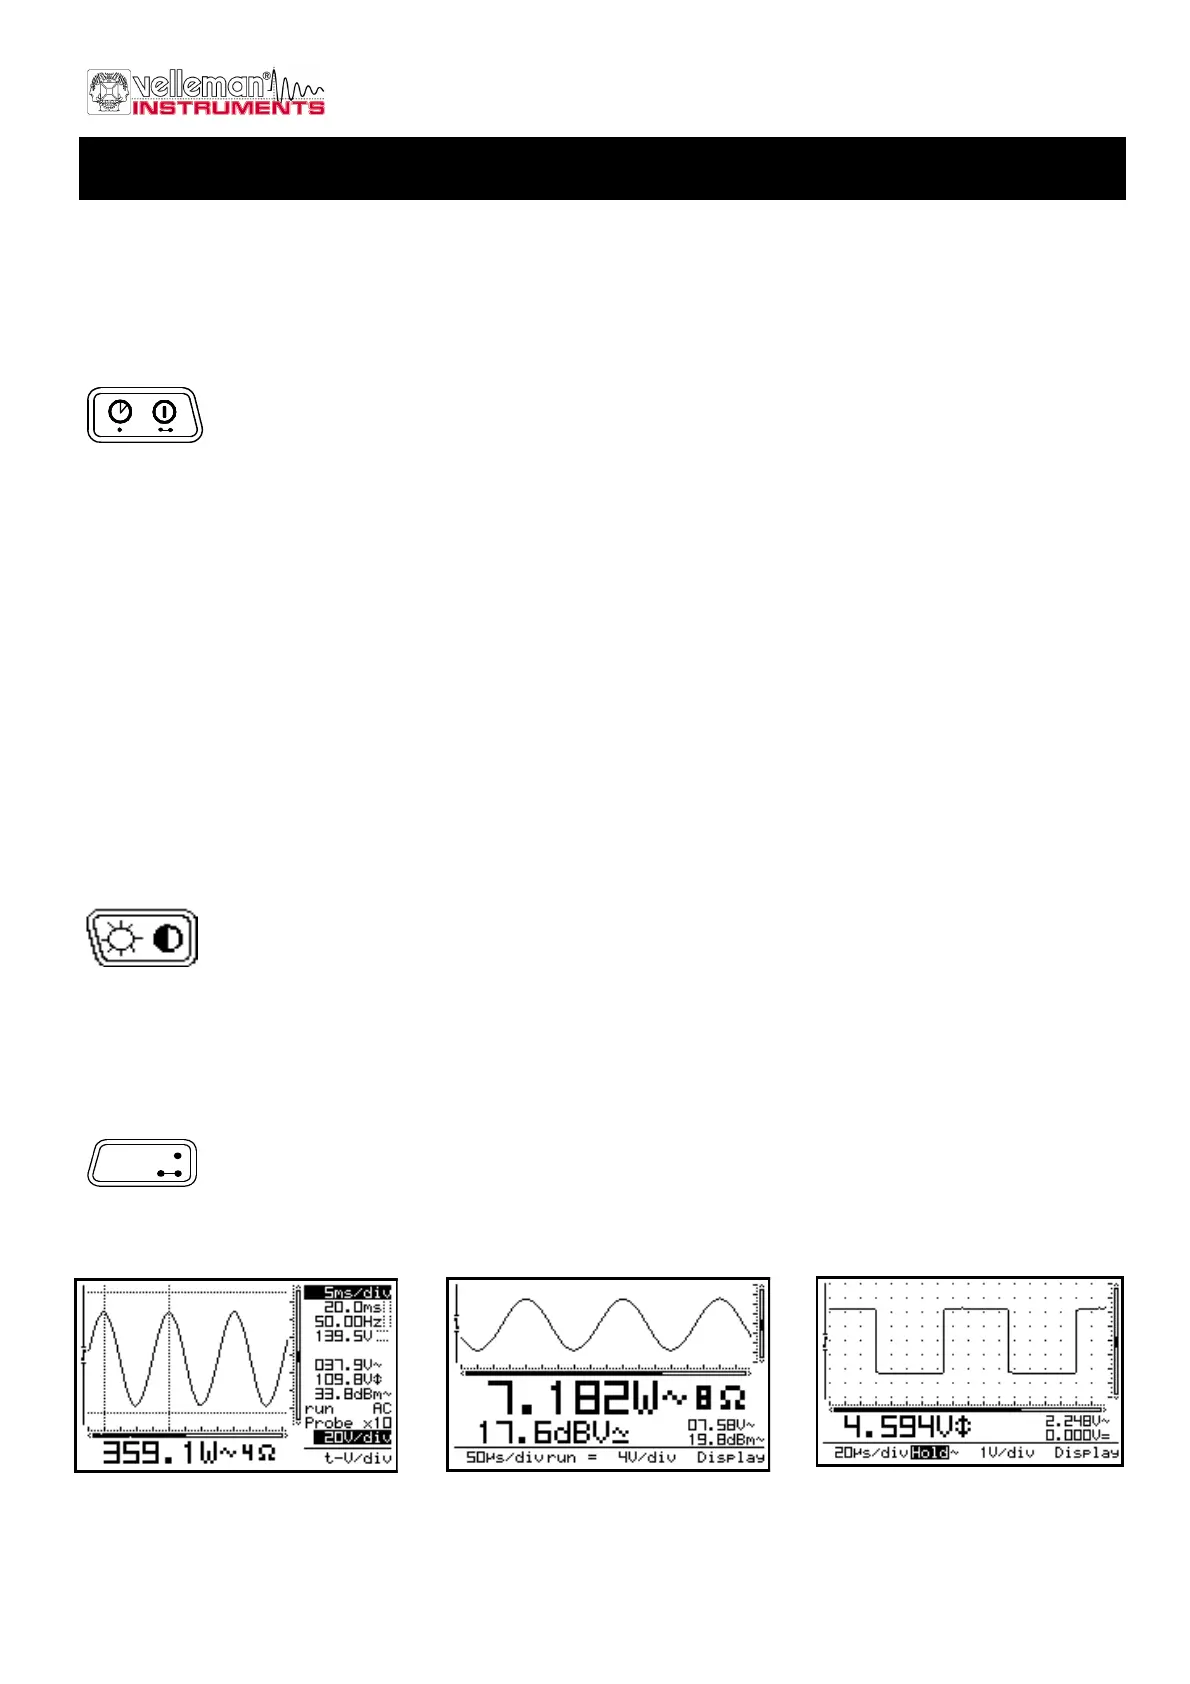
DISPLAY SET-UP
Short press: Use the left/right cursorkeys to select one of the 5 screen layouts. (See fig.9 to 13)
Use the up/down cursorkeys to view/hide the markers or grid on the screen.
Display
Setup
Fig 11
Fig 10
Fig 9
 Loading...