_________________________________________________________________________________________________________________________________________________________
The pictures may differ depending on the type of PersonalScope
15
• For all AC measurements: Make sure that at least one or two periods are displayed or select the
auto-setup function.
• You can choose “none” to hide readouts.
• Depending on the selected screen layout one to four different meter readouts can be displayed.
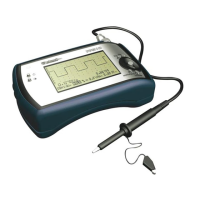
• At 1s/div timebase or slower, the readouts are forced to the instant information. ‘Vs’ (Fig. 25)
• If no key is pressed during 10 seconds, the unit returns to its previous operating mode and the
cursorkeys are set for changing the timebase and sensitivity.
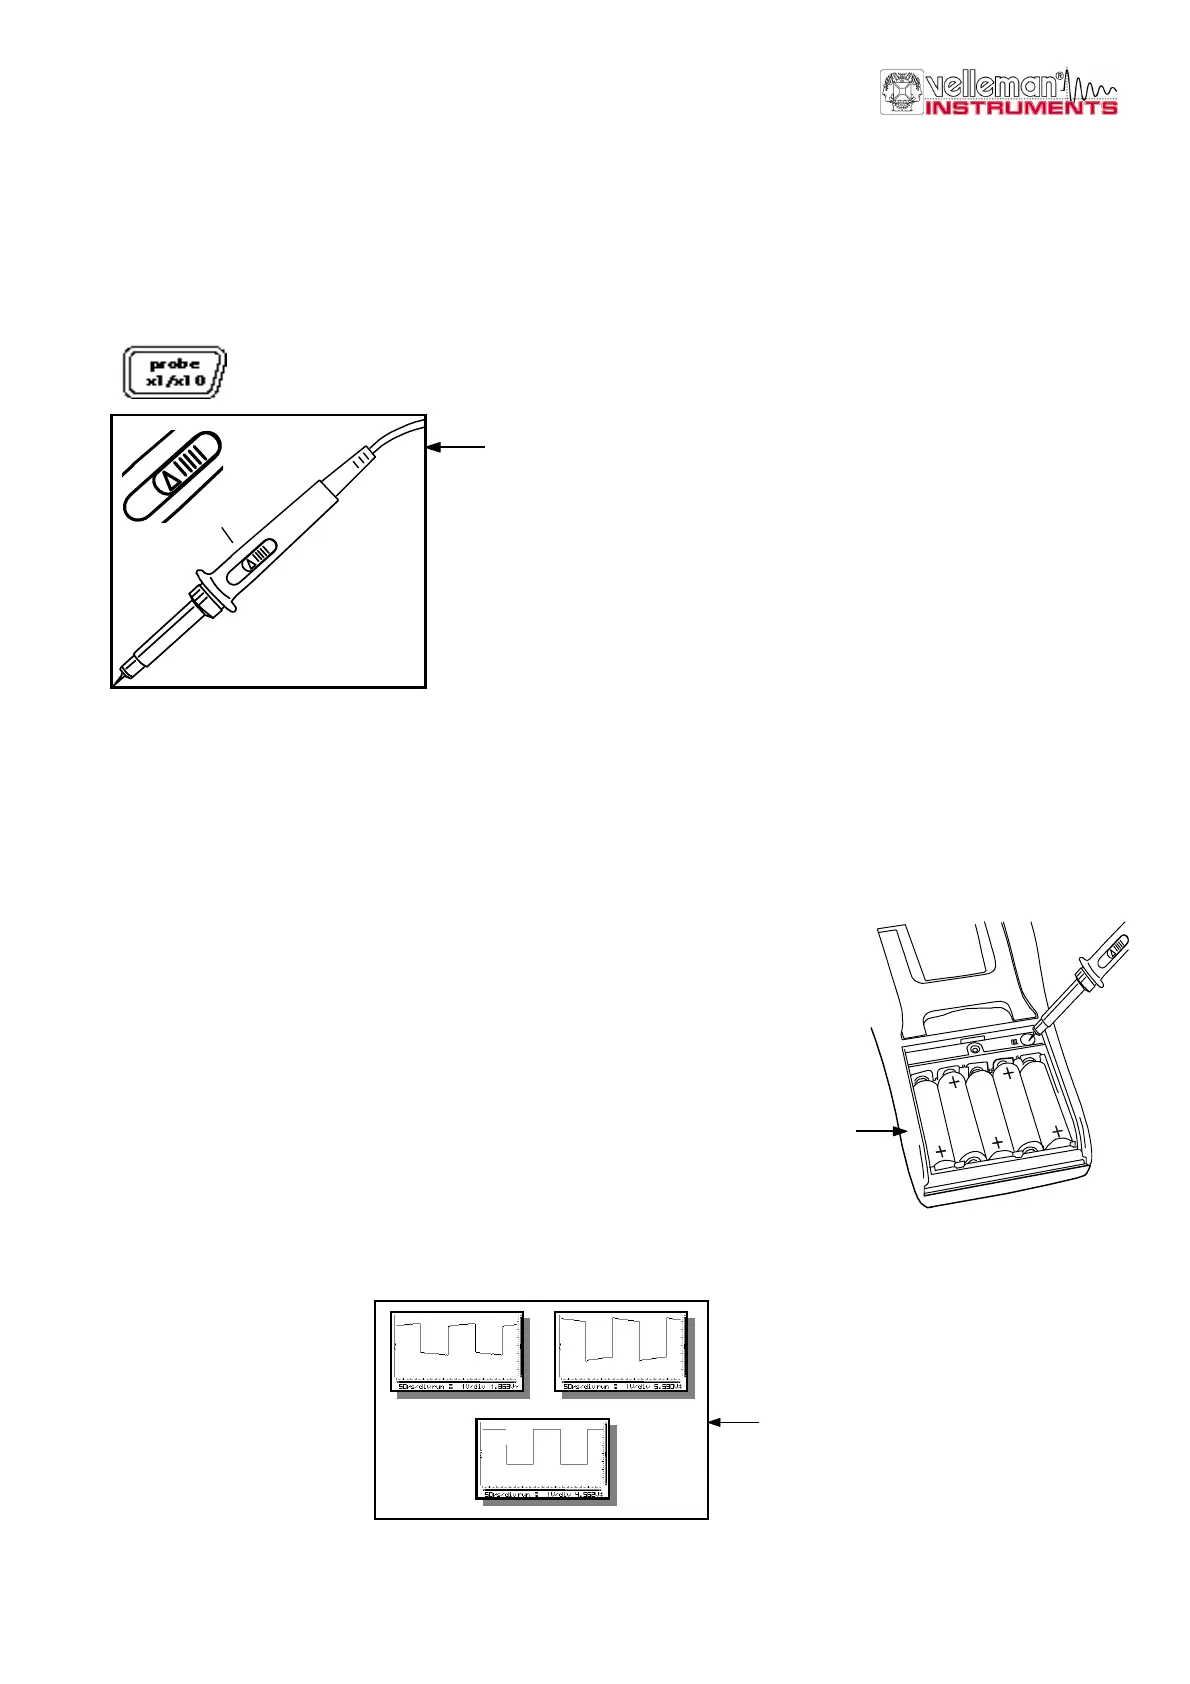
PROBE SETUP
Press the ‘Probe x1/x10’-key to set the measurements
accordingly the x1/x10-probe setting. (Fig. 25)
G Notes:
• Automatically calculate the correct readouts depending the x1 or x10 probe setting.
• An ‘x10’ symbol is displayed if this mode has been selected.
• X10 measuring probes should be calibrated!
• IMPORTANT: Set the measuring probe in the x10 position for measuring high voltages (>100Vp+dc)
Setting up a X10 measuring probe
When used in the X10 position, a measuring probe should always be
calibrated to the measuring instrument being used, in this case the
Personal Scope. (Fig. 26)
• Open the battery cover.
• Set the scope to X10 position (probe x1/x10 key)
• Set the voltage per division to 1V
• Set the time per division to 0.1ms
• Select AC for the input.
Use the probe to perform measurements at the pre-selected point under the battery cover. Adjust the
trimmer of the measuring probe in order to obtain a square wave signal with a top that is as flat as
possible. (Fig. 27)
Fig 25
x1 x10
x1 x10
probe
test
x10
Fig 26
Fig 27
ý
ý
þ
 Loading...