_________________________________________________________________________________________________________________________________________________________
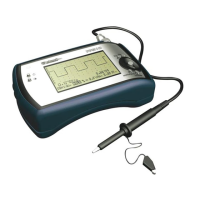
The pictures may differ depending on the type of PersonalScope
17
G Notes:
• The Y-position cannot be shifted in ‘hold’-mode
• A total of 256 samples are stored in memory, but the X-size of the screen is limited. By shifting the X-direction you
can display all stored samples.
• At dynamic display mode (set-up menu), the widest display layout is chosen by shifting the x-position.
• When no markers are displayed, the cursor keys are set for changing the time base or input sensitivity when no
keys are pressed during 10 seconds
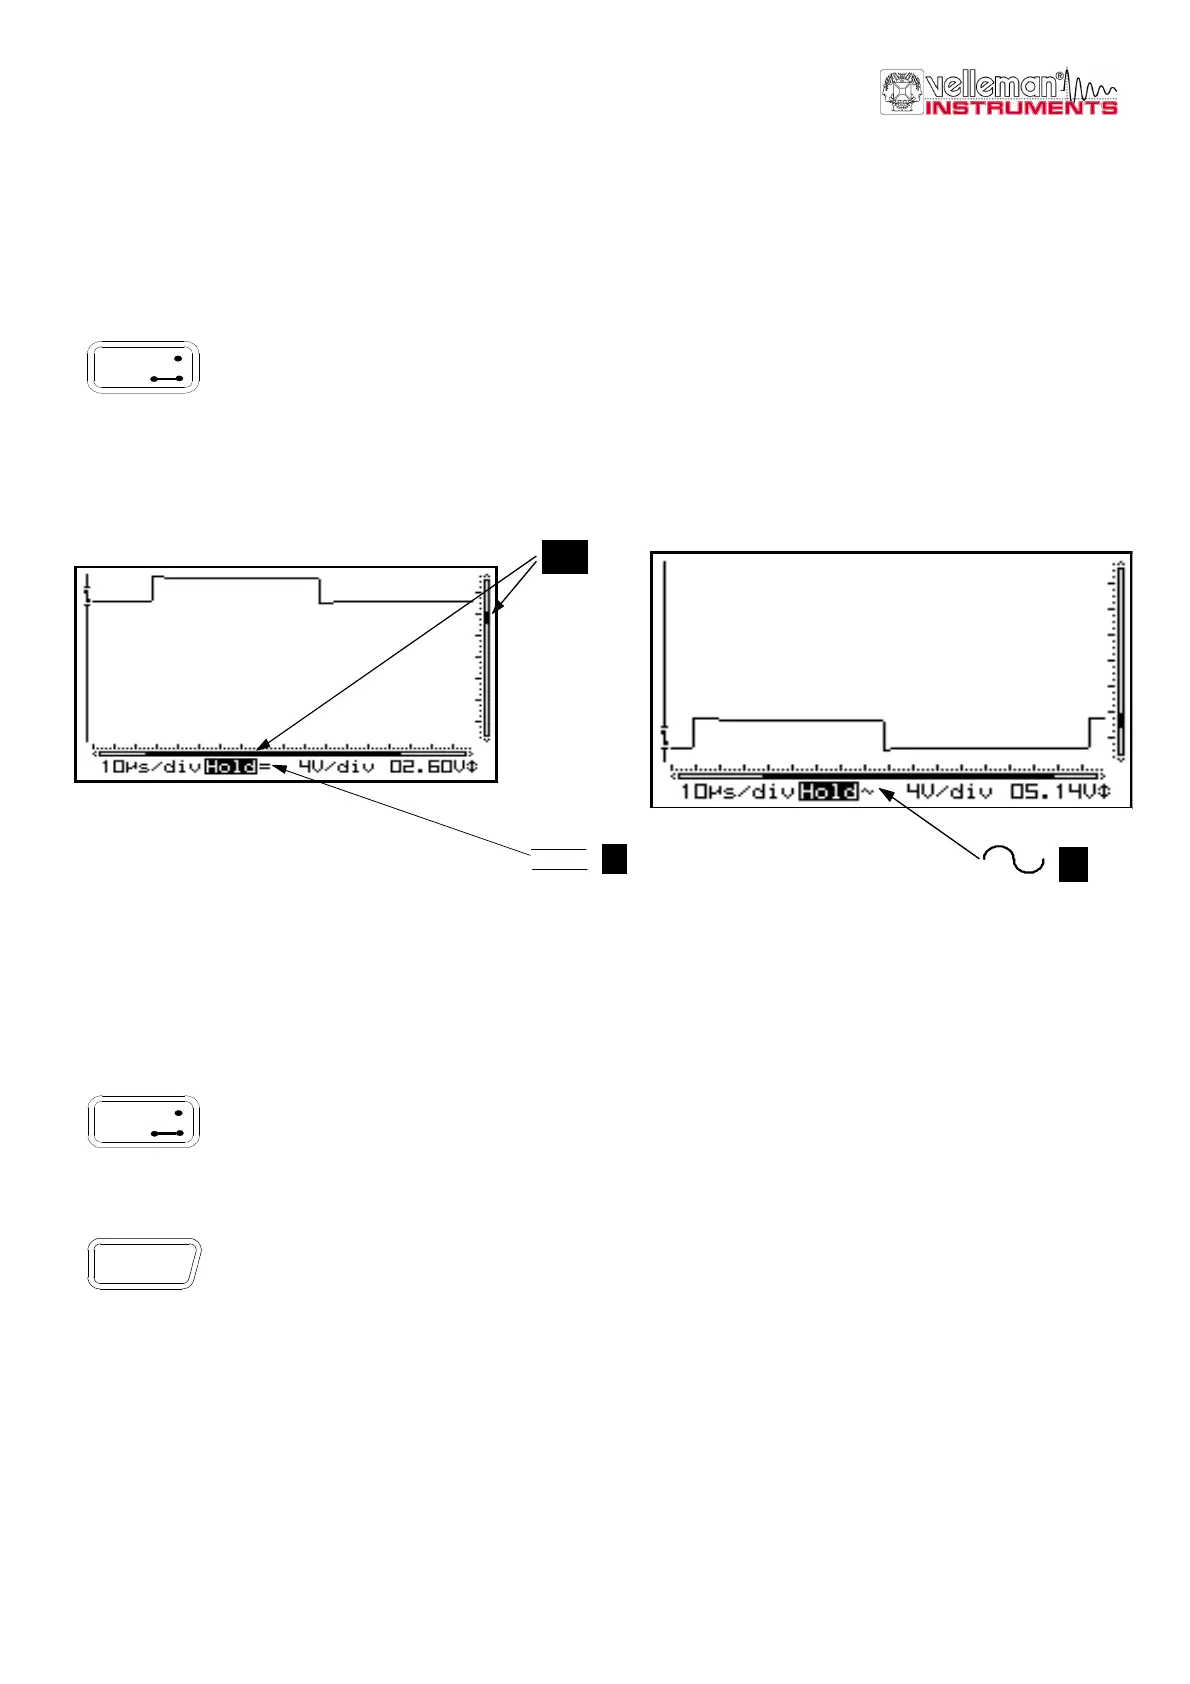
CHOICE OF INPUT COUPLING
Short press: Choice of input coupling ac (3) or dc (2). Depending on (part of) the signal to be measured,
the input can be connected to the signal through a direct link or by using a decoupling capacitor. Select
DC for measuring DC voltage. Press the “AC/DC” key to select either AC or DC input coupling (see
indications on the screen).
FWhen measuring the ”ripple” on a DC voltage: set the input to AC to limit the measurement to the AC
component of the signal.
G Note:
At time bases of 1s/div and slower, the input coupling is DC-only.
SET THE INPUT REFERENCE
Long Press: Switches the scope input to ground and stores the trace position as a new dc zero
reference. Use this function to find and set the zero DC-reference trace on the screen.
AUTO-SETUP FUNCTION
The auto-setup function is ideally suited for quick measurements as no manual setup has to be made and
everything is automatic.
F Use the auto-setup function when the screen no longer displays a signal after the manual setup.
AC/DC
Gnd
Fig 31
3
1
Fig 30
2
AC/DC
Gnd
Auto
 Loading...