WHEN TO CHECK THE KEYBOARDS
t Two units deliver by pressing only one button
(check the pins and the flat cable).
t Some keys do not work anymore (replaced
due to wear).
t All buttons do not work (before replacing
check the connection of the flat cable).
REPLACEMENT OF GROUP SCREENS
1 Remove the group cover as shown in chap-
ter 3 and disconnect the ribbon cable that
connects all group screens.
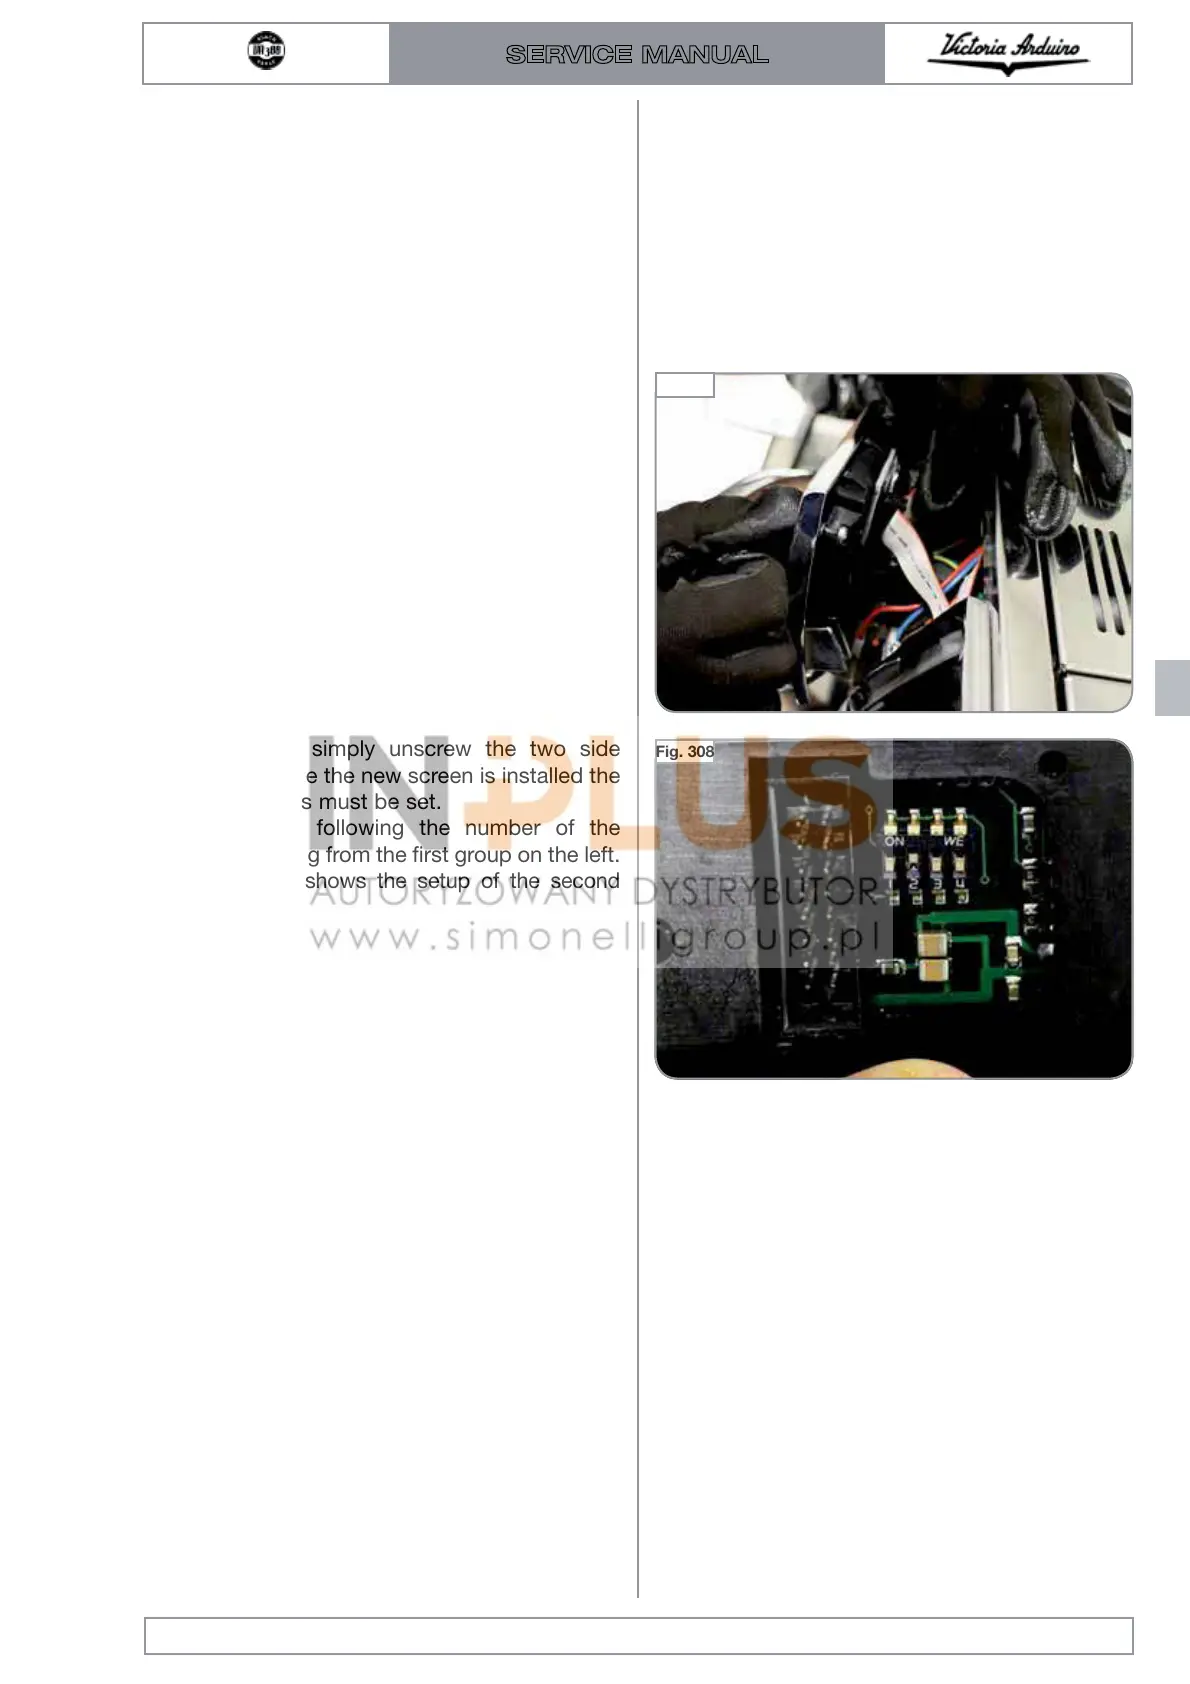
2 To replace, simply unscrew the two side
screws. Once the new screen is installed the
DIP switches must be set.
Number by following the number of the
group starting from the first group on the left.
The picture shows the setup of the second
group.
Edition 01 of 08/2017
8.17
SERVICE MANUAL
Fig. 307
Fig. 308

 Loading...