Do you have a question about the Victoria Arduino BLACK EAGLE VA388 and is the answer not in the manual?
| Brand | Victoria Arduino |
|---|---|
| Model | BLACK EAGLE VA388 |
| Category | Coffee Maker |
| Language | English |
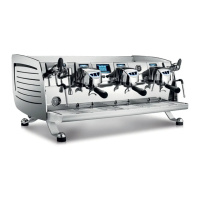
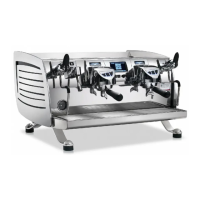
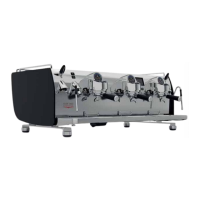
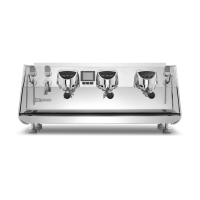
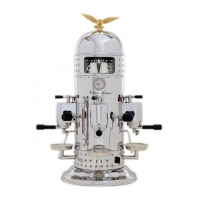
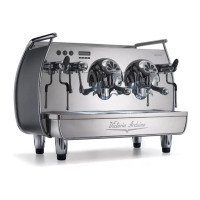
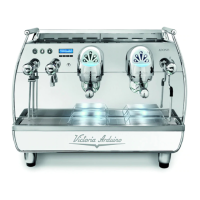
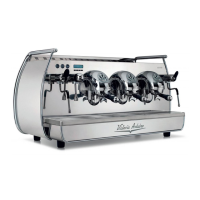
Overview of the machine's components and features, illustrated with a diagram.
Explanation of the control panel layout, buttons, and display functions.
Crucial safety guidelines for installation, use, and maintenance to prevent hazards.
Information on how to identify the machine model, serial number, and QR code for details.
Instructions for safe transportation and handling of the machine to prevent damage or accidents.
Steps for the initial installation of the machine, including weight and dimensions.
Technical specifications for the machine's weight and dimensions for 2 and 3 group models.
Required water quality parameters like hardness, pressure, and alkalinity to maintain warranty.
Details on the machine's electrical requirements, including voltage, phase, and power consumption.
Instructions for connecting the machine to the water main, including pressure verification.
Step-by-step guide for the initial startup and filling of coffee boilers.
How to adjust the brewing pressure using the gauge and knob.
How to adjust the hot water mixer to control temperature and optimize performance.
Initial programming operations like updating language, date, time, and settings.
Using the rotary switch to navigate and enable functions for pre-installation programming.
Procedure for setting the machine's language, date, and time through the interface.
How to set group and boiler temperatures via the machine's interface.
Guide on programming coffee doses (volume) for volumetric versions.
Step-by-step guide to remove the modular cup warming tray from the machine.
Instructions for safely removing the side panels of the VA388 machine.
Procedure for removing the lower front panel of the machine.
Steps to remove the cover that provides access to the machine's groups.
Guide on how to remove the TFT screen panel from the machine.
Instructions for removing the shower and pavilion, including loosening the central screw.
Steps to replace the gasket in the pre-infusion chamber, which should be done annually.
Guide for removing temperature probes and heating elements, specific to T3 versions.
Information on the three-way coffee valve and troubleshooting common issues.
Procedure for safely emptying the steam heater, including safety warnings.
Steps to access the heating elements and visible parts by removing the side panel.
Details on the heating elements and their resistances, including removal for cleaning or replacement.
Guide on replacing the level probe, which maintains water level in the heater.
Information on the anti-suction valve and when and how to replace it.
Details on the steam safety valve, its operation pressure, and replacement recommendations.
Function of heat exchangers in pre-heating water and the importance of cleaning inlet fittings.
Description of the coffee boilers, their capacity, consumption, and safety features.
Instructions on how to access the upper part of the coffee boilers by removing cup warmer modules.
Steps to access the bottom of the coffee boiler by removing work surface and panels.
Procedure for safely emptying the coffee boiler before replacing parts.
Details on temperature probes, their values, and troubleshooting "Heater probe error".
Guide to replacing the Teflon injector, which tends to get clogged annually.
How to access the hydraulic part by removing the work surface and front panel.
Information about the pump, its location, and when it needs replacement due to noise or pressure issues.
Step-by-step instructions for removing the pump, including disconnecting pipes and clamps.
Procedure for removing and replacing the capacitor, including safety warnings.
Guide on how to remove and replace the motor, including unscrewing screws and disconnecting cables.
Steps to remove and replace the coffee valve, which regulates water flow to the heater.
Common errors related to the flowmeter (Ventolino) and how to intervene.
How to adjust the temperature of the hot water tap and troubleshooting common valve issues.
Information on the steam nozzle, suggested seal replacement, and maintenance.
How to access the main board, identify its components, and the function of the transformer and fuses.
Information on the contactor's role in supplying power and how to replace it.
Explanation of static relays used to control steam boilers and coffee boilers, and their activation.
Steps to access the data collector, static relays, and sensor card for inspection or replacement.
How to access and replace the digital pressure switch, including voltage measurements.
Instructions for replacing the TFT display, including unscrewing the screen and disconnecting ribbon cables.
Guide on how to update the machine's firmware using a USB stick.
Steps for replacing group push button panels and screens, including resetting pins.
How to configure machine settings like operating mode, units, and steam nozzle options.
How to access the gravimetric control unit, which calculates weight using load cells.
Guide to accessing and removing load cells and sensors, including electrical wiring disconnection.
Instructions for configuring the remote control module via Wi-Fi and connecting it to the machine.
Lists display messages for alarms and errors, their causes, and recommended solutions.
How to adjust the group offset to calibrate temperature probes using a Scace device.
Procedure for adjusting the heater temperature offset from the coffee boiler screen.
How to switch the cup warmer between timed and thermo-controlled modes.
Setting the delivery number or date to activate the maintenance alarm.
How to access the ALARMS menu and reset the alarm history to clear errors.
Guide on entering, changing, and unlocking the machine's password for security.
How to configure control unit parameters for different machine versions and settings.
Detailed explanations of various settable functions, including operating modes, levels, and calibration.
Daily maintenance tasks for the T3/DIGIT version, requiring 15 minutes.
Weekly maintenance tasks for the T3/DIGIT version, requiring 30 minutes.
Periodic maintenance tasks for the T3/DIGIT version, requiring 60 minutes.
Comprehensive annual maintenance checklist for technicians, requiring 120-150 minutes.
List of spare parts included in the yearly maintenance kits for different machine versions.
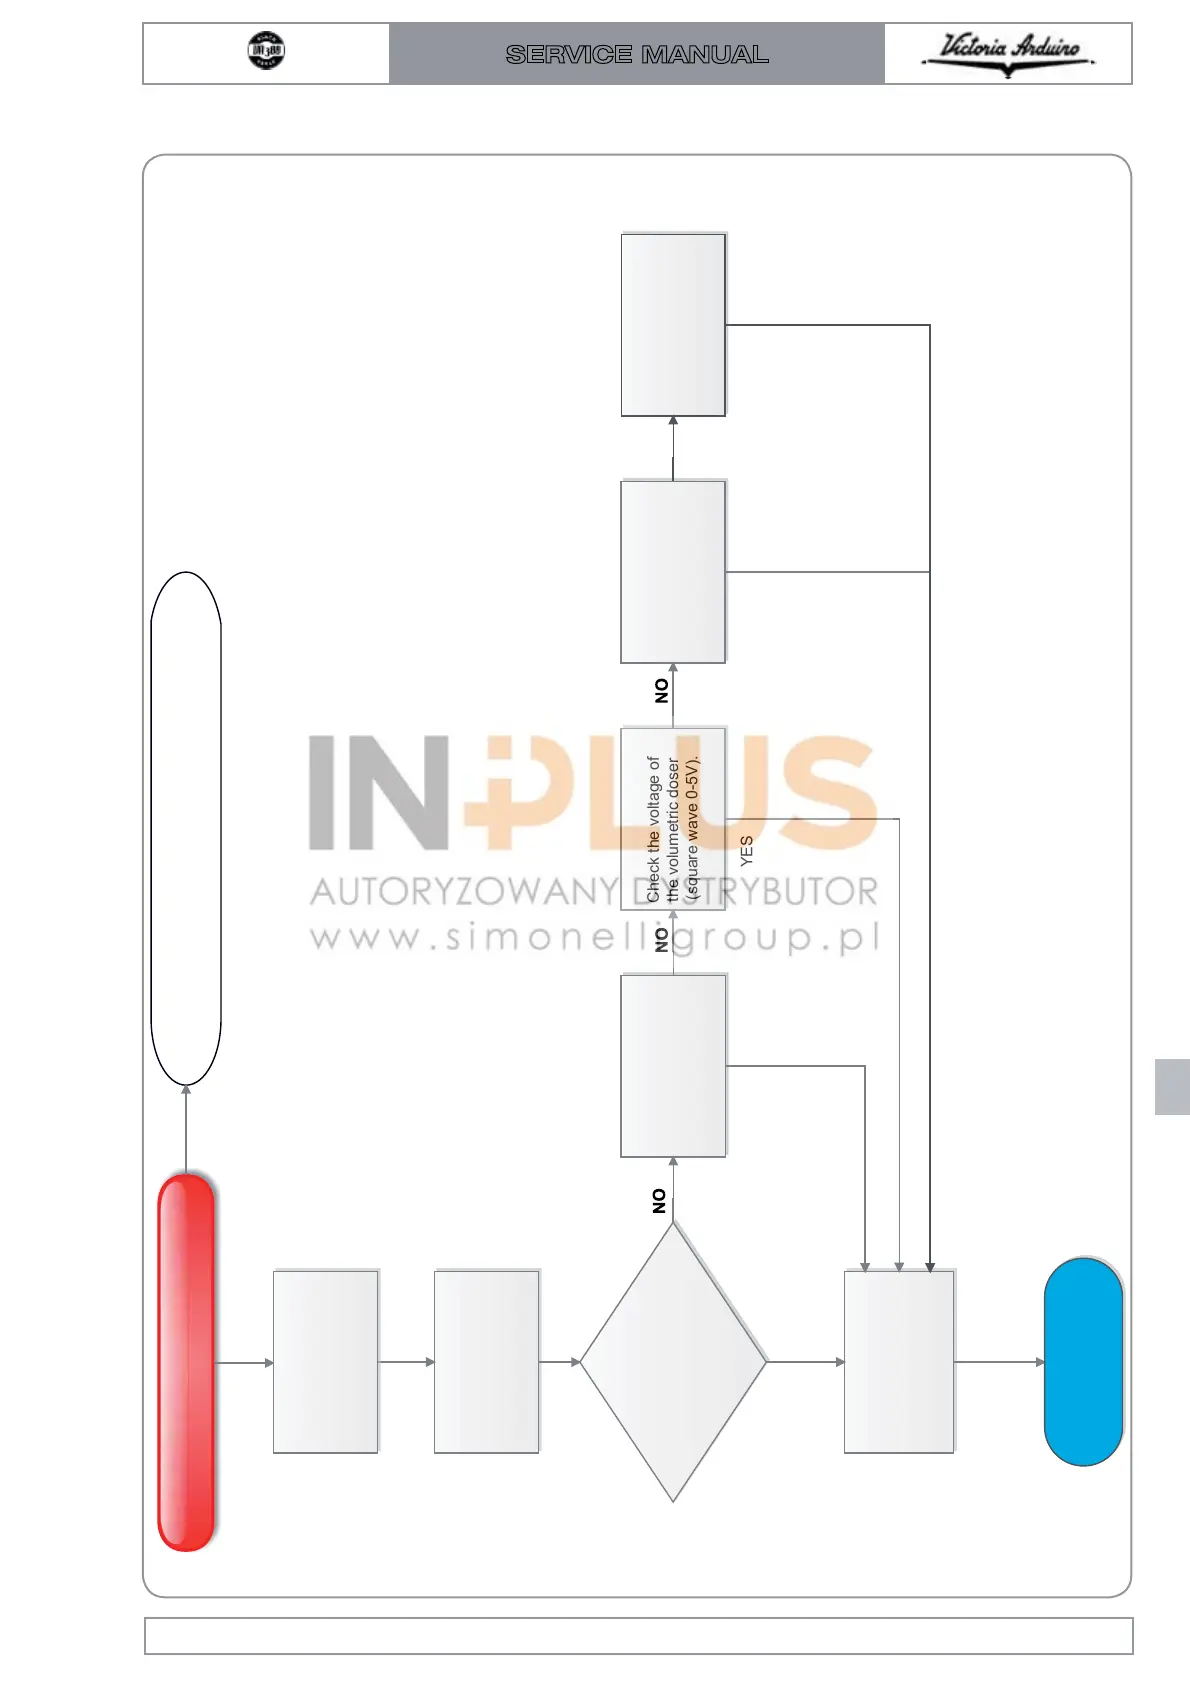
Troubleshooting flowchart for errors related to incorrect or failed unit dosing, identifying potential causes.
Troubleshooting flowchart for errors when dispensing exceeds the limit time or fails to stop correctly.
Troubleshooting flowchart for level errors, indicating issues with the automatic level function or pump.
Troubleshooting flowchart for pressure errors, indicating issues with the safety thermostat or pressure switch.
Troubleshooting flowchart for errors related to the boiler pressure meter or sensor.
Troubleshooting flowchart for cup warmer sensor errors, checking for short circuits or disconnection.
Troubleshooting flowchart for serial communication errors between the control unit and TFT monitor.
Troubleshooting flowchart for X unit sensor errors, checking voltage, connections, and sensor integrity.
Troubleshooting steps for when the boiler is cold, checking resistance, static relays, and cables.
Troubleshooting flowchart for heating errors in unit X, checking cables, LEDs, and unit sensors.
Troubleshooting flowchart for general boiler errors, checking relays, thermal fuse, and voltage.
Detailed hydraulic diagram illustrating the flow of water and components within the machine.
Electrical wiring diagram for the VA388 T3 Volumetric version, showing component connections.
Electrical wiring diagram for the VA388 T3 CSA version, illustrating component connections.
Electrical wiring diagram for the VA388 T3 Gravimetric version, showing component connections.
Illustrated list of external components for 2-3 group VA388 machines.
Detailed breakdown of push buttons and display components, with part numbers.
Illustrated list of components for the pouring unit, including part numbers and versions.
Illustrated list of spare parts for steam and hot water valves, with part numbers.
Illustrated list of components for the hot water mixer and steam pipes, with part numbers.
Illustrated list of boiler parts for T3 Copper models from 18-03-2016.
Illustrated list of boiler parts for T3 Copper models from 18-03-2016.
Illustrated list of copper pipes for models from 18-03-2016.
Illustrated list of hydraulic group components for models until 17-03-2016.
Illustrated list of hydraulic group components for copper models from 18-03-2016.
Illustrated list of pump group components, including hydraulic load codes.
Illustrated list of old hydraulic system components for models as of 04/12/2014.
Illustrated list of external surface components for 2-3 group VA388 machines.
Illustrated list of electric and electronic components, including wiring tables.
Illustrated list of gravimetric scale components.
Illustrated list of easy cream components.