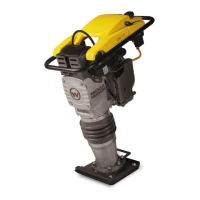
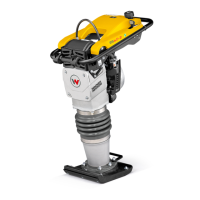
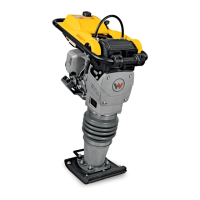
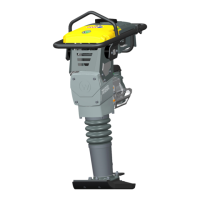
Rammer Repair Crankcase
wc_tx001548gb.fm 111
6.2 Crank Gear, Connecting Rod, and Adjuster Assembly (BS 650/65 only)
See Graphic: wc_gr001334rm
Recommended tools
Hex key: 8 mm
2-Jaw bearing puller
Large diameter retaining-ring pliers
Hydraulic press
Screwdrivers or pry bars
Split puller
Slide hammer
Punch
Torque wrench
Loctite 243 (blue)
Removal
6.2.1 Remove the four socket head cap screws that secure the ramming
system to the crankcase.
6.2.2 Stand on the ramming shoe and pull up hard on the crankcase until the
pin holding the connecting rod to the ram is visible.
6.2.3 Drive out the end plugs and the piston pin.
6.2.4 Lift the upper machinery from the ramming system.
6.2.5 Open the front cover and remove the four socket head cap screws (31)
from the bearing mount (16).
6.2.6 Insert a screwdriver on each side of the bearing mount and pry it off.
The bearing mount and cover will come out with the crank gear (20)
and the connecting rod (24) attached.
Note: The bearing mount and cover cannot be removed until the
connecting rod is detached from the ram.
6.2.7 Remove the snap ring (25), then pry off the connecting rod assembly
(24) with two pry bars.
6.2.8 Press the ball bearing (27) out of the connecting rod.
6.2.9 Turn the assembly over and open up the crankcase cover.
6.2.10 Remove the two retaining rings (3) and drive the pin (13) out of the
yoke (4) with a hammer and punch.
6.2.11 Remove the screws (12) and clamping ring (5), then slide out the
adjusting plate (6) and two Belville spring washers (7). The eccentric
drive shaft (23), pin (28), and spring (29) will also slide out. Pull out the
O-ring (21).
6.2.12 Remove the small retaining ring (9) and press the crank gear (20) from
the bearing mount.
 Loading...