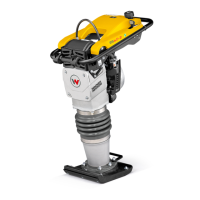
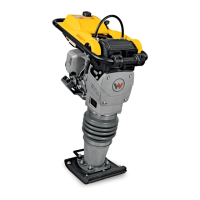
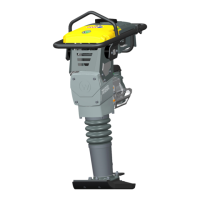
Repair Engine and Upper Machine Components
wc_tx001546gb.fm 55
4.15 Fuel Tank Cap
See Graphic: wc_gr004562
To disassemble and clean the fuel tank cap:
4.15.1 Grasp the fuel tank cap (a) in one hand and the baffle (b) in the other.
4.15.2 Pull and twist the baffle left and right to separate it from the fuel tank
cap.
4.15.3 Remove the fuel tank gasket (c) from the baffle.
4.15.4 Remove the green umbrella valve (d).
4.15.5 Remove the two screws (e), the diaphragm retainer (f), and then the
diaphragm itself (g).
4.15.6 Clean all parts with soapy water and rinse thoroughly. DO NOT use
chemical solvents.
To reassemble the fuel tank cap:
4.15.1 Insert the green umbrella valve (d) into the top side of the baffle (b).
Press on the valve to seat it properly in the baffle.
4.15.2 Re-install the diaphragm (g) and attach the diaphragm retainer (f) with
the two screws (e). Torque the screws to 0.28 Nm (2.5 in.lbs.), being
careful not to strip them.
4.15.3 Re-install the fuel tank gasket (c) on the baffle.
4.15.4 Place the baffle assembly in the fuel tank cap (a). Use a screwdriver or
similar blunt instrument to work the fuel tank gasket into the threads of
the fuel tank cap until the baffle assembly snaps into place.
 Loading...