en
Installation
Initial start-up
7KHGHYLFHXVXDOO\GRHVQRWVWDUWWKH¿UVWWLPHDIWHU
it has been installed. It may take several starts for
WKHIXHOKRVHVWR¿OOXSHQRXJKIRUWKHIXHOWRUHDFK
the burner.
:DWFKWKHKRVHVDVWKH\¿OOXSDV\RXVWDUWWKH
device.
After two unsuccessful start-ups, the device
will lock. (The yellow and red LED lamps will blink
simultaneously indicating a lock-up.)
Follow the instruction for unlocking the device
and try again.
:DWFKWKHKRVHV¿OOXSZLWKIXHOZKLOH\RXVWDUWWKH
device.
When the device starts, look for possible leaks in
WKHH[KDXVWDQGIXHOFRQQHFWLRQV
Run the device for c. 1-2 hour to allow possible
installation and manufacturing greases to burn off.
Make sure there is enough ventilation.
Remember to carefully read the instruc-
tions for installing, operating and ser-
vicing each device before installation.
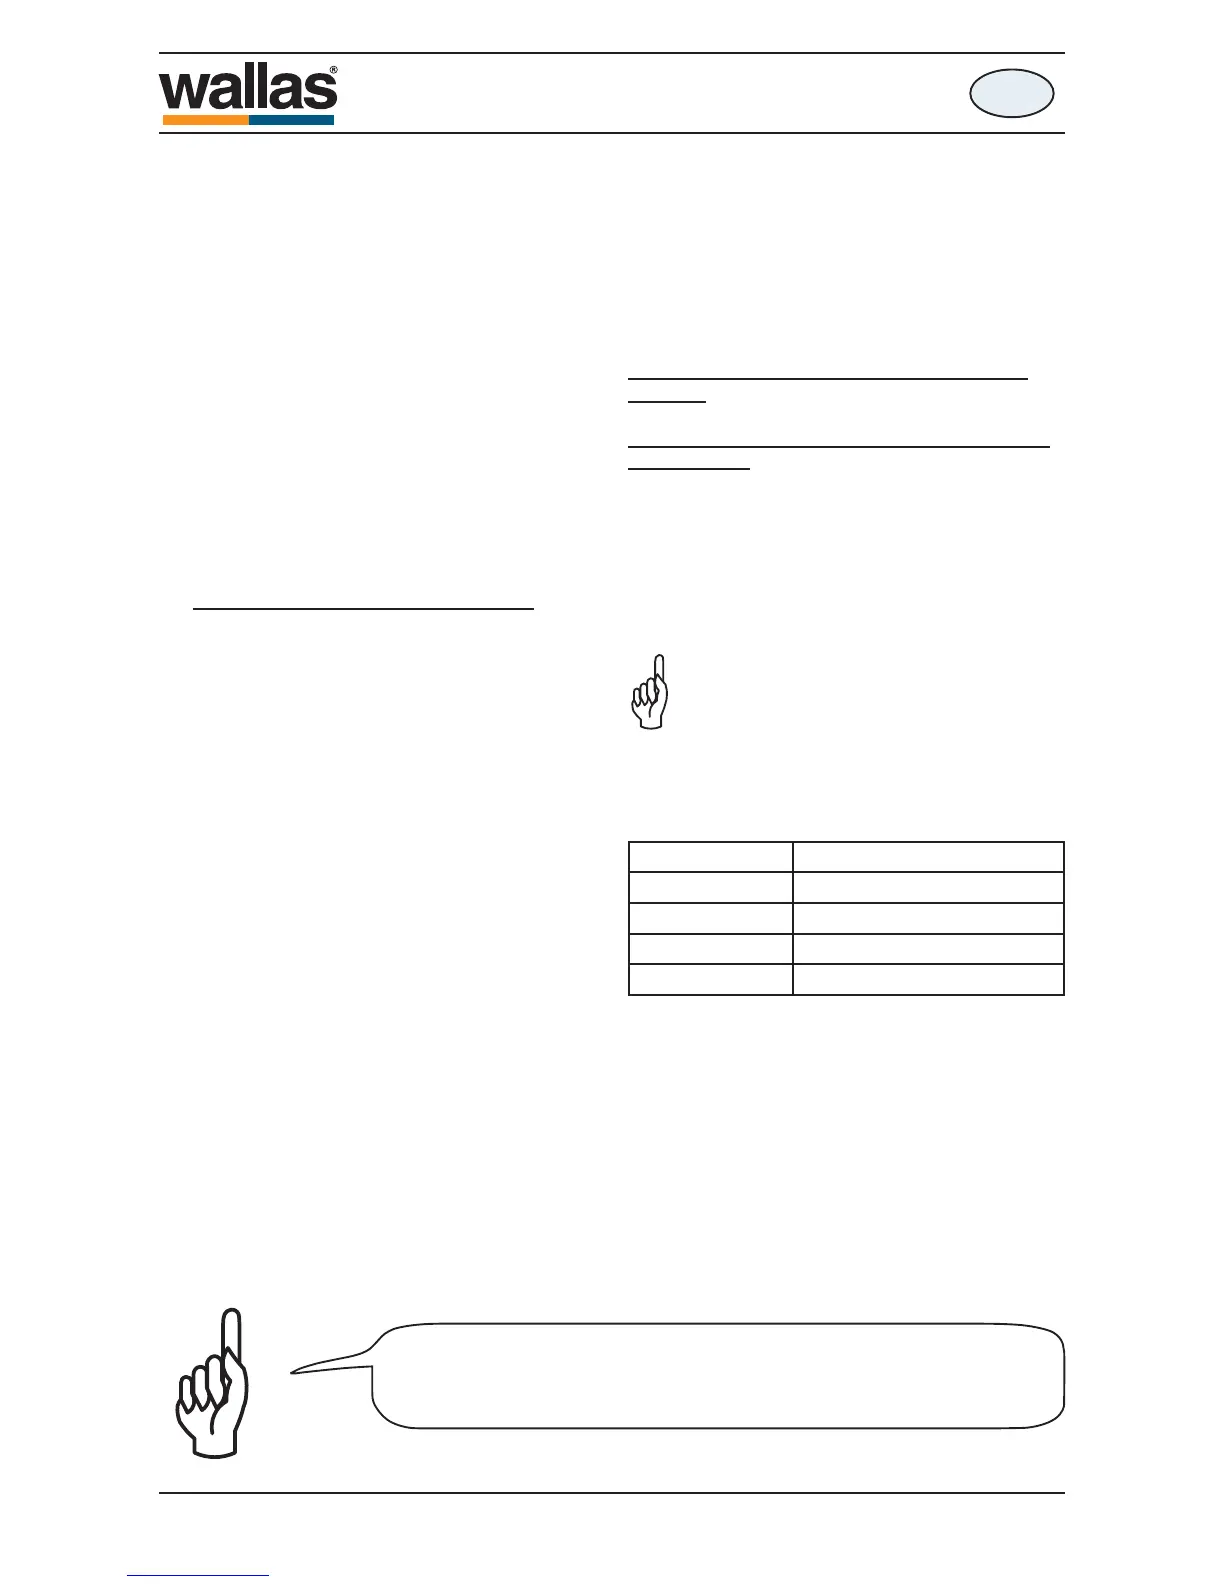
7REH¿OOHGLQE\WKHLQVWDOOHU
F Test-run performed
Serial number
Company
Installer
Installation date
Signed
Installer must check (x) the sections, then sign her/his
signature.
Installation and initial start-up
Installation
F (QVXUHVXI¿FLHQWDLUYHQWLODWLRQIRUKHDWHU
minimum aperture of 100 cm
2
VTLQLQWR
installation area.
F (QVXUHWKDWWKHYHKLFOHLVVXI¿FLHQWO\YHQWLODWHG
F We recommend installing the control panel on
DYHUWLFDOVXUIDFHZKHUHOLTXLGVDUHQRWDEOHWR
leak into the panel and it is out of reach of chil-
dren (cable length 3 m).
F The control panel is installed in a location where
its thermostat can best regulate the tempera-
ture.
Fuel system
F Fuel for the device comes through a separate
WDQN¿WWLQJQRWYLDDPDQLIROGRUFRQQHFWLRQ
shared by the engine or other device.
F Fasten the fuel hose couplings tightly.
F The hoses must be kept clean during installa-
tion.
F Use only Wallas fuel hoses.
F Cut the fuel hoses to the appropriate length
when installing them.
Electrical installation
F The nominal voltage of the device is 12 VDC.
F Current for the device is taken directly from the
battery terminals using cables that are as short
as possible.
Exhaust fumes
F When choosing the outlet location, note that
H[KDXVWIXPHVDUHKRW
F 7KHH[KDXVWSLSHPXVWQRWFRPHLQWRFRQWDFW
ZLWKFRPEXVWLEOHPDWHULDOV,QVXODWHWKHH[KDXVW
hose.
F 7KHH[KDXVWKHDGRXWOHWPXVWEHDWOHDVW
PP´DZD\IURPWKHRSHQLQJIRU¿OOLQJIXHO
or tank breather.
F 7KHH[KDXVWVLGHRIWKHFRPEXVWLRQJDVKHDGLV
to the side of one of the vehicle’s rear tyres.
F 0DNHVXUHWKDWWKHH[KDXVWJDVHVFRPHRXW
from the smaller grill of the combustion gas
head.
F The combustion gas head is not under or near
an opening window (300 mm).
Run the device for c. 1-2 hour to allow possible installation and manu-
facturing greases to burn off. Make sure there is enough ventilation.
D10351C
- 62 -
XC Duo
490541G
 Loading...