Thermo 90 9 Repair
903
9.2.2 Replacement of Circulation Pump
9.2.2.1 Removal
1. Remove heater (see 8.7.1.1).
2. Disconnect electrical conn
ections (see 9.2.1.1).
3. Remove screws (4, Fig. 902).
4. Remove clamp (3) and circulation pump (2).
5. Perform procedures on components after
disasse
mbly (see 9.1.1).
9.2.2.2 Installation
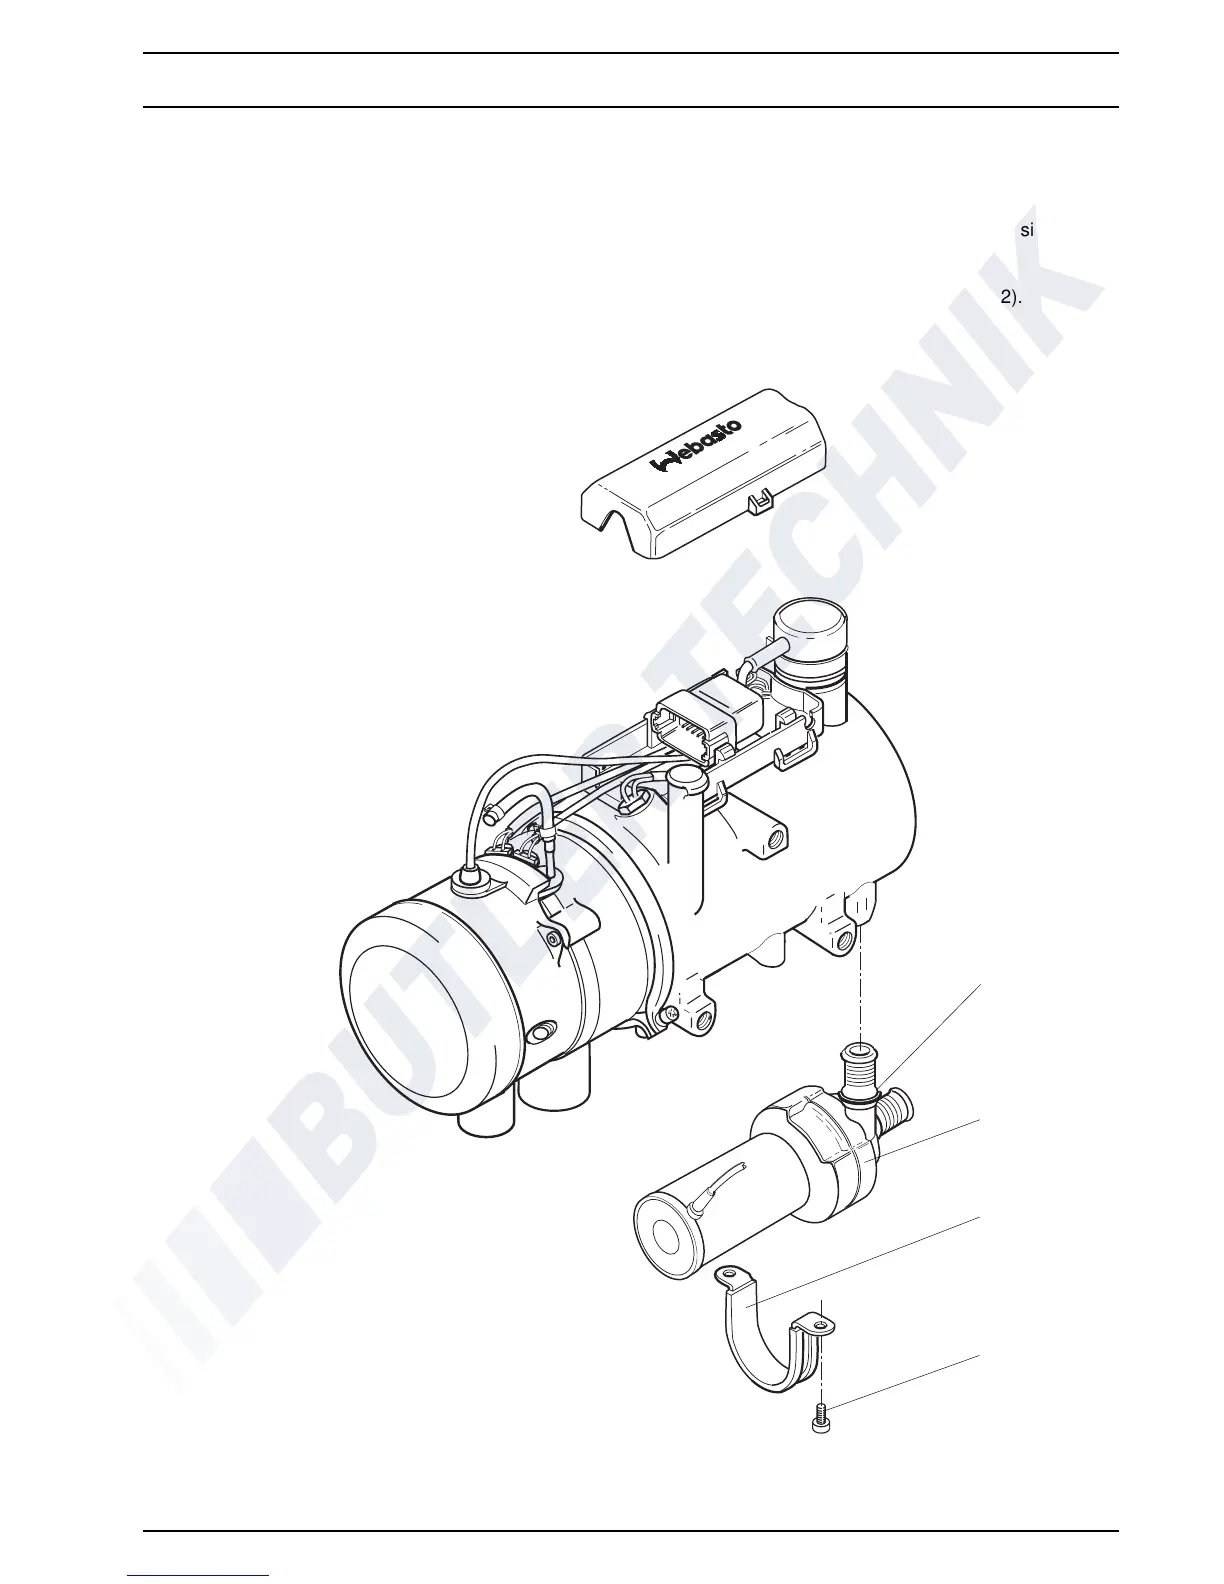
1. Apply acid free grease (Vaseline) to gasket
(1
, Fig. 902)
2. Bring circulation pump (2) in assembly position and
sec
ure using clamp (3) and screws (4).
3. Torque screws (4) to 3 Nm ± 10%.
4. Make electrical connections (see 9.2.1.2).
5. Install heater (see 8.7.1.2).
Fig. 902 Replacement of Circulation Pump
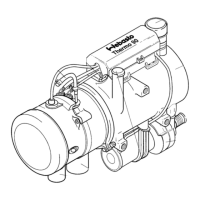
Thermo 90
NOTE
One of the newer models Thermo 90 shown.
Older models have the cable of the temperature
limiter located on the side.
Heater Thermo 90 S may have the control unit
located on the combustion air fan not affecting
the replacement of the circulation pump.
1 Gasket
2 Circulation Pump
3Clamp
4Screw (2)
1
2
3
4
 Loading...